This guide isn't for everyone – it's far better if you wait for the official OTA update for your Lumia device. If, for whatever reason (e.g. impatience or having bricked your device), you wish to go it alone and update your own firmware then this guide will help you. However, note that doing this will invalidate your warranty and might prevent you from receiving future updates. If these things are not enough to put you off, then the next section might be …
Backing up and Restoring
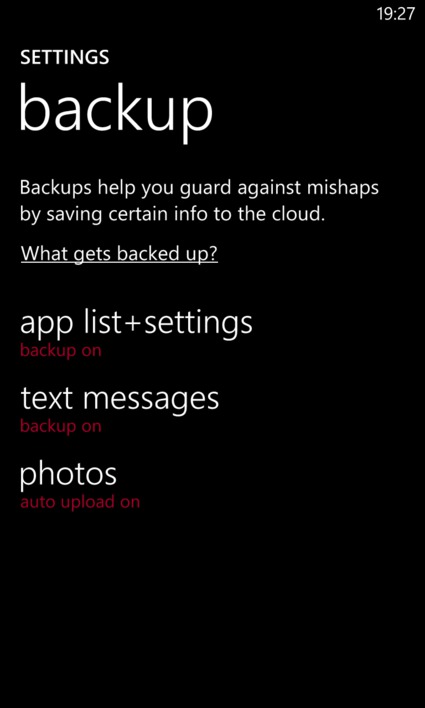
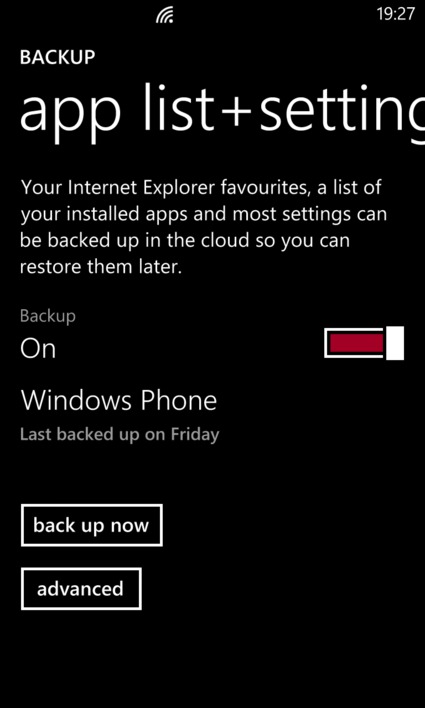
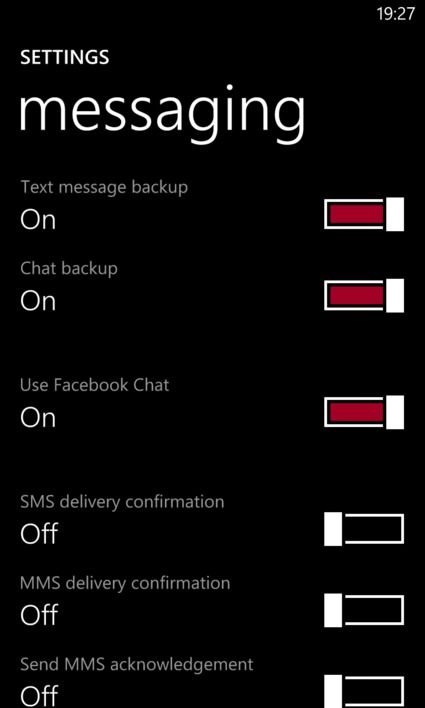
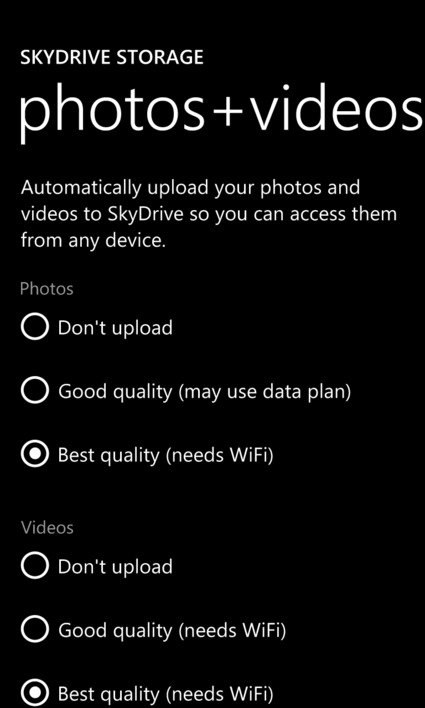
Sorry to break it to you folks, but the guide I'll be taking you through here will entirely wipe your device. Windows Phone 8 does come with a built-in backup to the cloud feature. To access it, open the Settings app, and scroll down to (surprise surprise) the 'backup' option. There you'll find options to save your app list and settings, text messages, and automatic upload of your photos. However, as Ewan wrote, the restoration of this data leaves a heck of a lot to be desired. In fact, the data restore implementation is all but useless. In my experience, the text message restore is strange as not all of my messages were restored (was my phone backing them up regularly enough?) and the restoration didn't happen until the following day!
From Ewan's article:
Anything that you did with these applications? Gone. Take your progress in a game (Farm Frenzy is my personal example, because that's really hooked me back in over the New Year period). When you restore your phone, you do not restore the game data (because it was never backed up in the same place). So many mobile games nowadays are based on lots of little levels, and if you lose your progress then the prospect of having to start again is very, very daunting. So daunting that in many cases I simply deleted the game and tried something else, rather than work through it once more.
When it comes to application restoration, it is possible to go to windowsphone.com and view your purchase history (including free titles), clicking the "Reinstall" link for each and every app. This will push apps to your phone. When restoring a phone from having been wiped, your most recent set of apps should be pushed automatically to your device. However, in my experience, the Microsoft servers couldn't even get this right with only a couple out of tens of apps actually reappearing on my device.
Unfortunately dear reader, the best you can do to get your Windows Phone back to the state it's in now is to use screenshots. Take screenshots of your tiles (which are never restored), and your application list. You can use these as a reference to rebuild your tile layout and either selectively reinstall from your Windows Phone purchase history, or simply reinstall manually from the Windows Phone Store. Oh, and please do remember to make a copy of those screenshots on another device! Or email them to yourself, or upload them to SkyDrive, etc.
When it comes to app settings, such as usernames and passwords, I recommend the use of LastPass for saving your passwords, as this makes the process of entering your login details much easier than repeatedly typing everything out.
If I still haven't put you off the idea of DIY flashing, then read on.
Nokia Care Suite
Nokia Care Suite is the application you'll need to flash your device. It's not a publically released piece of software, as it is only intended for use at Nokia Care Points. With that in mind, we will not take responsibility for where you source your copy from and the results of installing such software.
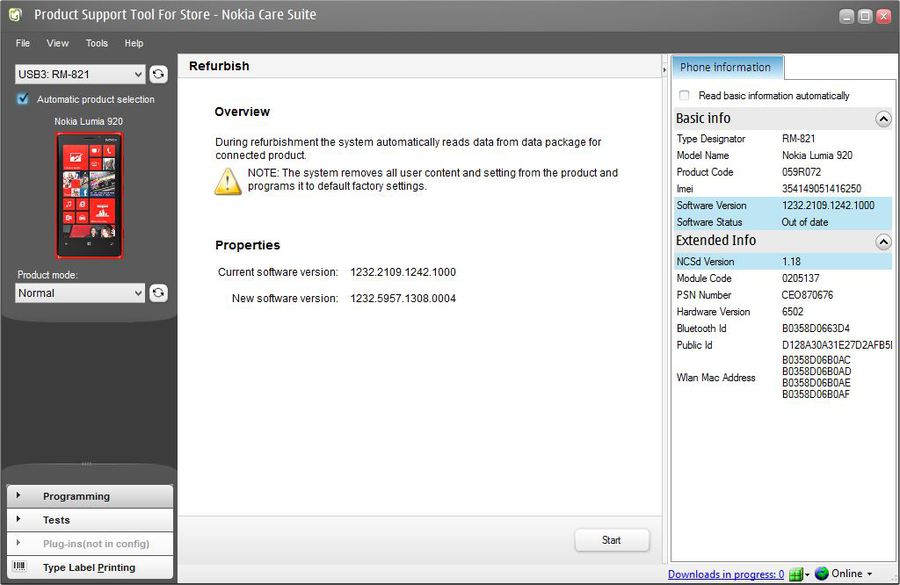
The Nokia Care Suite application is actually a collection of mini applications, and the one we need for the task at hand is the "Product Support Tool". Double click the entry for this applet and connect your Lumia. If the device details are not shown on the support tool's central area, make sure the "Automatic Product Selection" box is ticked to the left of the window.
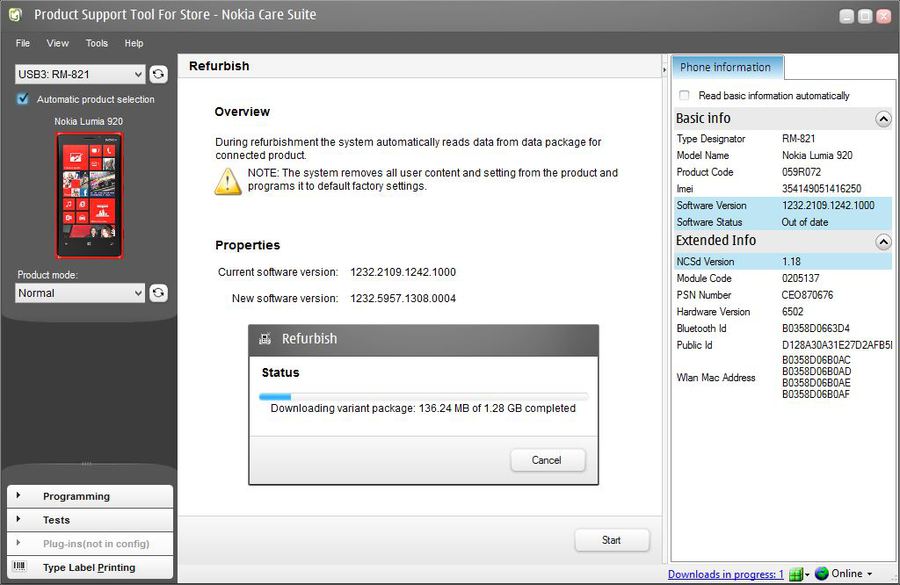
Look to the lower-left of the window and find the "Programming" section. Click it and from the sub-menu that appears select "Refurbish". At this point, the Product Support Tool will check your device's firmware version and check online for the latest available version from Nokia's servers. Once it shows you that a newer version is available, click the Start button, to begin the process. Typical firmware updates are over a gigabyte in size, and so it will take a while to download. At this point, go and get a cup of tea or coffee!

Once the firmware update has been installed, you might receive a warning that your device should have at least 25% of its battery charged. Personally, I'd recommend it has over 70% for a good safety margin. Nevertheless, as long as your battery is sufficiently charged, click through the warnings to allow the software to continue its work on your device, which will take 4-5 minutes.
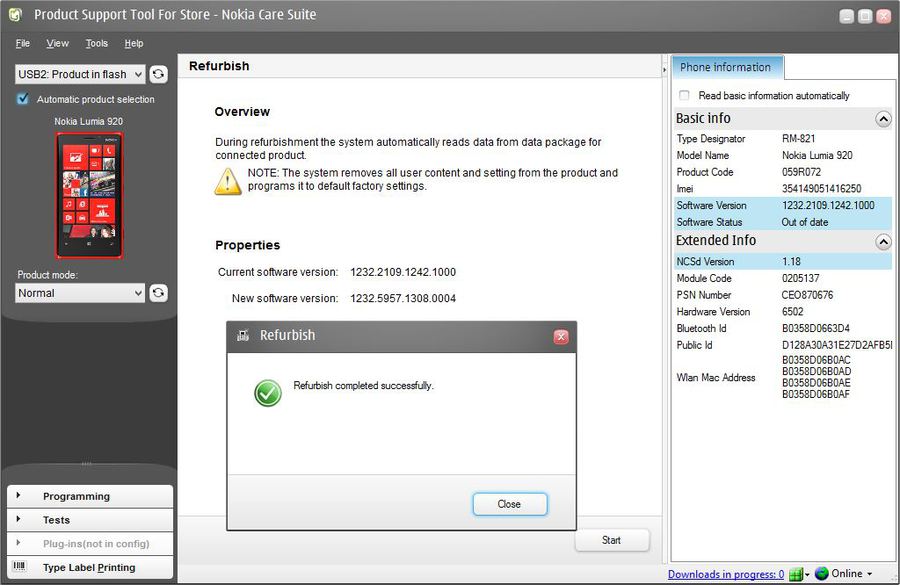
At this point, your Lumia will boot into its firmware flashing mode, you'll see the screen turn red with a blue progress bar. Once the firmware has been applied to your device, it will reboot again and invite you to sign in with your Microsoft account, just as when you first bought it. Congratulations, you have now refurbished your Lumia!
Restoring
As mentioned above, the first thing you'll be invited to do is input your Microsoft account details. As recently reported on ZDNet, you can now sign in with your Outlook.com alias, if you've created one. At this point, it should be noted that it would help if your SIM card was still in your device; otherwise, it will have no way to get online, as you will not have yet been permitted to setup WiFi connections. If your device can't get online, it will miss the opportunity to start the restoration of backed up data from the cloud – for whatever that's worth! Also note that this is going to eat into your mobile data allowance, and so it would pay to go through the rest of the setup screens as quickly as possible so you can get WiFi setup, thus allowing your Lumia to switch over to that much more economical of ways to access the Internet!


Epilogue
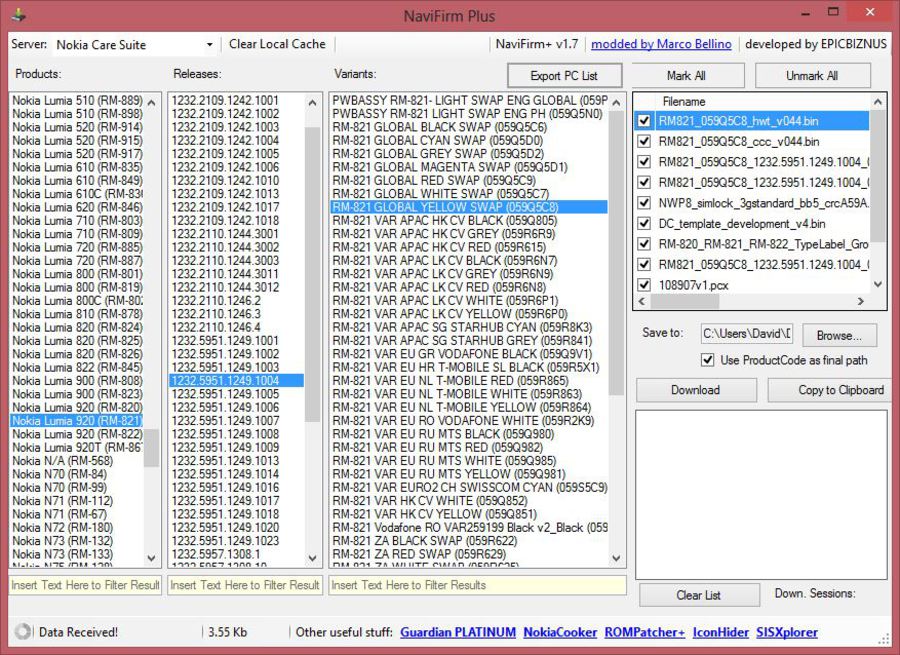
Ironically, the moral of this story is don't perform a DIY firmware update if you can possibly avoid it. I've done it, twice, though. Partly so that you don't have to, and because the first time I was forced into it as the Nokia "Extras+Info" app suffered a corrupted upgrade and I ended up bricking my Lumia 920. From refurbishing my device that time, I have not been offered an OTA update for Portico, and so it was time to check NaviFirm and Nokia Care Suite once again, partly so I could write this guide.
The other thing that this guide highlights is how poor the backup and restore provision for Windows Phone 8 really is. While I had to wait for a 1.3GB download and then for the firmware to be applied to my device – the bulk of my time was reconfiguring my Lumia so that it was back in the state it had been in before I begun the upgrade, and that is not just sitting and waiting for the software to do its job, it is mind-numbing, manual configuration. The only things that ultimately saved me some time was having my list of apps and live tile screenshots saved in Evernote and all my usernames and passwords saved in LastPass, and I still haven't had a full restoration of my text messages.
This lack of proper provision from official channels is in stark contrast to the third party provision found on Android, e.g. Titanium Backup and Carbon Backup.