Here's a typical Lumia 1020 photo, taken with the Xenon flash on. Yes, a 'selfie', without my glasses on, so as not to complicate things. As you can see, there are bright spots where my pupils should be - this is the typical reflection off the back of my retinas and is normally dubbed 'red eye' because the bright spots are often (but not always completely) red - I guess it depends on the amount of blood in the vessels at the back of the eyes? Or something biologically clever like that, no doubt... In the shot below, there's a red core and a brighter white spot at the centre:

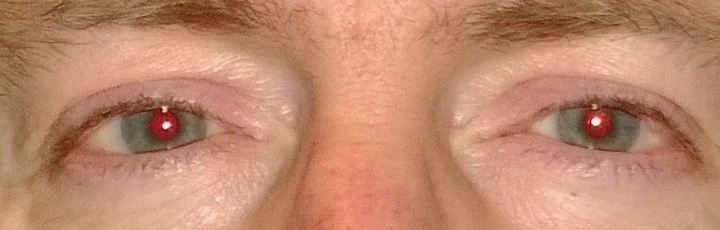
There's the challenge then, I'm using this test shot as the input to everything tested below.
___________________
In alphabetical order, here's my rundown of applications in the Windows Phone Store which claim to fix 'red eye':
CleverPhoto (v2.2)
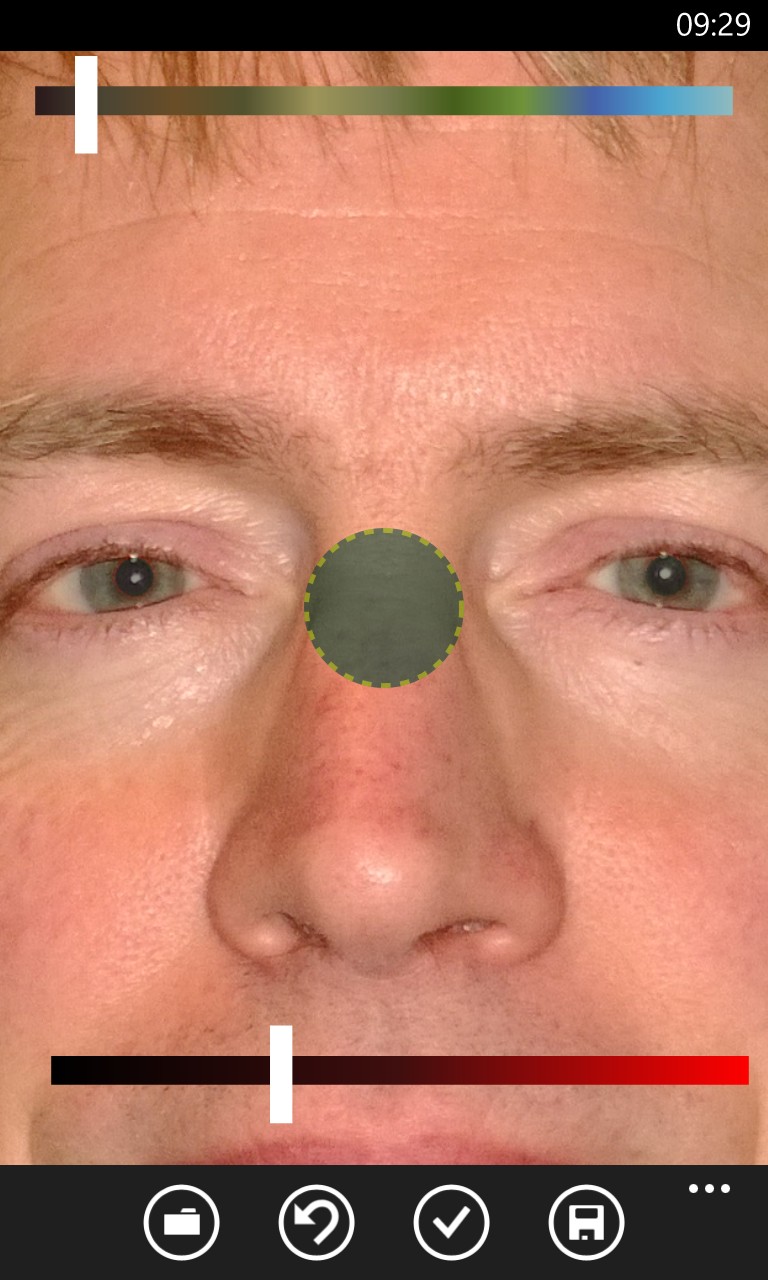
A 'clever' set of sliding control panels give way to a red eye control - tap to roughly select each eye and the software gets to work dealing with the patches of red. However, there's no way to zoom in to see exactly what has been done and ugly green frames were left around each eye socket in the image.
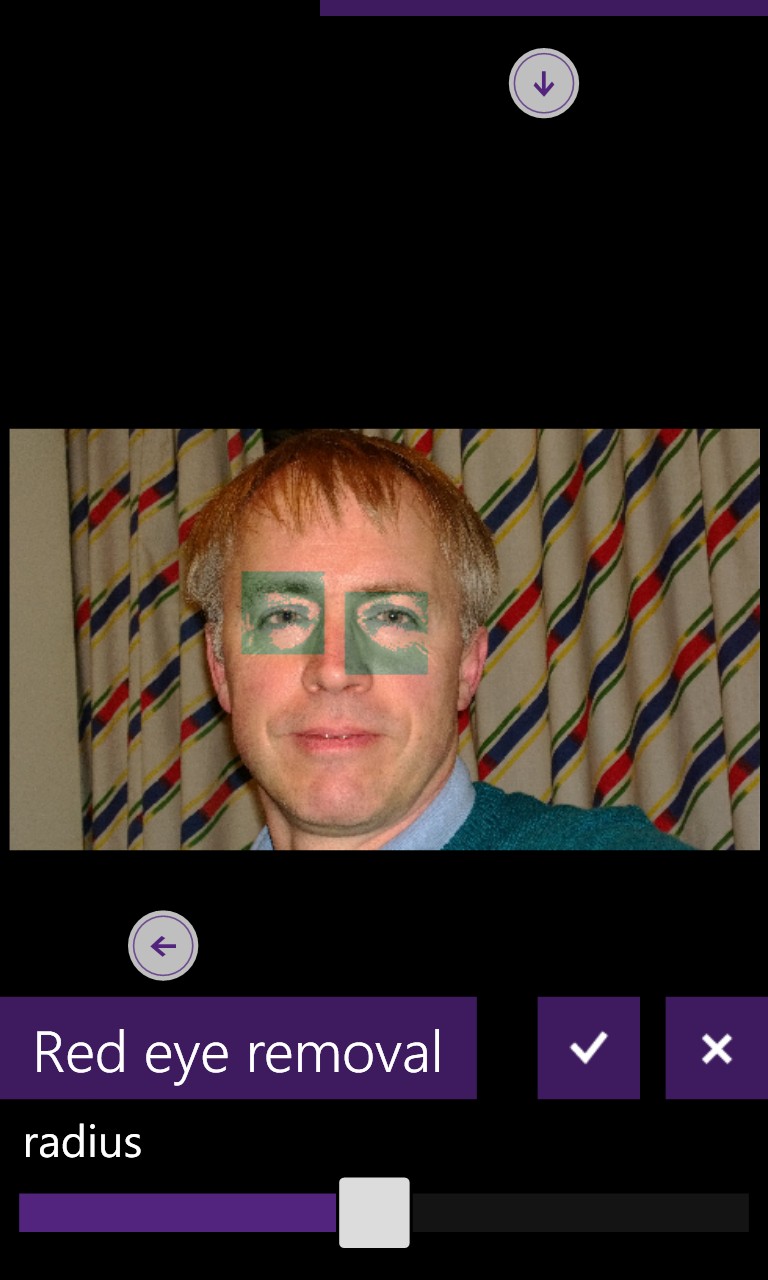
There's potential here but more work is needed by the developer.
Fix Red Eye (v1.5)
A dedicated utility and one which does the job near perfectly. Rather than relying on automatic detection of the red eye region, it gives you complete control - zoom in to each eye, position the circle and select both pupil tint and degree of the effect. Rinse and repeat for the other eye and you're done.
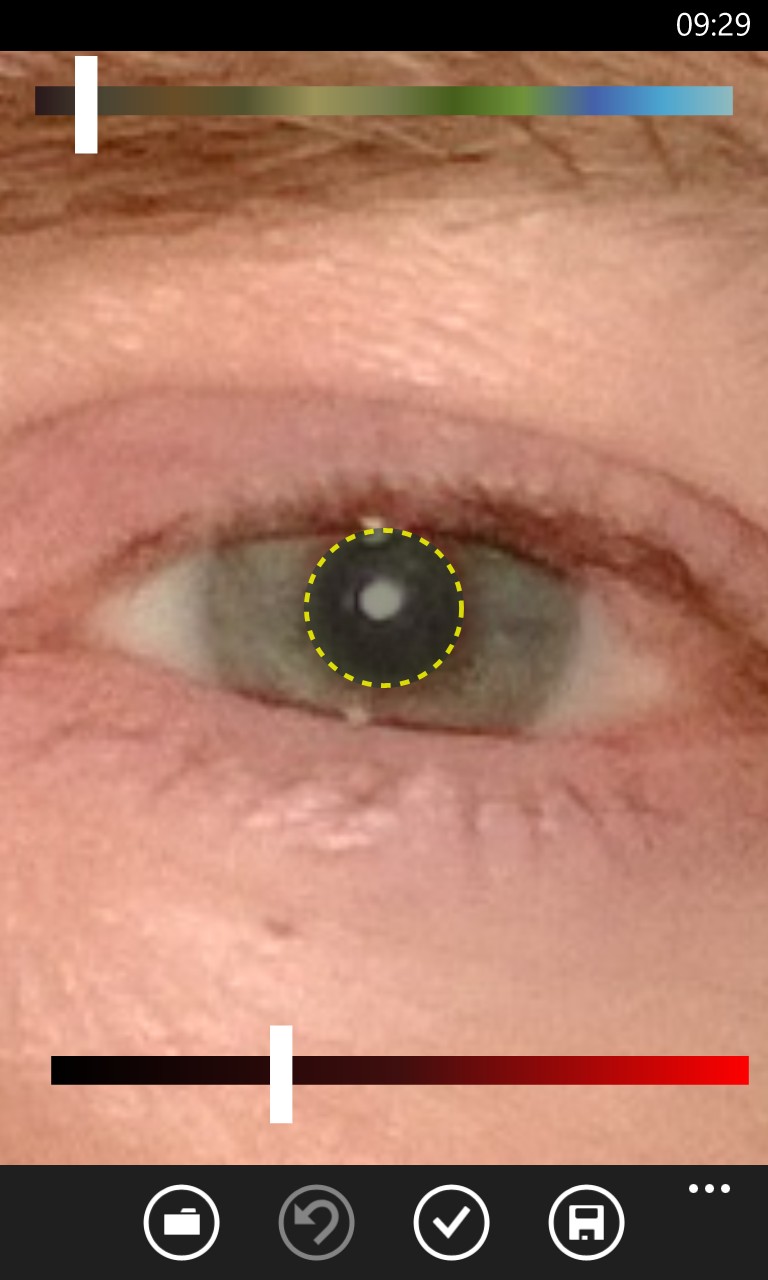
It's necessarily a little fiddly because the process is manual, but that also means that you get what you want from the final saved image.
ImaZing (v1.3)
Annoyingly not allowing me to zoom in to check results, ImaZing also failed to work in reducing red eye - at all. You draw a small rectangle around the eye area and then apply the effect - which turns out not to touch the red eye at all and instead just add some green corruption to the corner of the effect area.
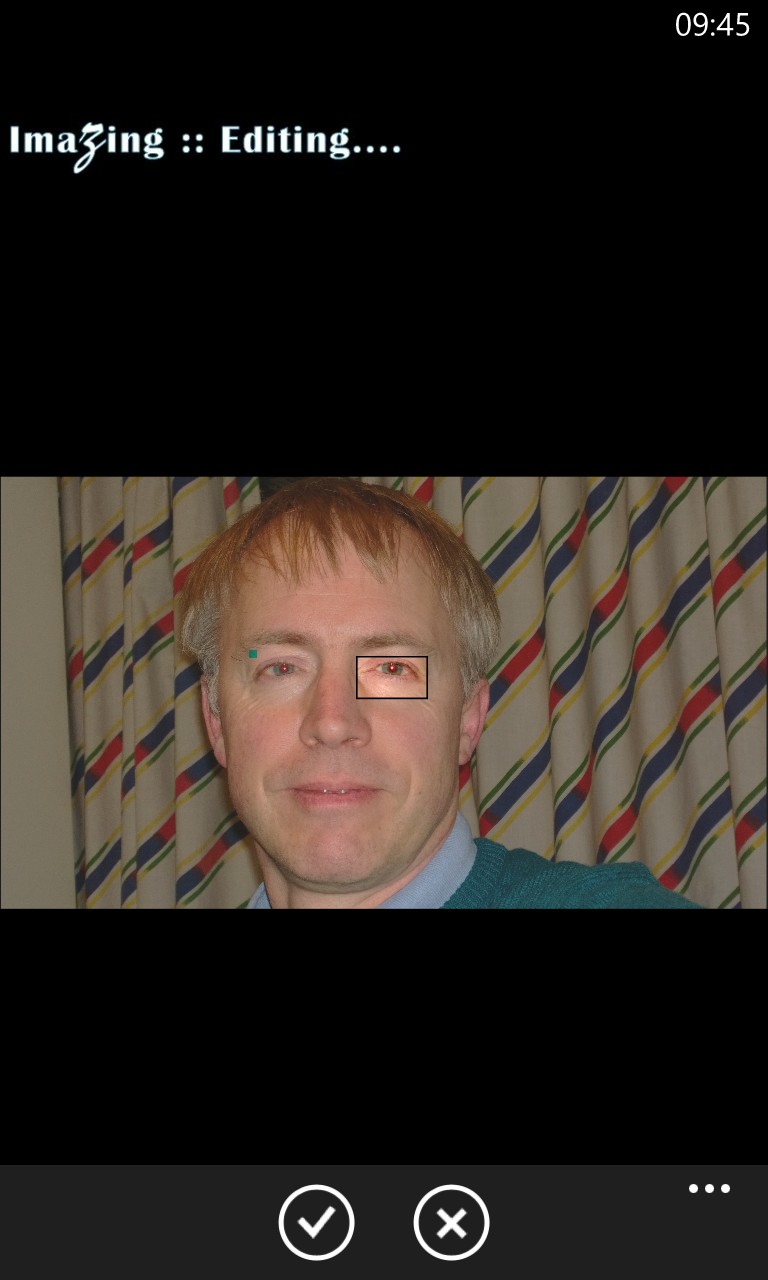
No use whatsoever (for red eye removal, at least).
Instaphoto / Photo Editor / Picture Perfect
(these and several other listed apps all come up as the same interface, I suspect foul play by one or more developers! Also note that there are MULTIPLE app with the name 'Photo Editor', so be careful!)
Toggling between a 'zoom/pan' view and a strip of red eye effect circles of different sizes is decent enough, but the image zooming is slow and clumsy, plus actually applying the effect is a one-time tihng and you can't place it accurately because your finger tip obscures the placement area. A nudge-able cursor of some kind would work far better.
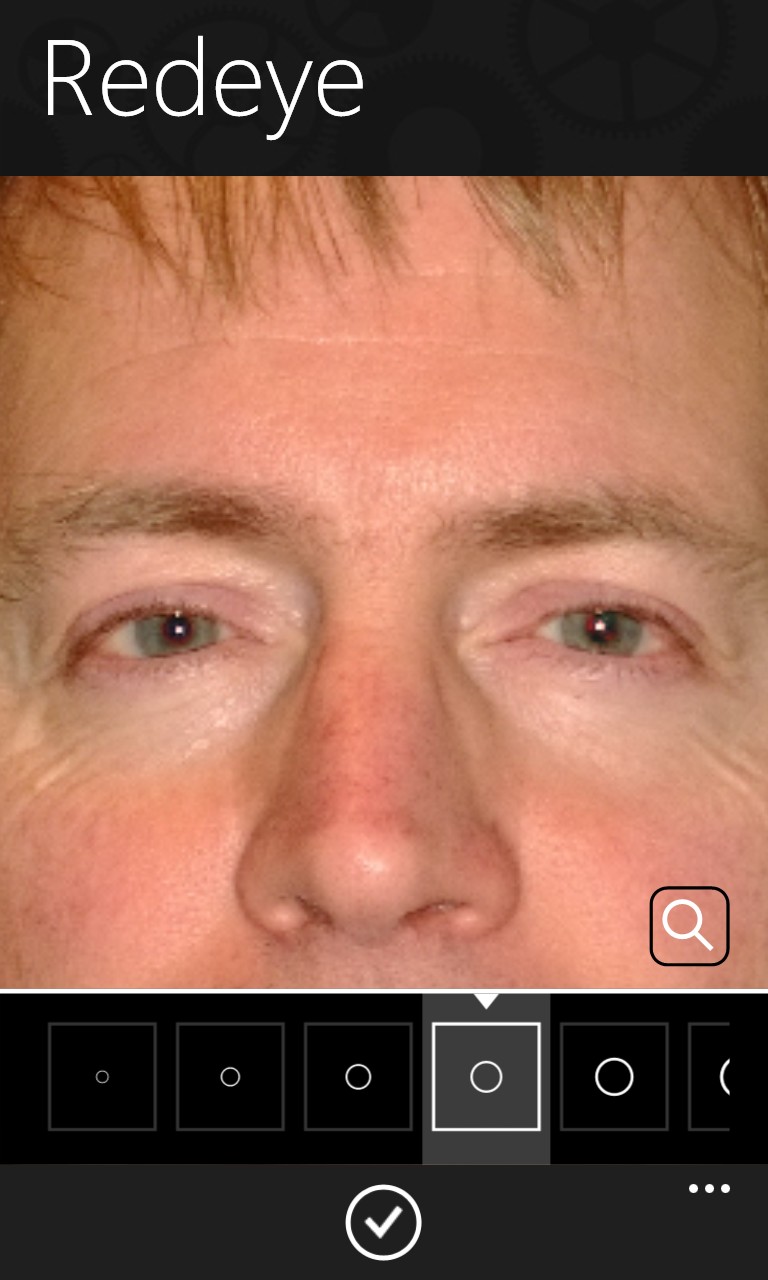
Clumsy, overall.
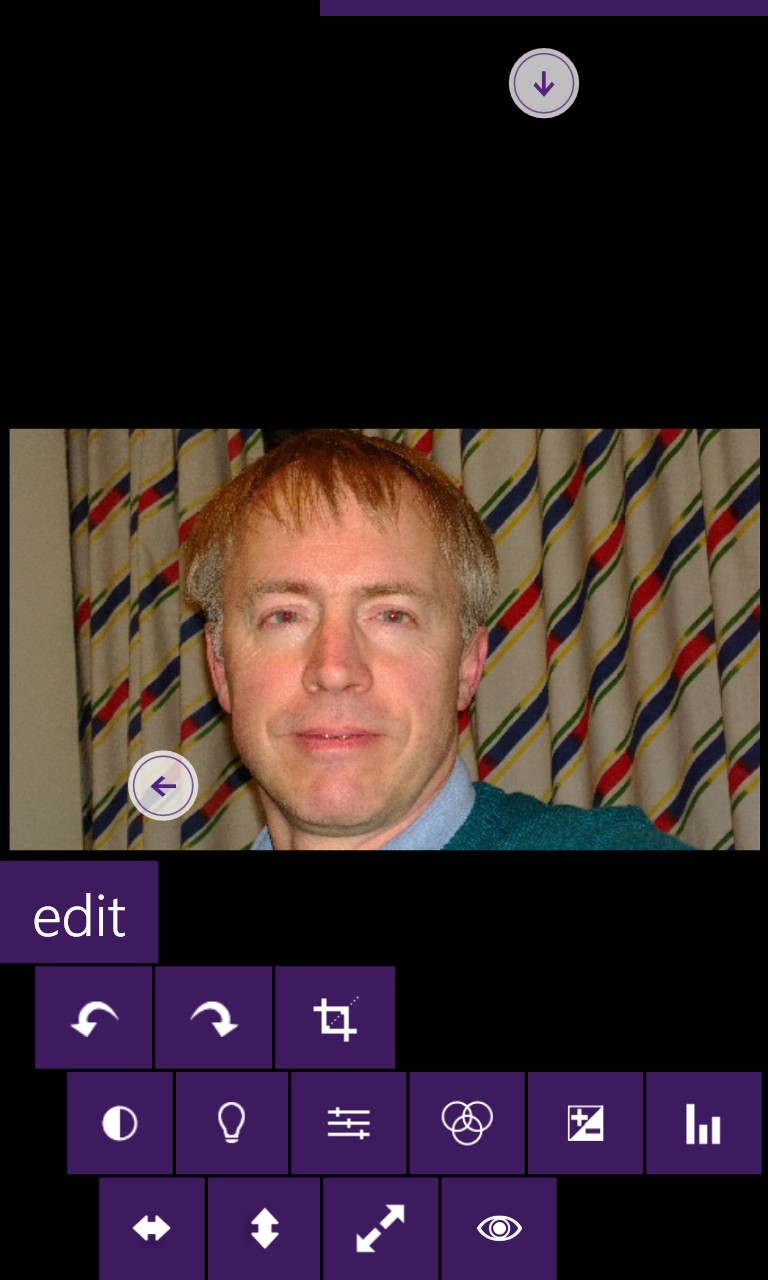
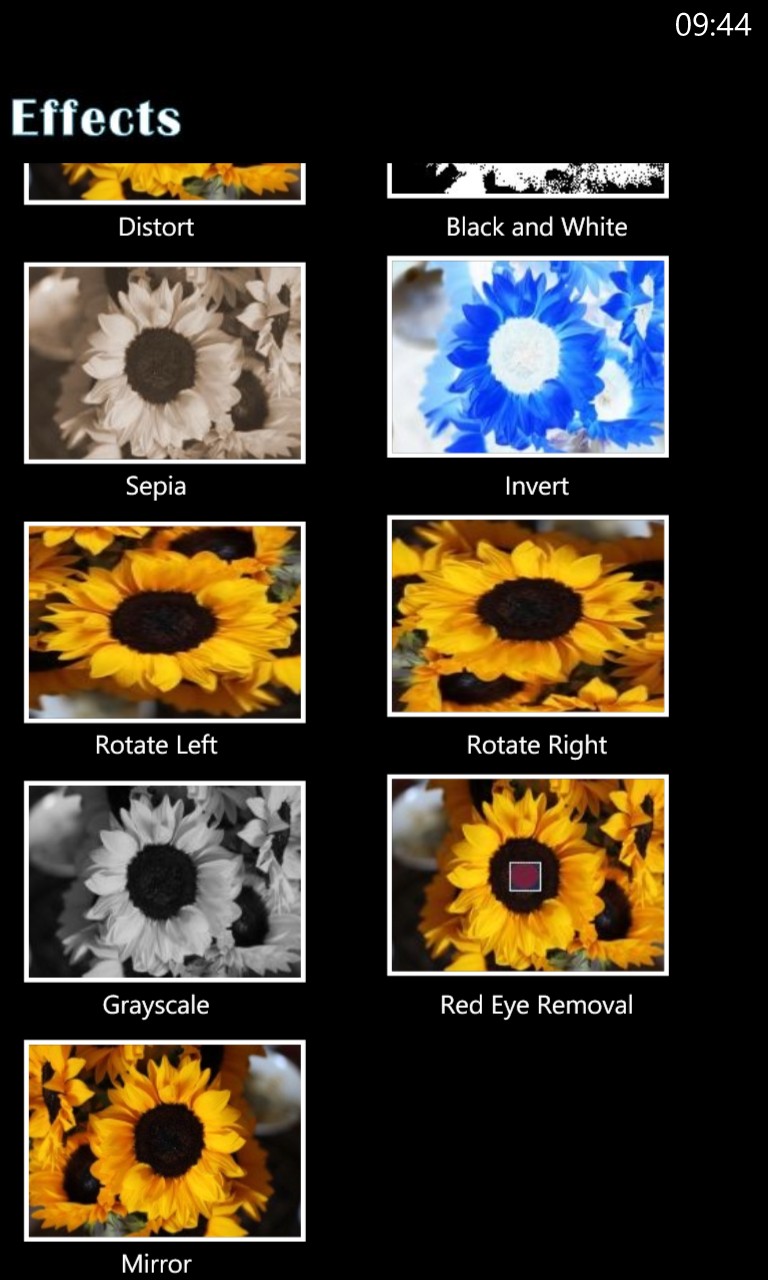
Nokia Creative Studio
Ah, trust Nokia to 'do it right'. Creative Studio (in addition to a lot of other effects and fixes) simply requires you to ask the software to 'fix red eye' and everything's done for you. Both eyes, all red gone, with just the central glint left in place - the 'sparkle', if you will....
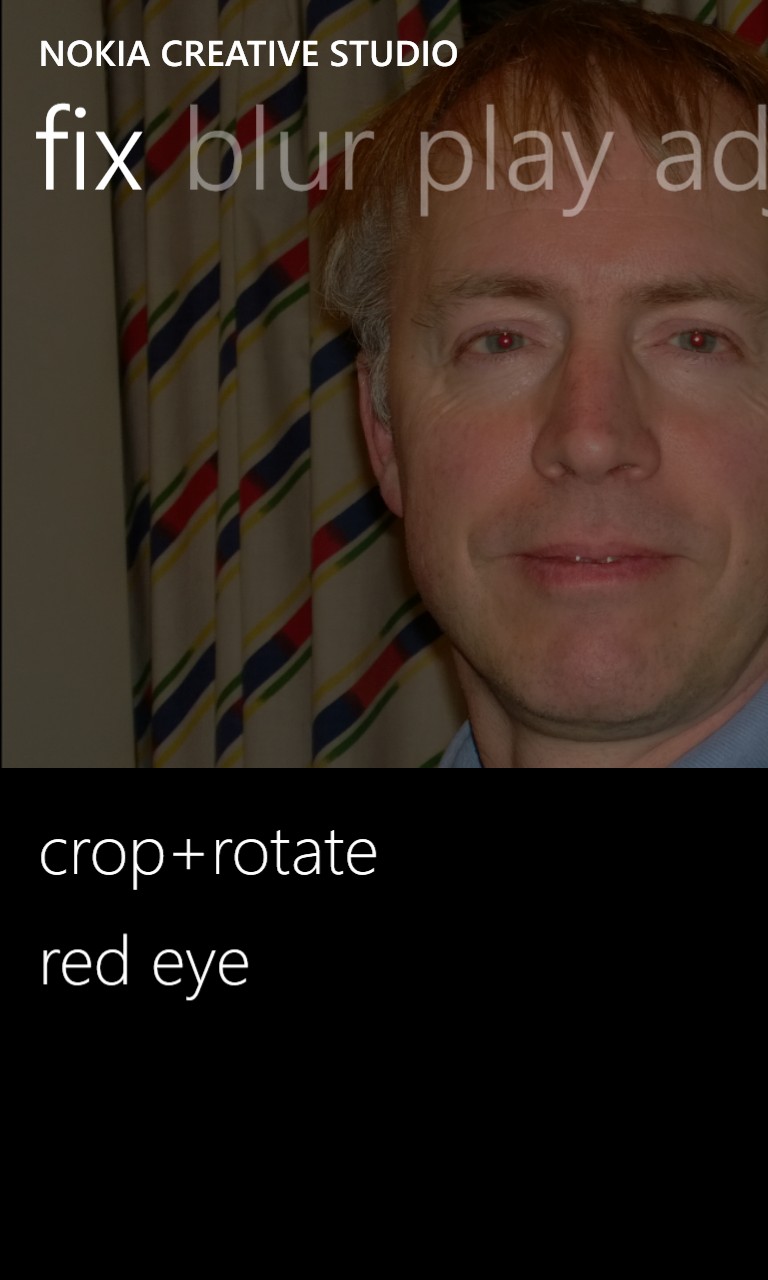

In fairness, I tried this on several other photos with different degrees and tints of red eye, and a few of the pupils got 'missed' and there's no way to tune the algorithms to widen the tolerance. Still, as a quick automatic solution it's well worth a try, even if you have to turn to another app on this page to tweak the photo further.
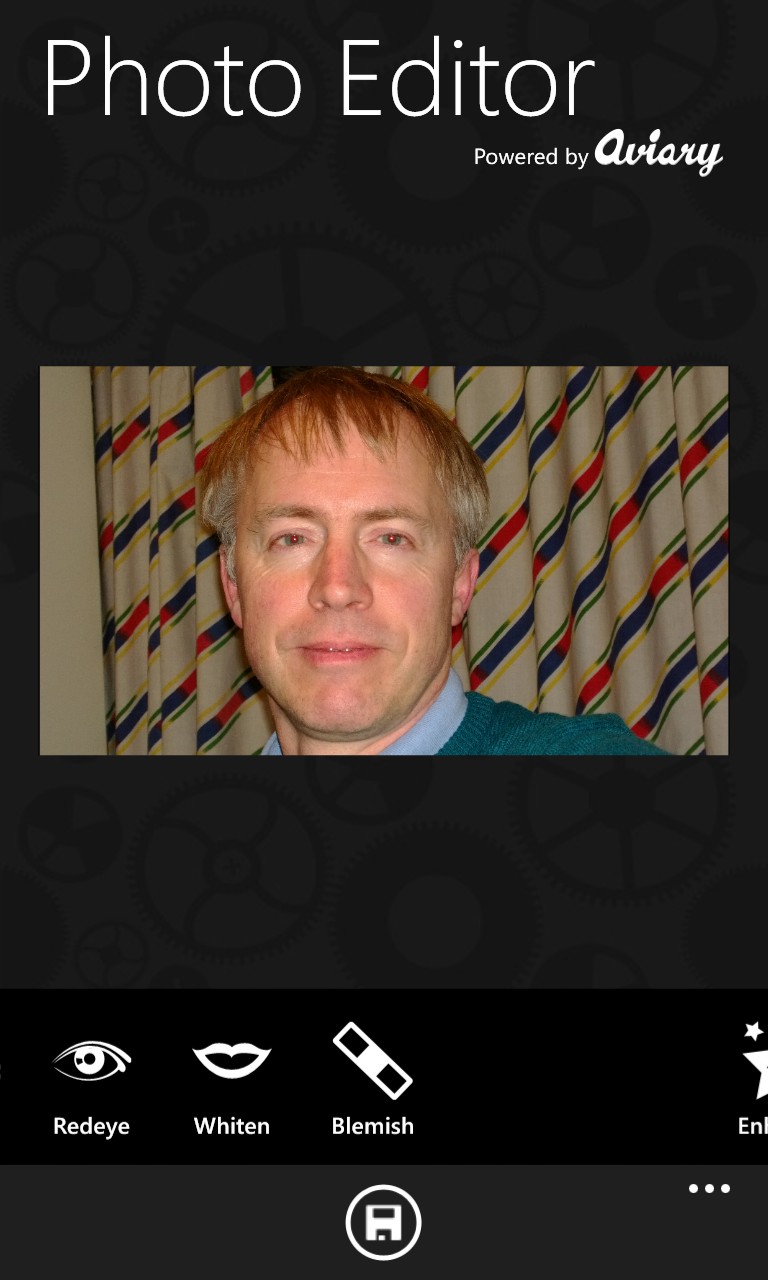
Photo Editor (v1.6)
Despite offering a huge amount of effects, they're all performed on a view that you can't zoom, to fine tune. Red eye is a matter of dragging on two circles, trying to centre each around each eye and then applying the effect. Which got rid of the red eye, but also applied ugly colouration to other parts of the eye sockets.
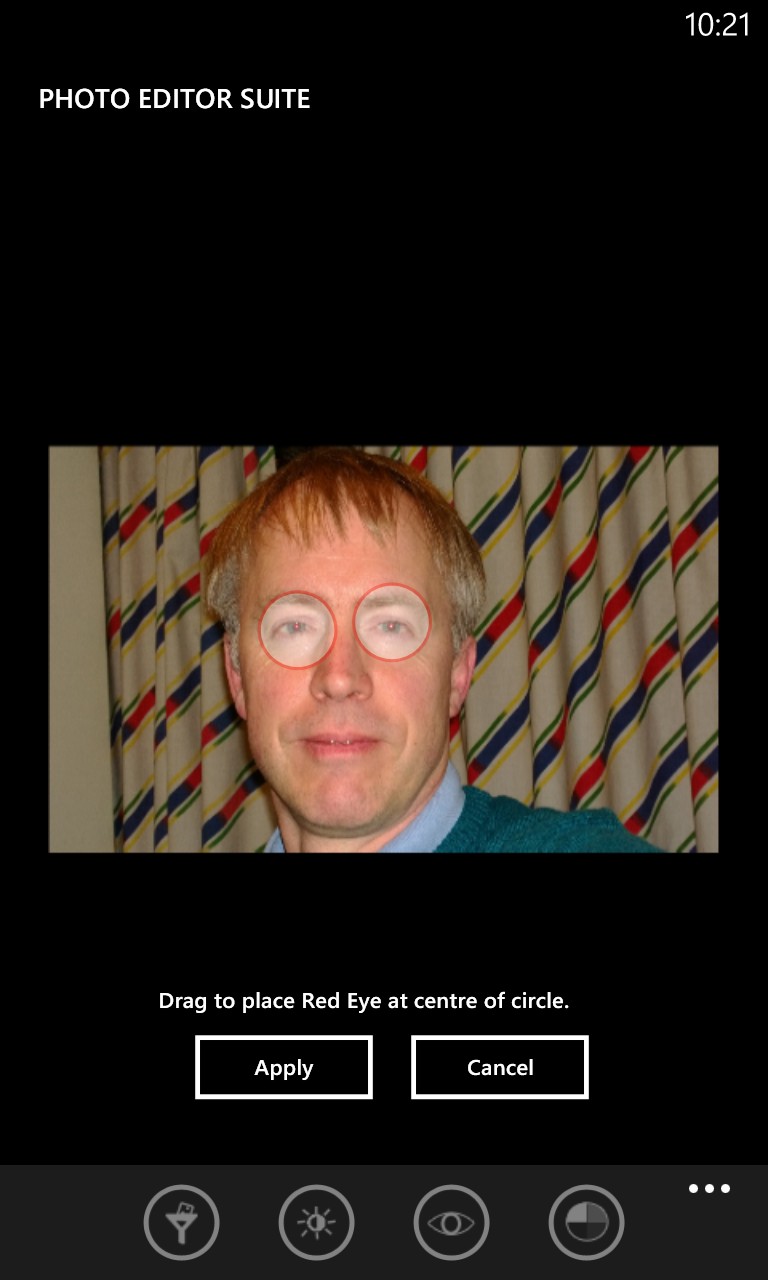
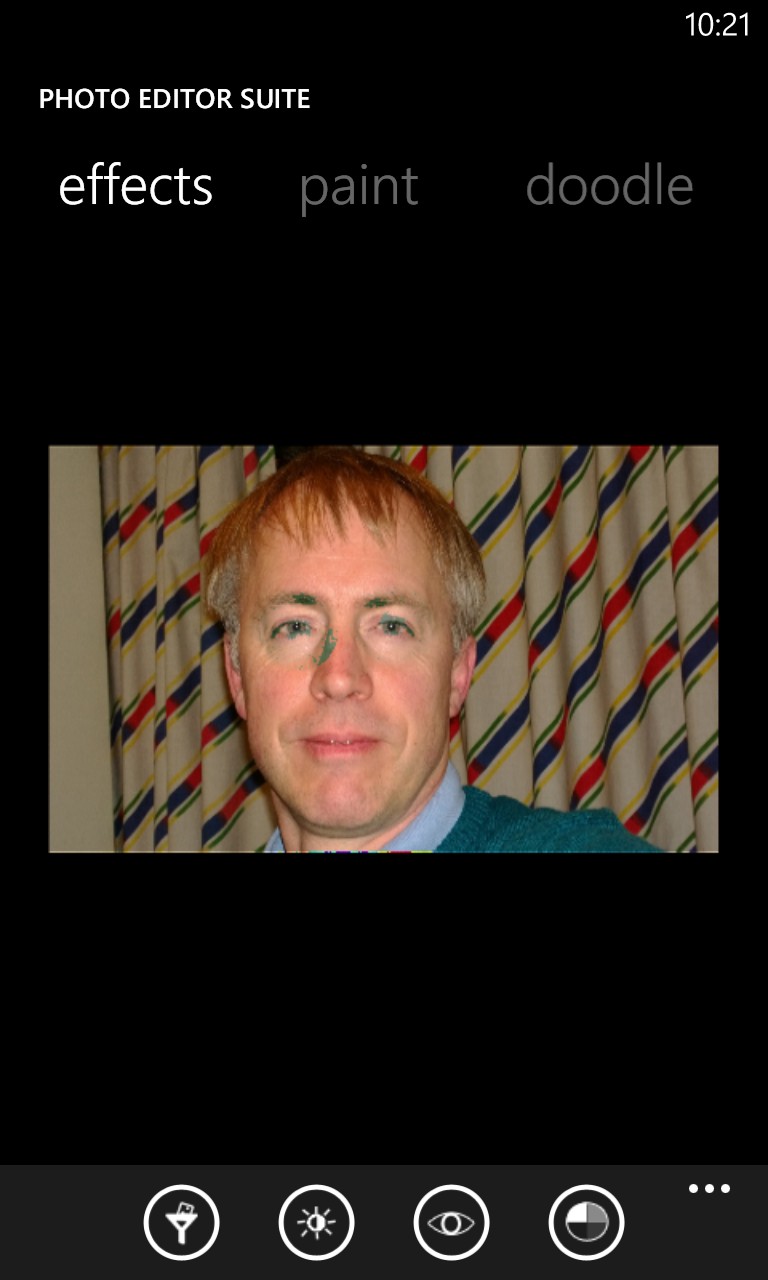
Best avoided, clumsy and easily confused with the other 'Photo Editor' apps....
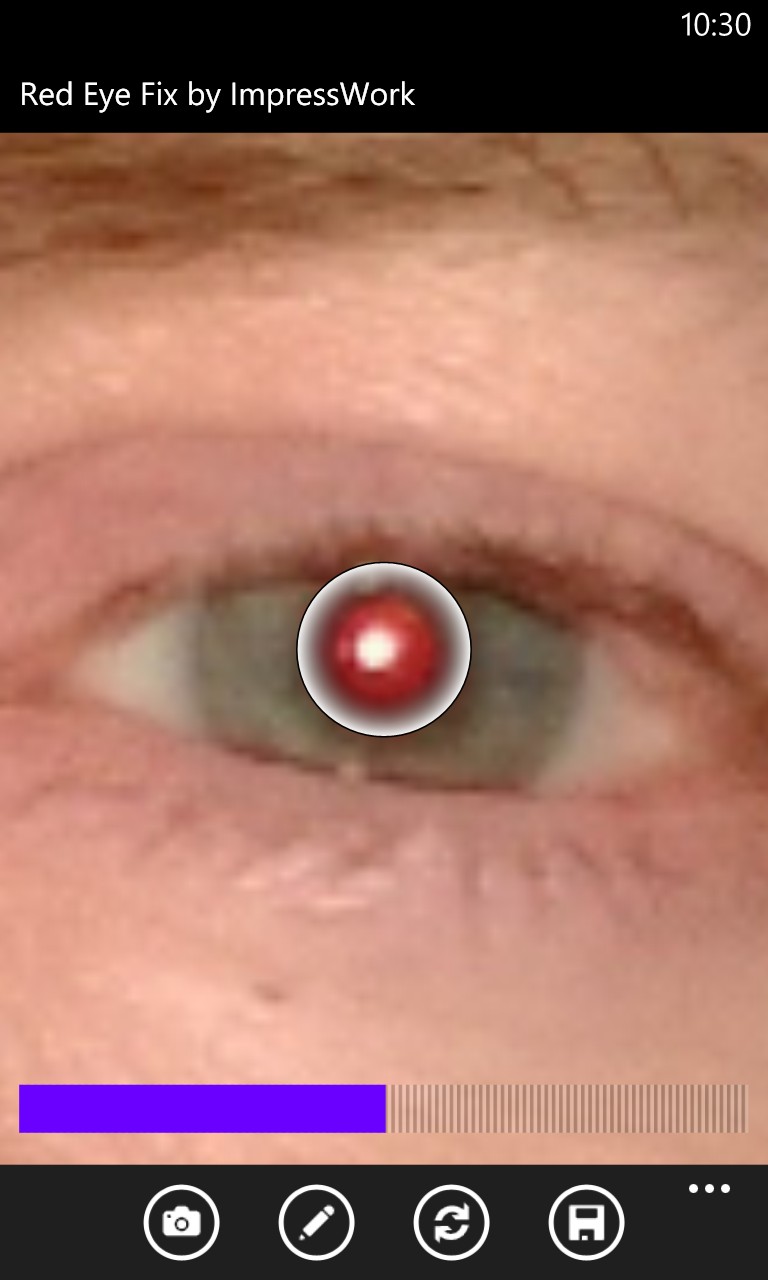
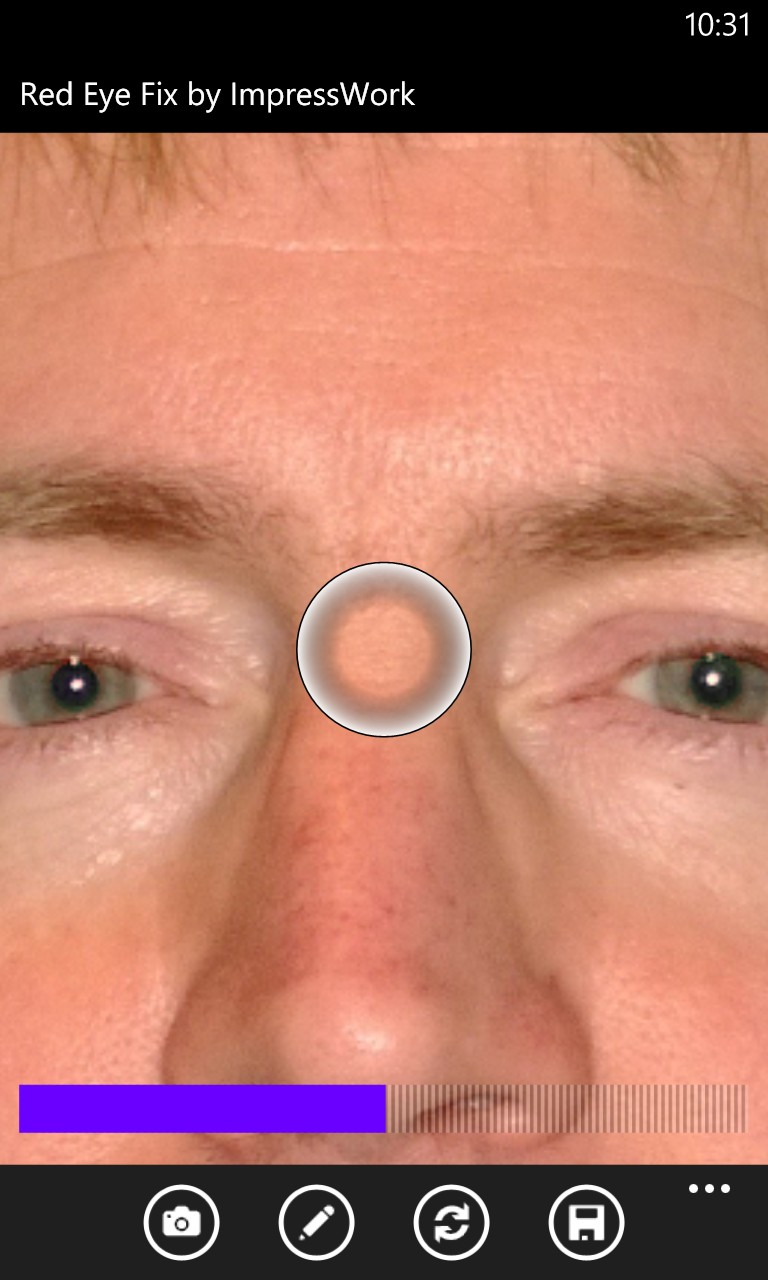
Red Eye Fix (v1.0)
Another dedicated, manual tool and one which also works well. A simple slider controls the size of the circular red eye tool and you can pan and zoom the face detail as required. There's no control over eye tint (as in Fix Red Eye, above), but otherwise it's similar in operation and just as effective.
Red Eye Remover (v1.0)
Ah, we're back to 'can't zoom, can't fix either' territory here. The automatic fix mode did nothing at all and the manual 'tap the eyes' method produced the horrible goggle effect shown below:

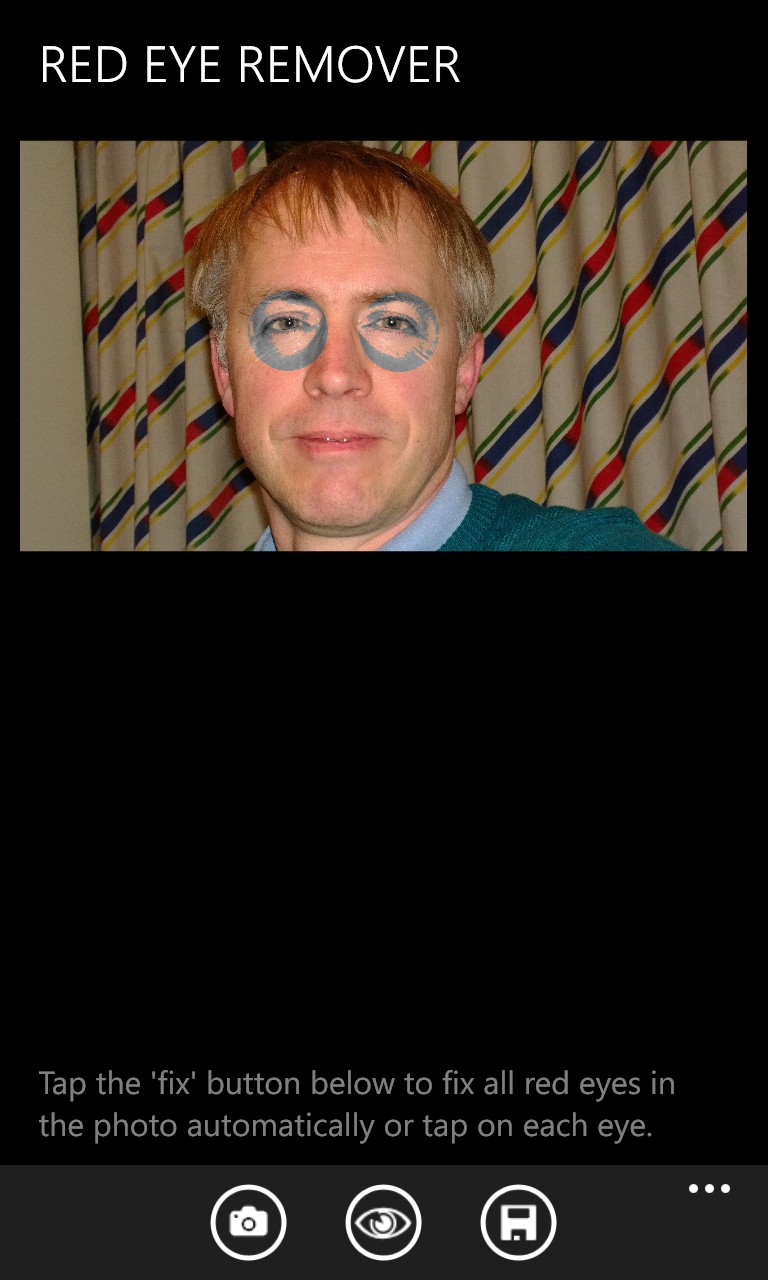
A complete waste of time.
_____________
Happily, despite the number of options (and I'm sure there's at least one that I've missed), there's a clear way forwards for your Windows Phone-captured photos:
Try the auto red eye fix in the free Nokia Creative Studio first - and, if that doesn't work, splash out a quid and have a bash yourself with Fix Red Eye.
After which, you're good to go and good to share your party flash moments without anyone looking like they're secretly an android with laser eyes!