NB: Although I'm using the word 'reframe' here in a PureView context, you'll also see this functionality on Lumia camera phones with no oversampling. In such cases, 'reframing' is just cropping - don't worry about it!
Having got that note out of the way, I need to define 'reframing' itself, in the context of a Nokia Lumia 930 or 1520, each with a 20MP sensor, yet producing 5MP shareable photos (yes, even after rich capture and other imaging combinations!)
The 5MP image takes bunches of pixels from the higher resolution image and combines them into fewer 'perfect' pixels at lower resolution, thus reducing sensor artefacts and digital noise. But if you don't want the whole frame, i.e. just part of it, the use of this higher resolution original usually means that the interface lets you pick that bit and yet still with 5MP output resolution, provided you don't crop in too tightly. Of course, reframing in, down to 1:1 on the original image, you lose any PureView oversampling, but it's still better than a dumb crop, which will just reduce the 5MP output very quickly.
So - reframing can be very helpful when you only want part of a scene (see the example below) and when you want to keep maximum quality and resolution. Before Lumia Camera v5.x, reframing was part of the camera interface, but for the reasons already explained, this is now handed over to Lumia Creative Studio, the all purpose editing tool for Windows Phone. Here's a full walkthrough, in this case from Photos, which is where you'll manage and sort through your photos most often:
1. Here's the photo, in this case something that's been enhanced by the HDR in the Lumia Camera 5 application. Tap the image and you'll see a toolbar pop up along the bottom of the screen, tap the '...' as usual if you want to see the English text for each tool:


2. As you might have surmised, you want to tap on 'Edit', which brings up this choice of possible editing applications (in this case on your Lumia 930 or 1520):
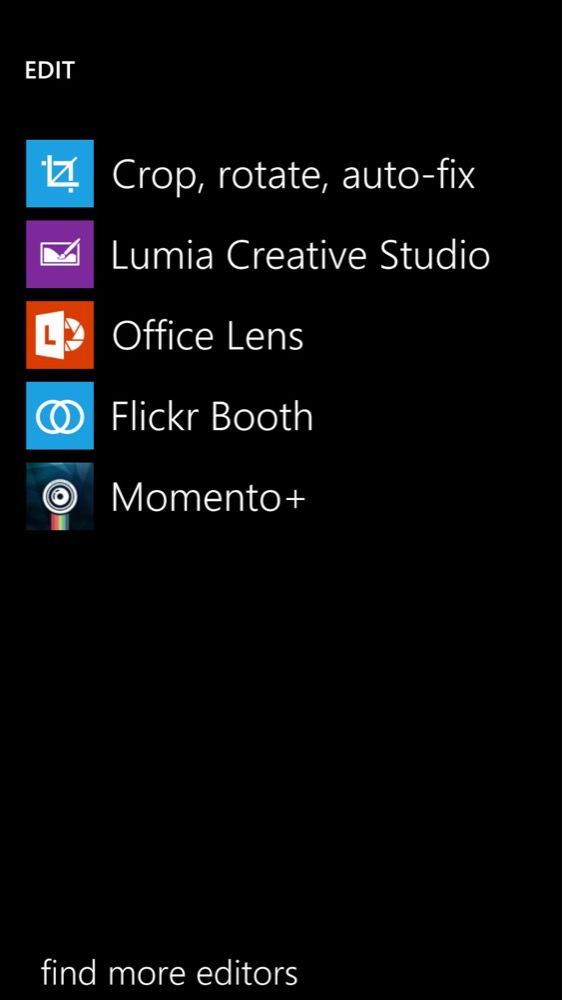
[In case you don't already have Lumia Creative Studio installed (it's not part of the firmware) then you can find it as a free install here.]
3. Now, although 'crop' sounds tempting, remember that this is just a dumb crop of the 5MP image and that we'll end up with something that's 2MP or so if we're not careful. Tap instead on 'Lumia Creative Studio':

4. The toolbar isn't very obvious at first, though you will probably recognise the bottom tool anyway. Tap on the '...' again to expand the tools into their labels:
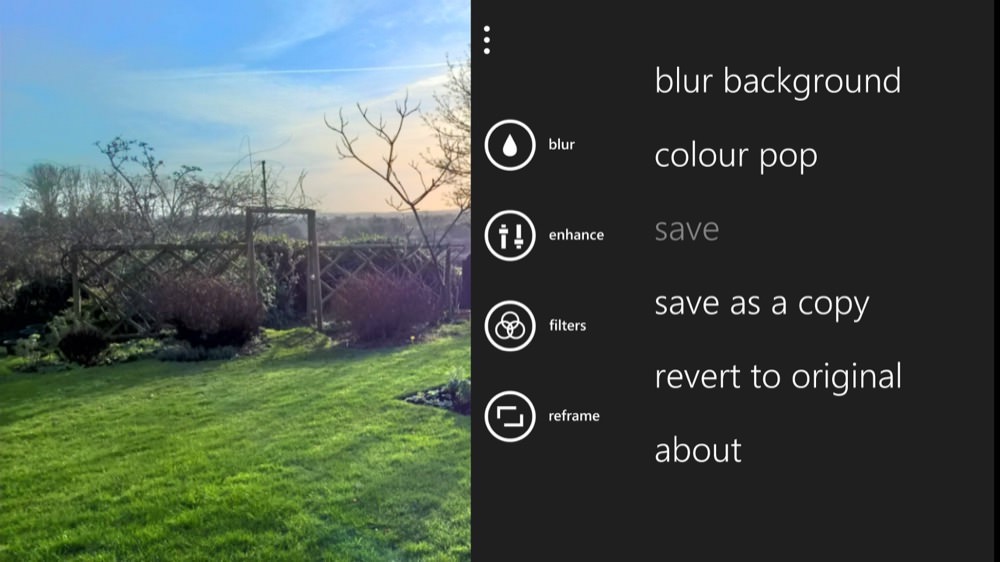
5. Tap on 'reframe' and you'll see the familiar guide/grid. You can now multi-touch zoom into the image a little, panning it to one side perhaps and, as the name suggests, reframing the photo:
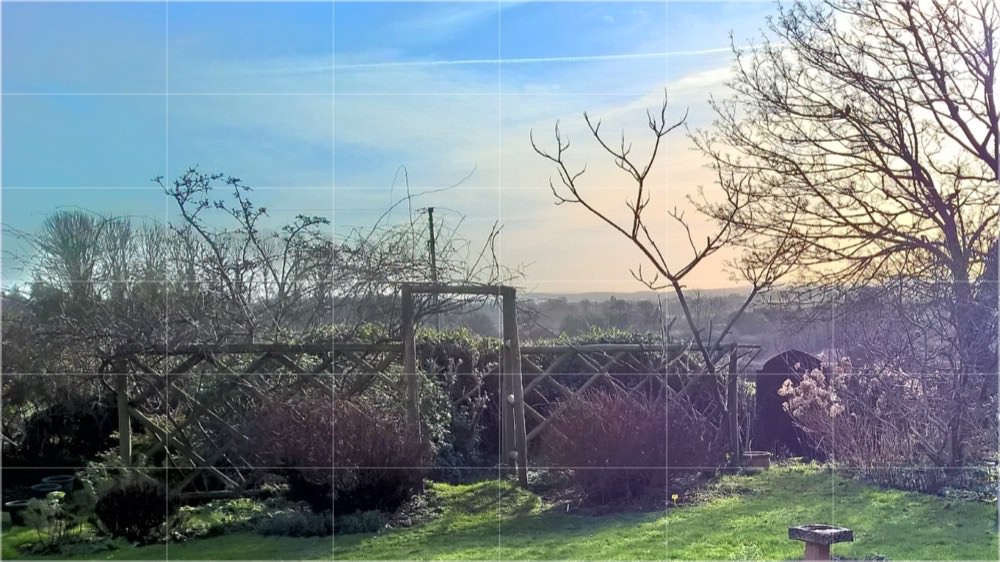
6. We've reframed quite substantially, but not so much that we'll lose any output resolution (I'm guessing here, but you'll get a good feel too as you practise). To save the image in its new reframed state, tap on '...' again and then again on 'save'. Don't worry, the underlying 20MP image is still there behind the scenes and you can always reframe again from the original at any point in the future. Or, if you wanted both the original 5MP shareable image and the new reframed one, perhaps for different people/destinations, use 'save as a copy':
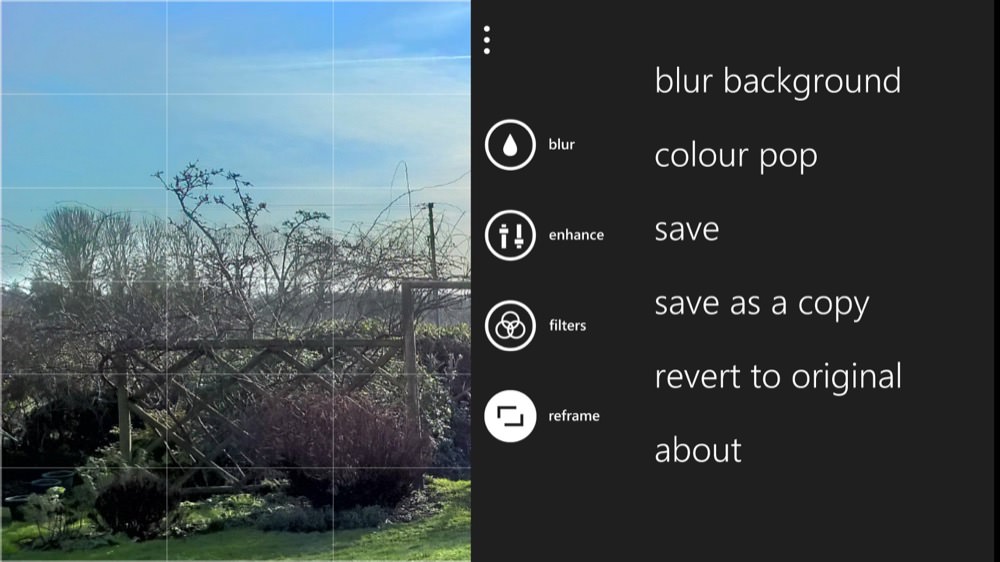
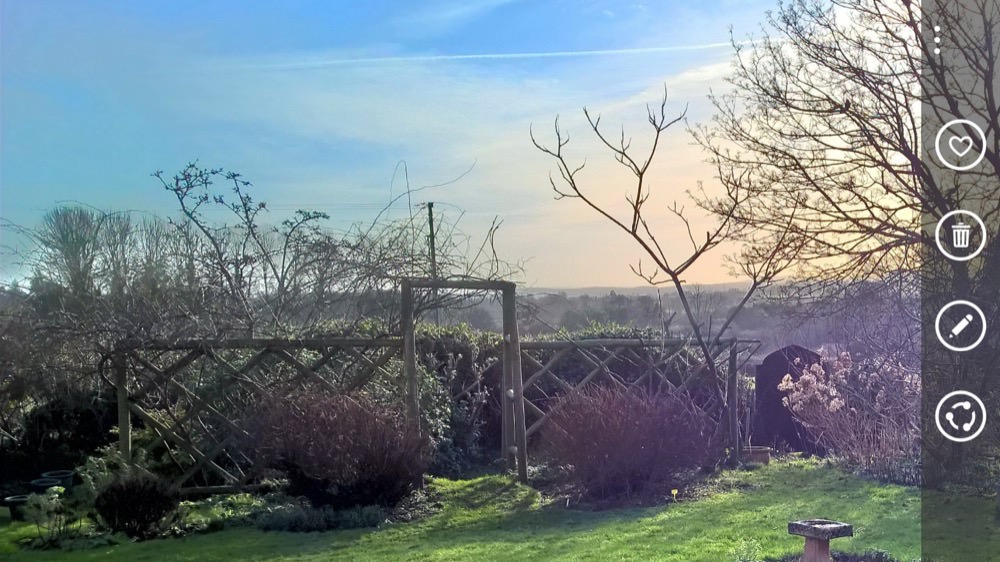
7. Duly saved and back in Photos, the image is now nicely reframed. Job done:
Postscript: It'll be interesting to see how future Lumias over about £300 are specified in the camera department. Rumours are of a 1330 phablet with oversampling camera, plus of course there will be a new flagship at some point (in the Autumn?) - and this will also probably have the 20MP unit from the 930 and 1520 - or at least be a derivative of it, meaning that the idea of 'oversampling' and subsequent 'reframing' is unlikely to go away.
