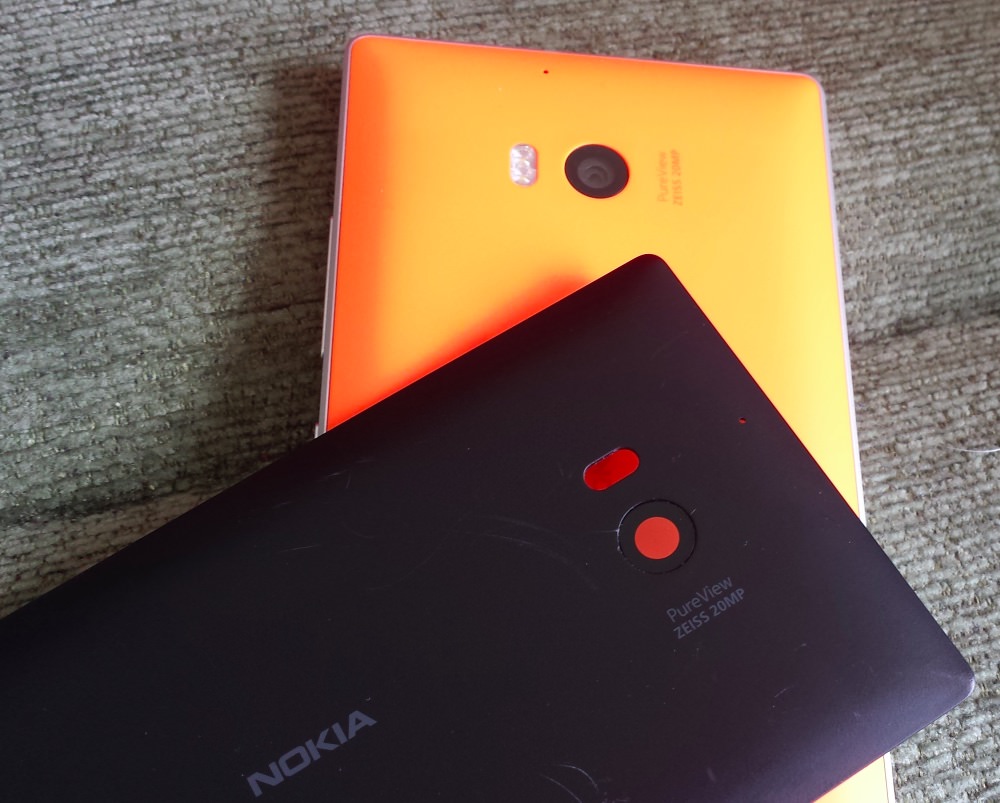
The Lumia 930's back isn't designed to come off in user hands, of course. But, with a little bit of prompting it does come off, as shown below. Which means that you can, in theory, buy a back of a different colour and fit it.
However, one big caveat before moving on with the show. It's not that easy to find replacement backs for the 930 that can be used as is.
Many online emporiums seem to sell the bare plastic back without the needed NFC antenna and Qi charging coil, meaning that you've got to painstakingly try to peel these off your old back. THIS IS VERY HARD AND NOT RECOMMENDED. Happily, some also do stock the real thing, either new, or (as here) from an older 930, sold second hand, complete with antenna and coil. Make SURE before you buy a part of this kind that it has the pair of components included.
Taking a deep breath then, I slipped the new black back from its jiffy bag and set to work:
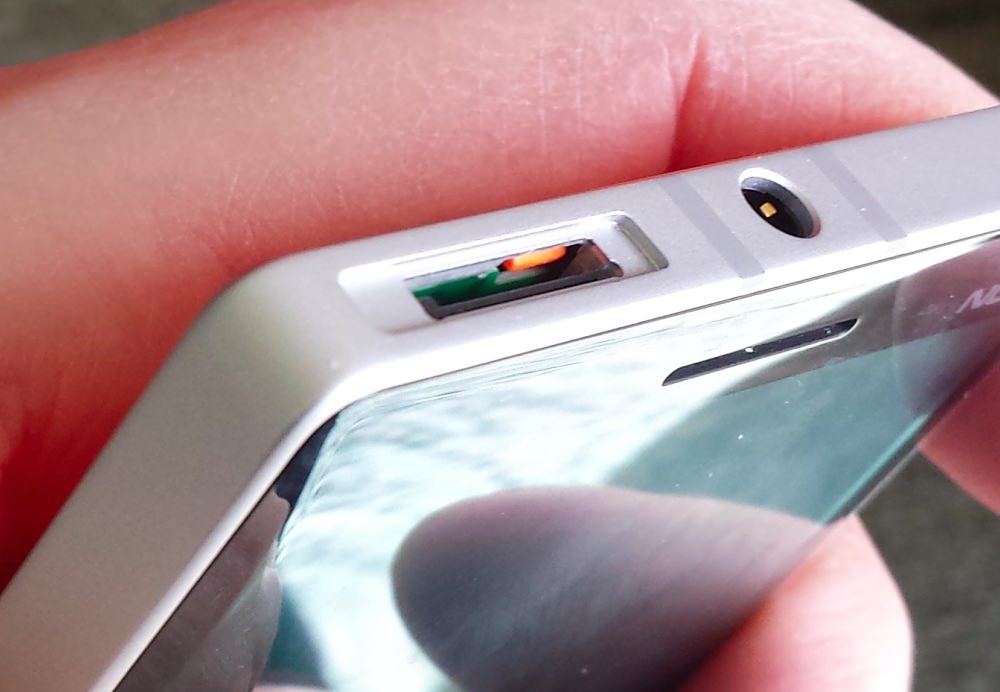
1. Open up the SIM door and press the tip of a small screwdriver up into the plastic tab, so that it slips above the main chassis of the phone:
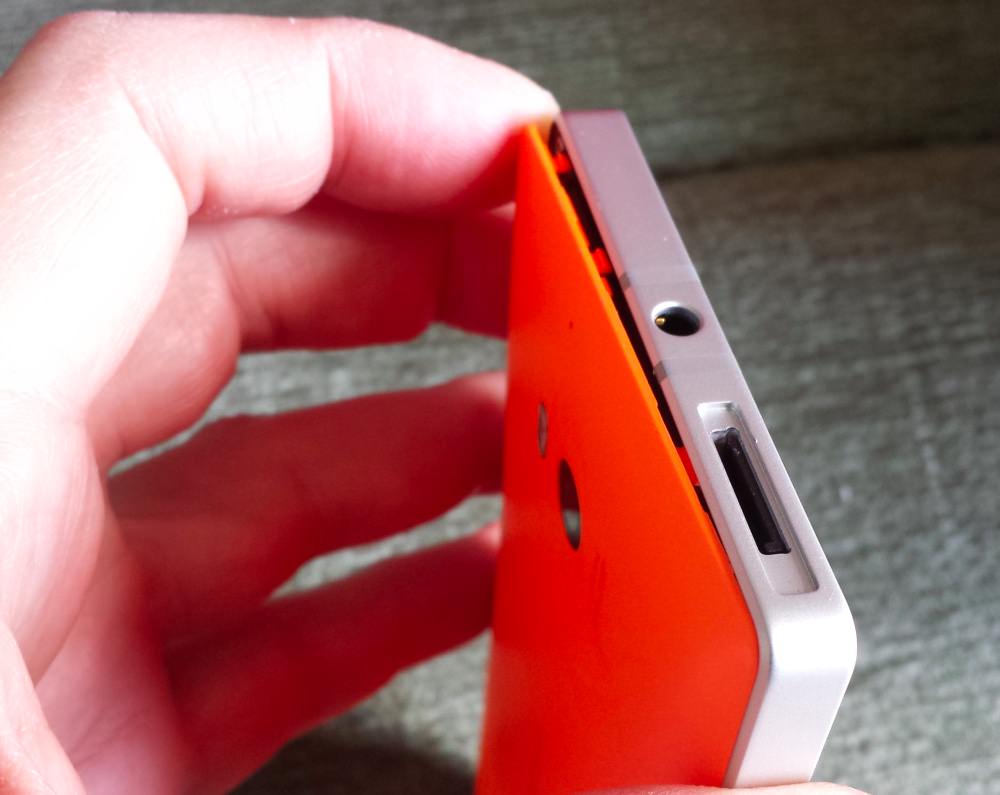
2. Use a fingernail or plastic spudger to lever up the back, working your way around the phone:
3. Examine the components supplied. This back has the Qi coils and NFC antenna, which is good - it's lacking the dual LED flash module though:
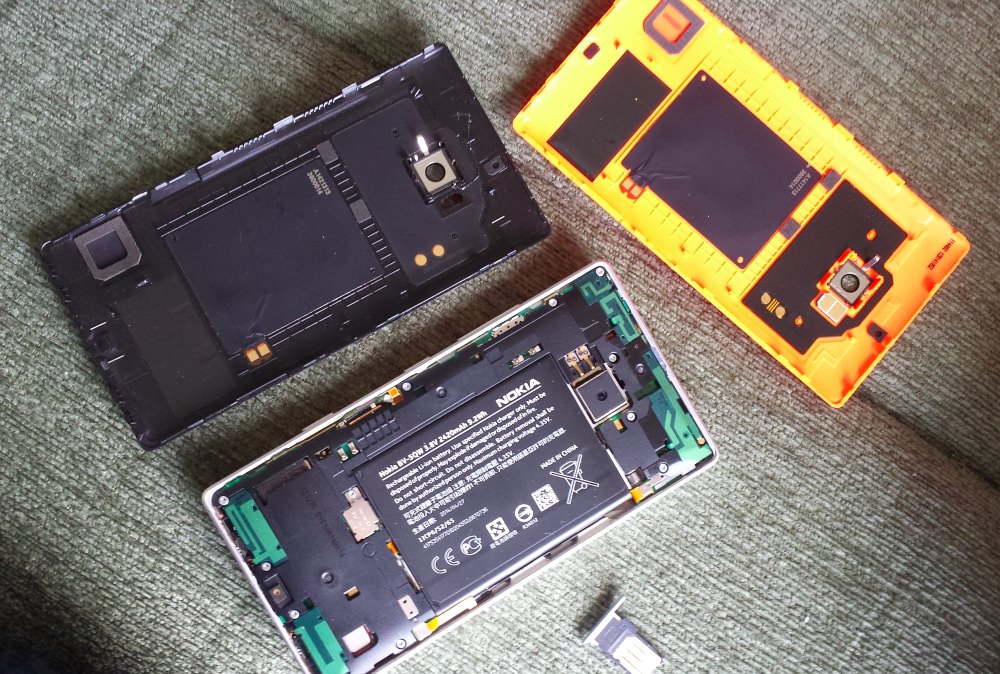
4. Here's the replacement back up close. The Qi antenna seems to have some minor damage near its contacts, but I bet it'll still work:
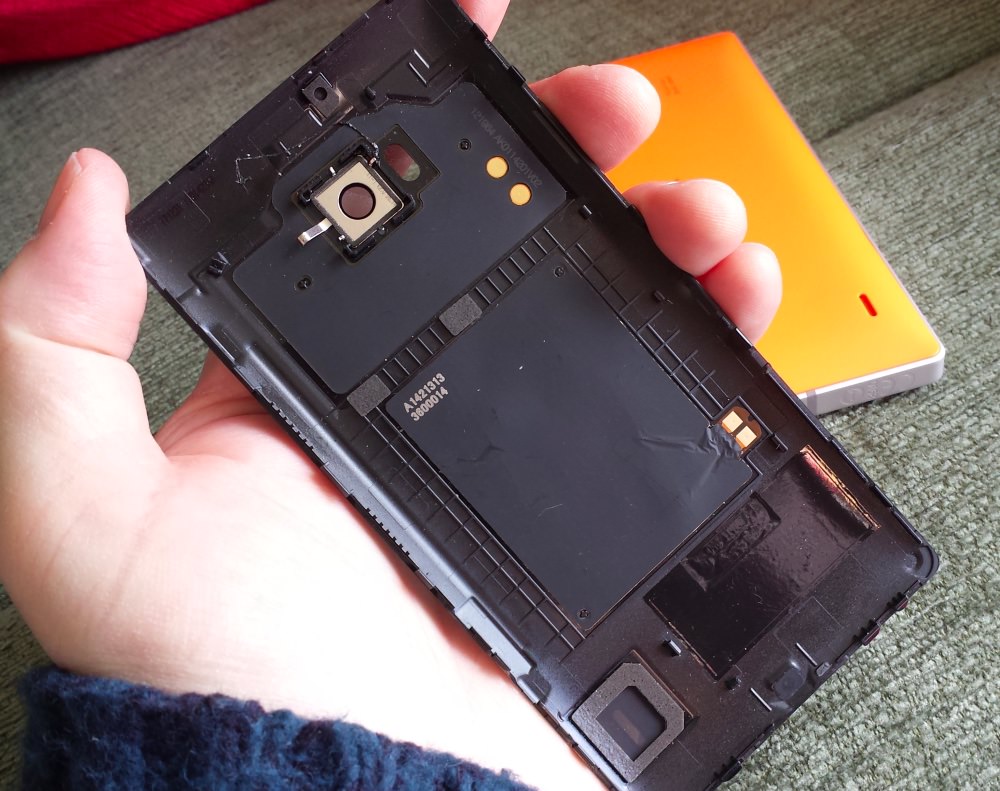
5. Carefully lever up the dual LED flash module from the old 930 back:
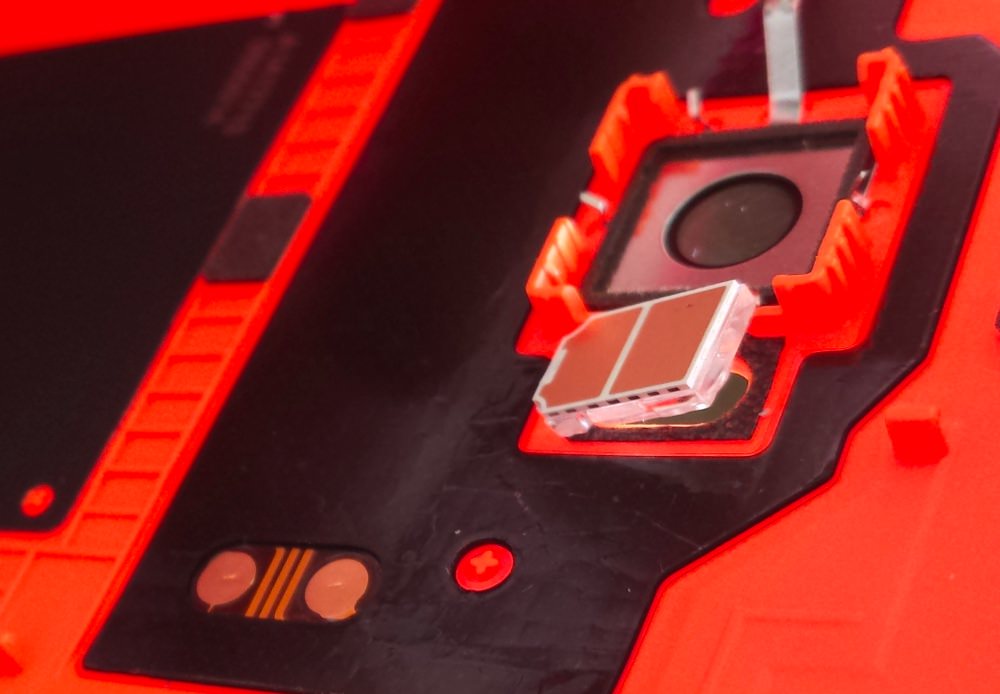
6. Position the flash module into the new back. Note that I found I had to use a thin template of double sided tape to a) hold the module in place and b) hold the flash up slightly away from the back face and towards the phone's contacts:
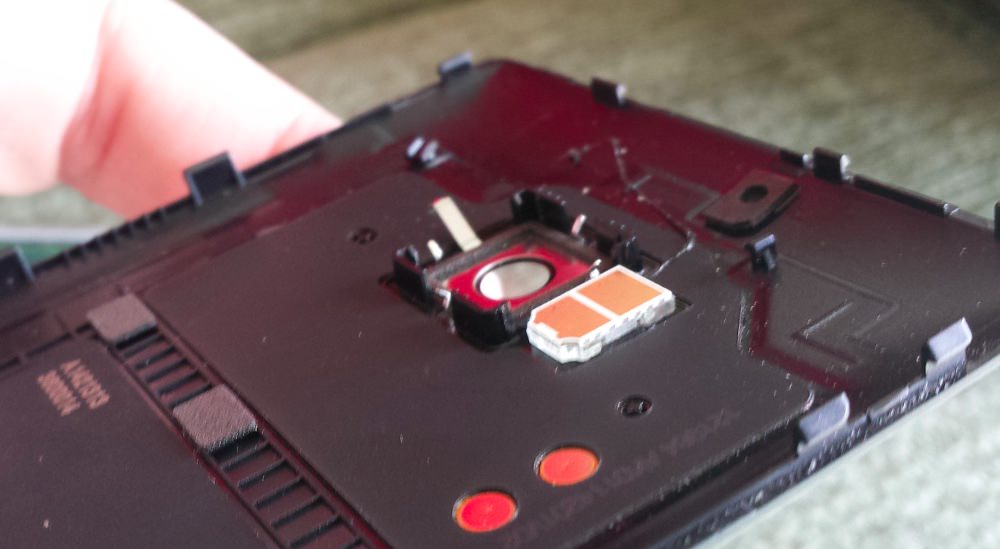
7. Starting from the bottom of the phone, I clipped the back on - this can be a bit fiddly and does require patience. For example, I temporarily ended up with one small black tab showing, as seen here, at the top:

In my case, a little pressure from a small screwdriver and some pressure on the back and that last tab was back tucked inside. Phew:
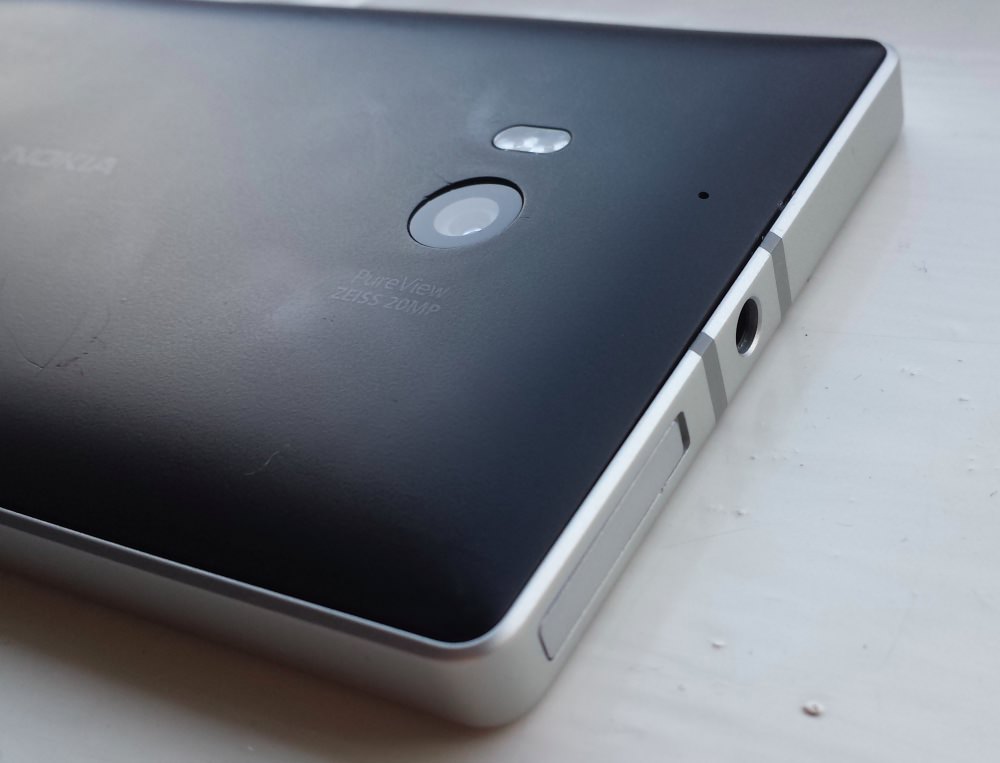
Eh voila. One black Lumia 930, almost as good as new. In my case, because I'd sourced the part second hand, there was a scratch on the back, though it's only visible in certain light - the photo above makes it seem worse than it is.
As you may be able to see above, one of my biggest criticisms of the Lumia 930 design is that the back cover has always been a bit 'bowed', i.e. under pressure, even the original orange back could be pressed in slightly. The black one is the same, leading to a feeling of the device not being as 'solid' as it should be.
Still, at least the operation was a success, and I no longer have to blind people by whipping out an orange monster every day!
Comments welcome if you've tackled something similar...
