The app links first though, since you can grab these and try them yourselves from the Store: Night Selfie and #NightSelfie - and yes, the names are very similar, causing no end of confusion for a reviewer trying to make sense of screenshots and photos!
Both apps open with a note to make sure that your phone is set to maximum display brightness and, for best effect, you'd have to dive into Windows 10 Mobile's settings and do this manually - I know I did on the Lumia 950 XL. A shortcut is here in #NightSelfie to go straight to the appropriate page, but there's nothing similar in the more rudimentary Night Selfie - one for an update.
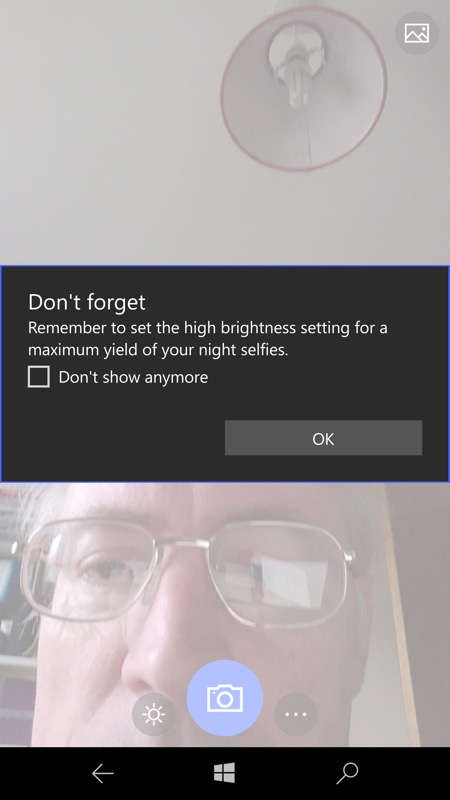
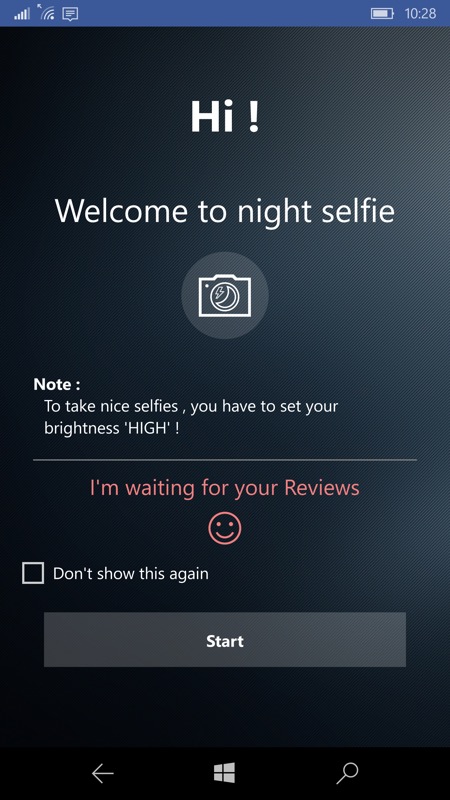
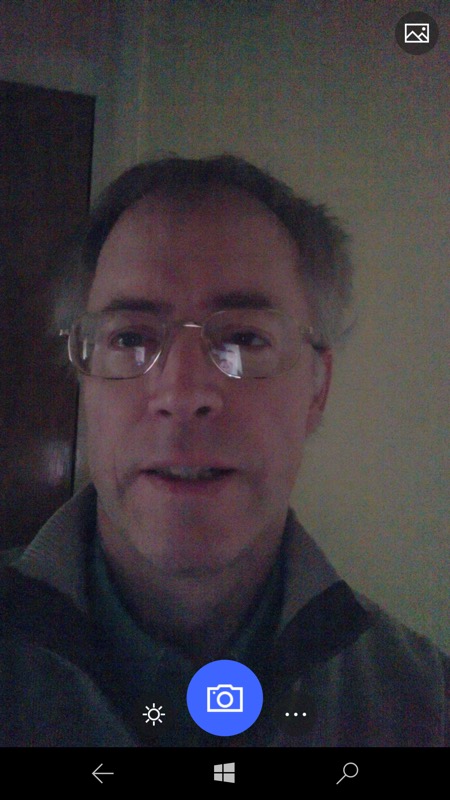
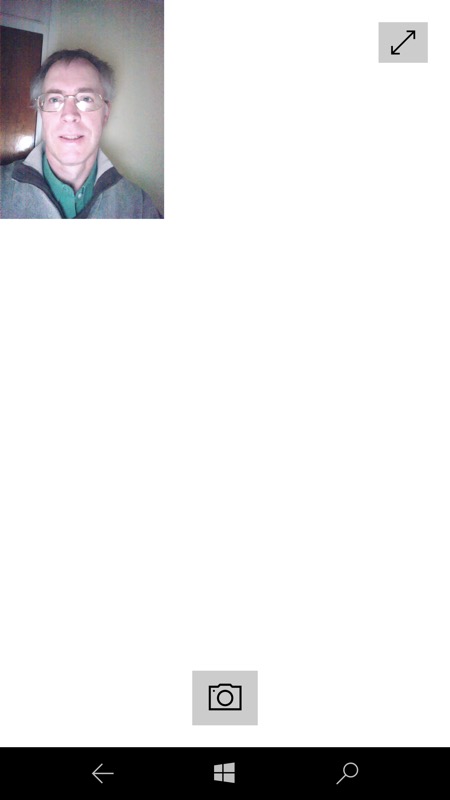
Next is the viewfinder, opening to a full screen camera view in both, though Night Selfie's UI (right) has a prominent button that toggles between the opening dark view (you're taking this in low light, remember?) and minimising this to a thumbnail, letting a pure white background illuminate you constantly. This gives an accurate preview of the lighting for the photo itself, while #NightSelfie (left) leaves the final illumination as something of a gamble, since the full-on white display only appears after you tap the capture icon.
Results are pretty similar, mind you, with the main difference being that #NightSelfie's shots are always brighter, partly thanks to the whole screen being used for illumination (i.e. no thumbnail or Windows controls) and partly different exposure algorithms. Night Selfie produces slightly better colours and lower noise, but with less light overall. So it's your call as to which is better - why not download both and try them yourself? (#NightSelfie has a 'remove advertising' function, but I haven't seen an ad yet, so this might as well have been renamed to 'Donate'.)
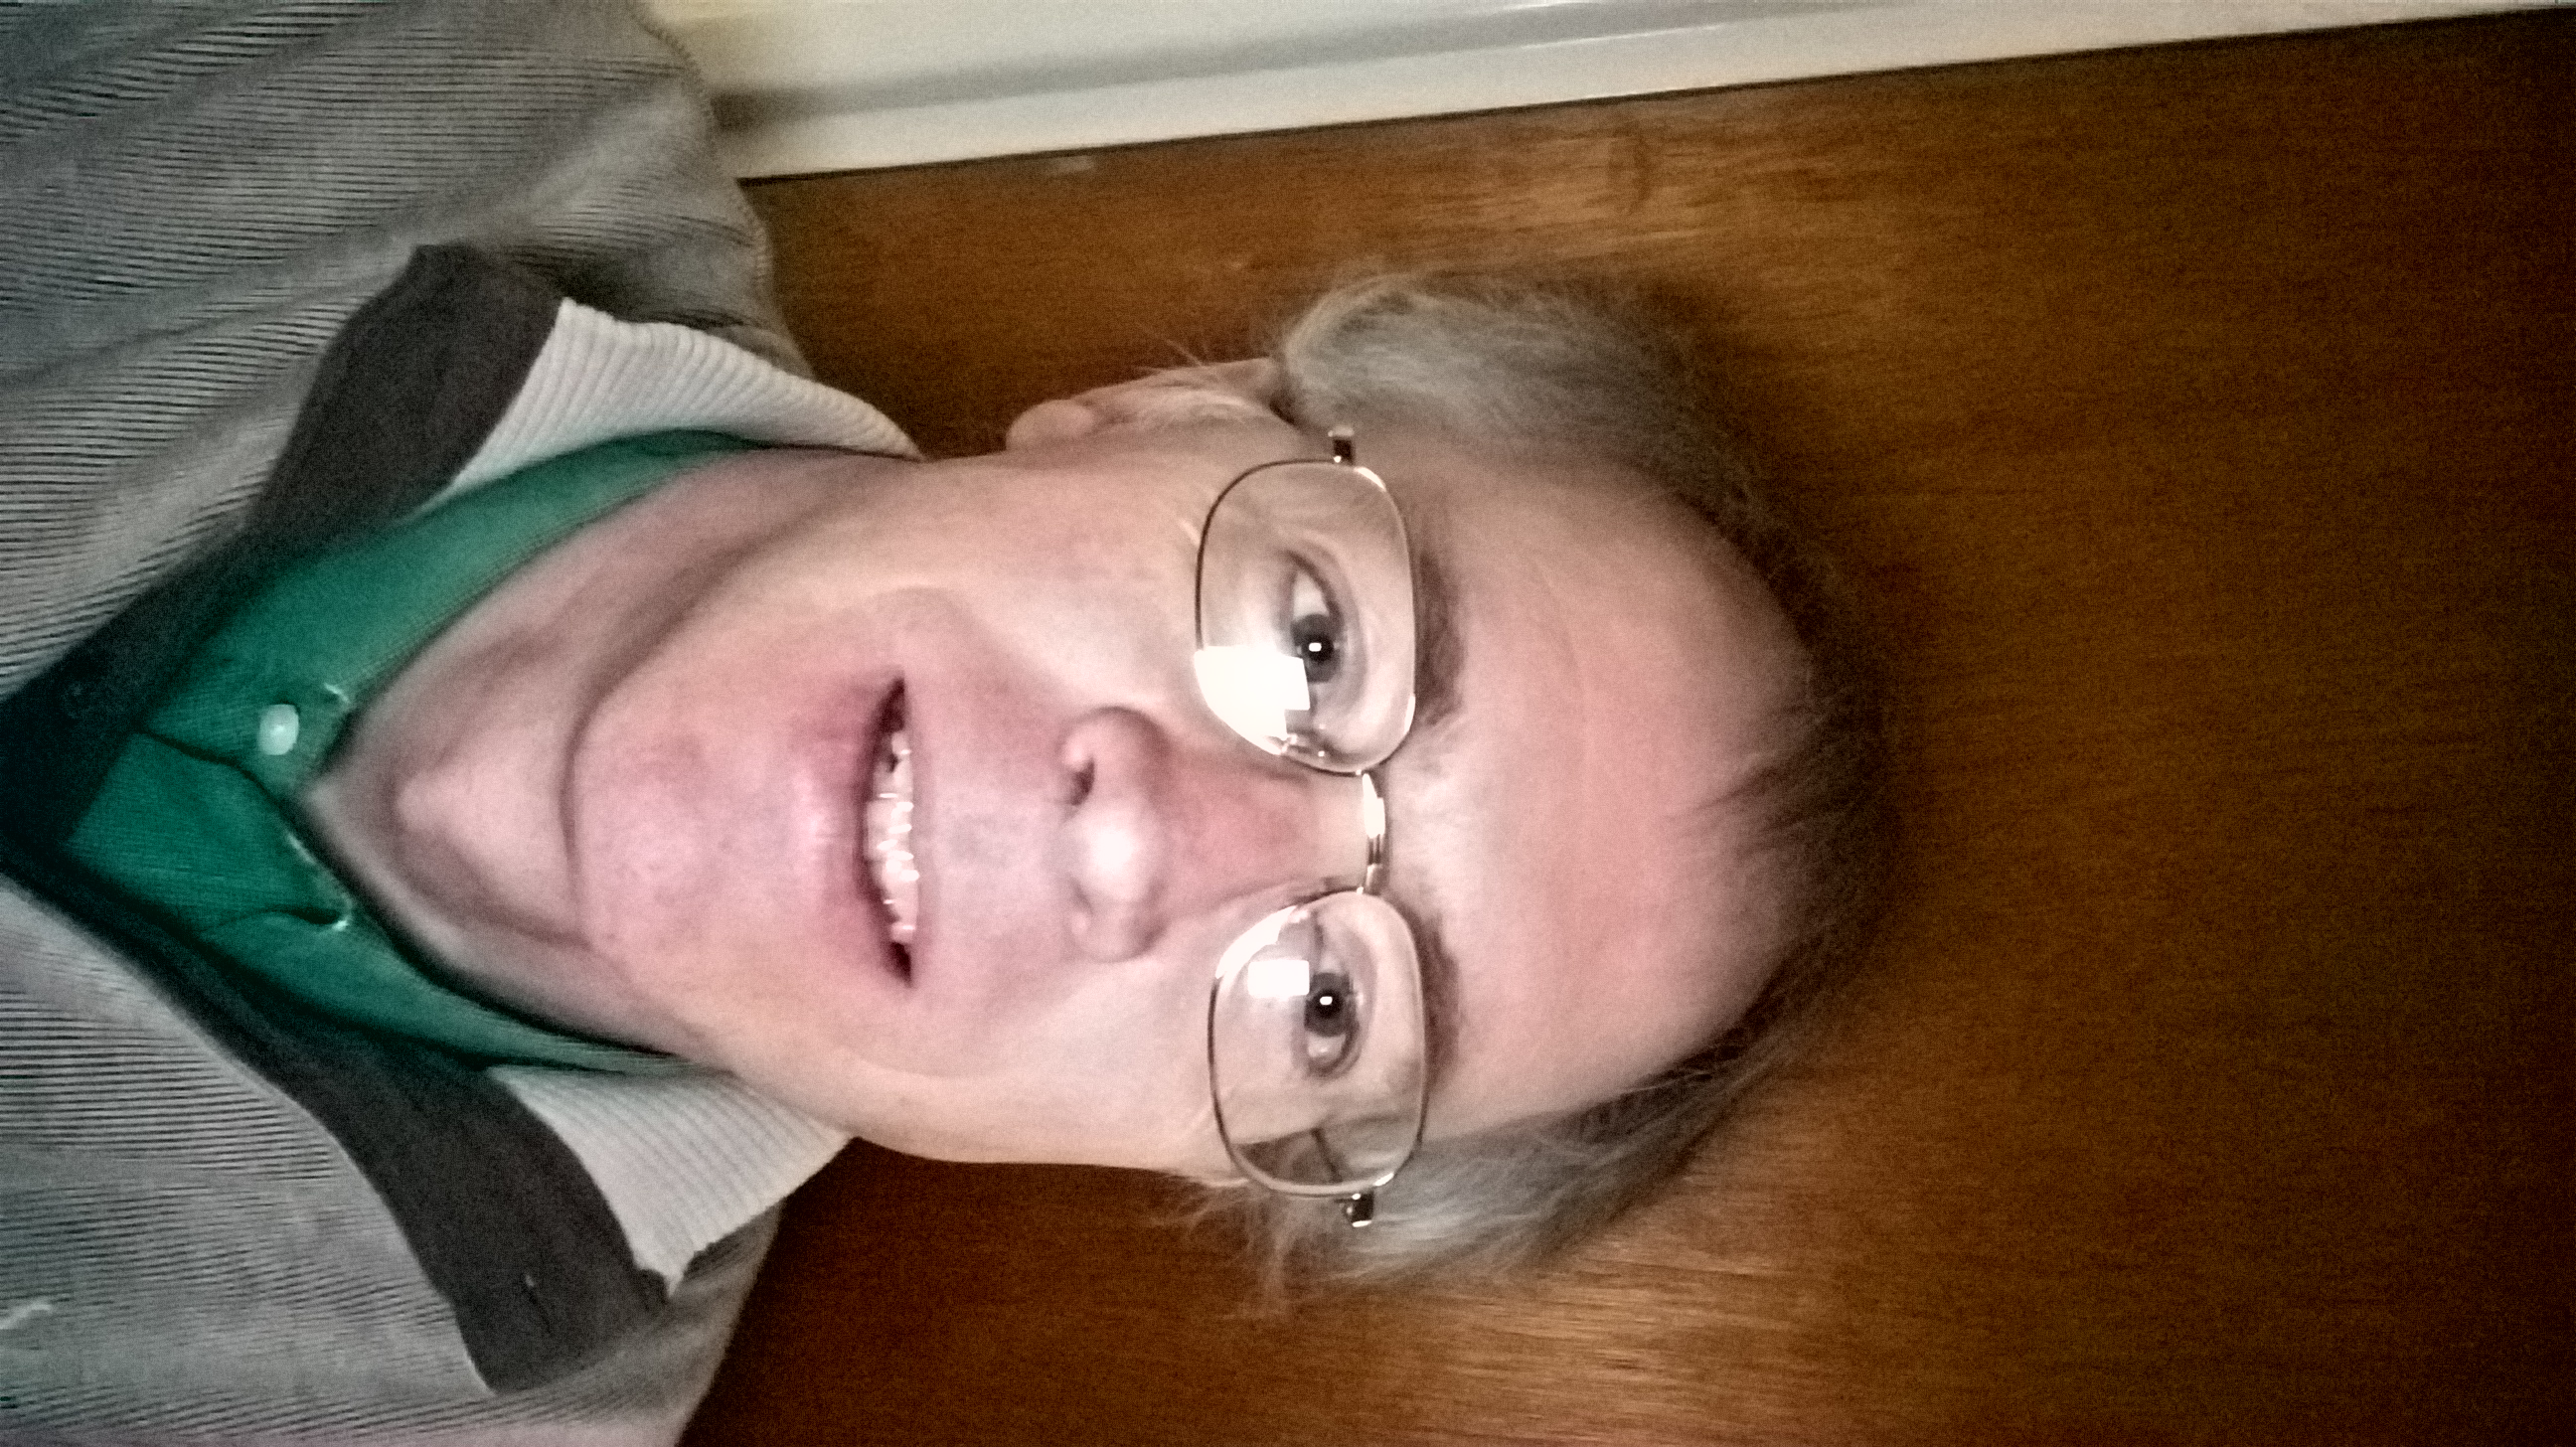
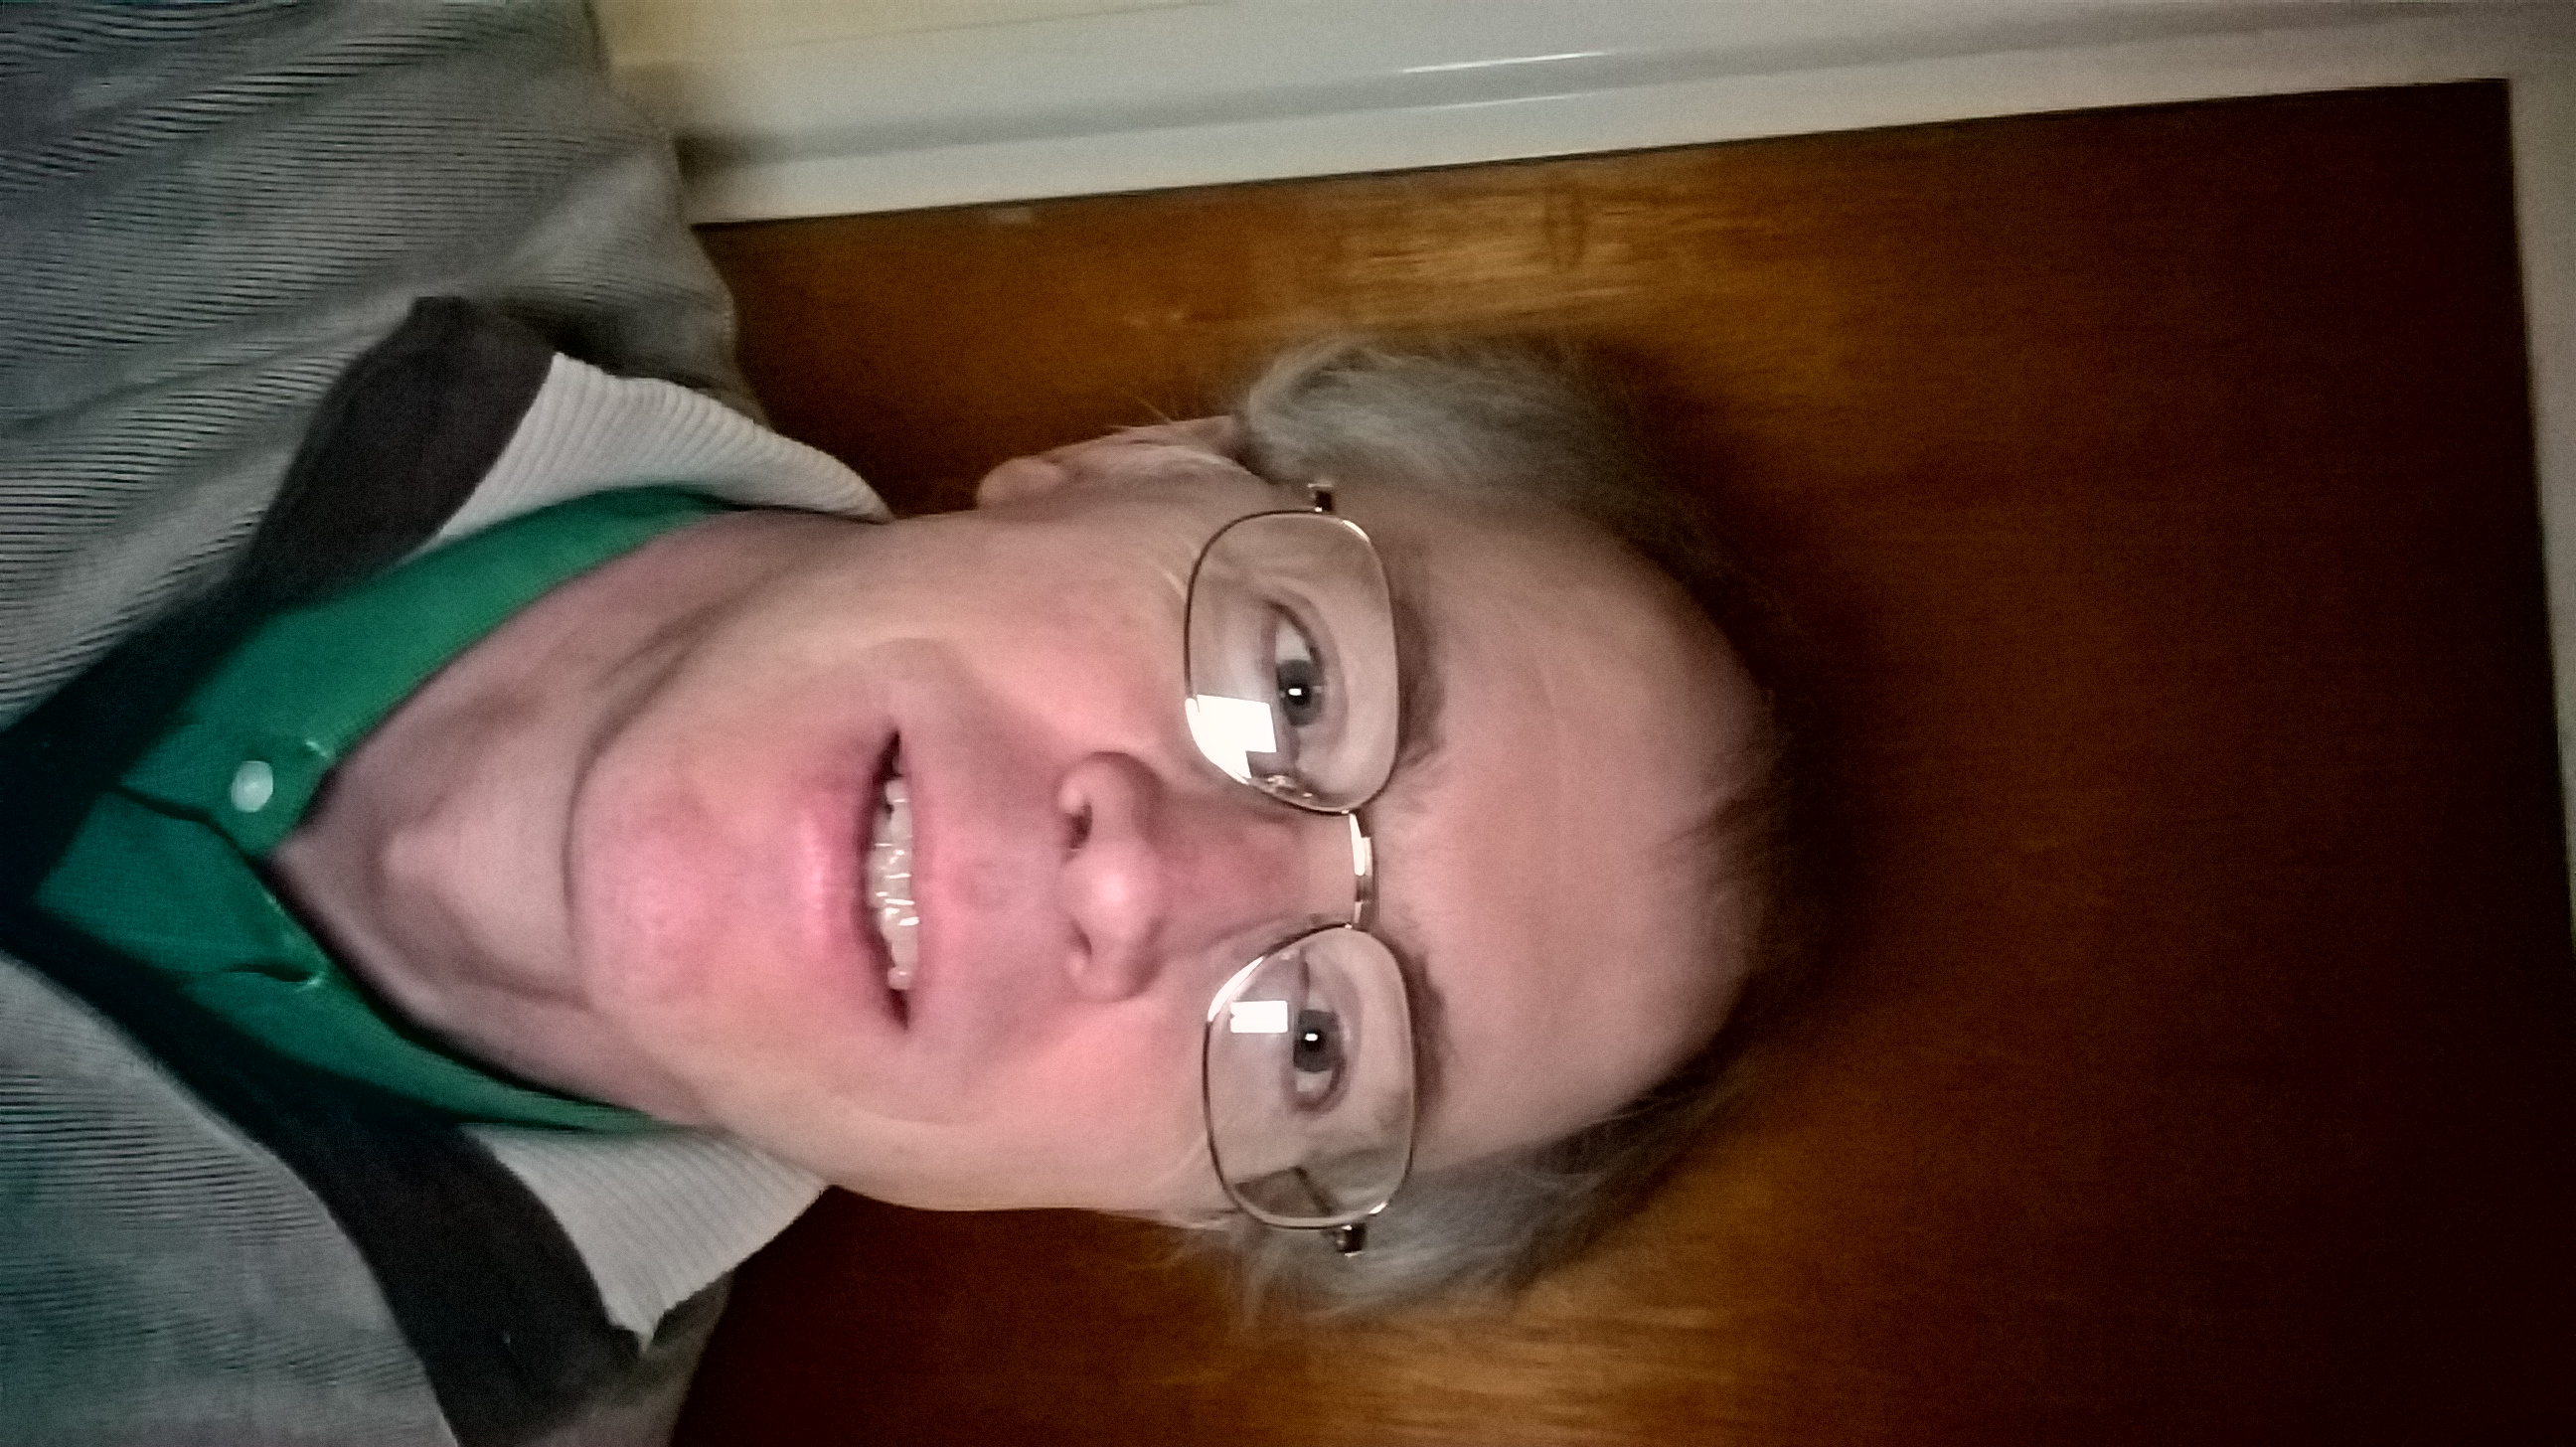
Here then are sample shots, taken in gloomy conditions in my hall, #NightSelfie (left) and Night Selfie (right), just click each for the original JPG:
The interface for both apps here is minimalist - I was expecting 'processing' to take multiple shots and then composite a final render after aligning and removing noise, but the applications keep things pretty simple. Just an initial full-screen selfie viewfinder so that you can make sure you look OK(!) and then a button to capture or minimise and capture, etc.
On the whole, I prefer the 'hash' solution that gives the most light (and that handy display settings shortcut), but 'Night Selfie' does at least give an accurate preview of how your photo will turn out. So again I'm torn.... By the way, #NightSelfie also has a shortcut to Photos, but this wasn't working on my Fast ring Insiders device - I'm not blaming the app though - Photos is a disaster on Redstone 2 at the moment, so it's almost certainly a Microsoft issue that'll get fixed in the next Insiders build.
Both applications are Windows 10 only and full UWP apps, though there's little benefit to using them on Continuum and not much more on your laptop. Maybe for tablet use?
Those download links again: Night Selfie and #NightSelfie
PS. I'm not sure how I feel about applications with hash signs in their name - a recipe for confusion or social media brilliance? The jury's out!