For completeness, the new app version that's available is v5.1703.707.0 - as with the OS builds, the '1703' bit means March 2017.
Once you're on the new Maps version, here's how to plan a multi-destination route:
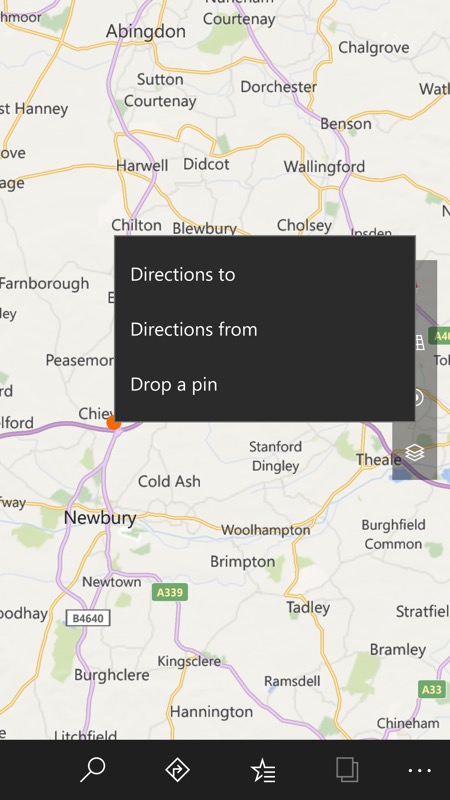
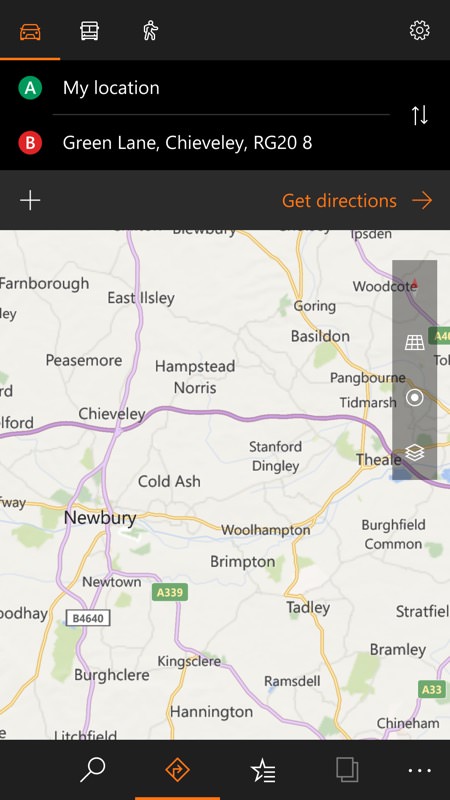
Start your planning in the usual way, long pressing on a location and choosing 'Directions to'. The planning dialog will appear at the top of the screen, but instead of tapping on 'Get directions', tap on the '+' control instead.
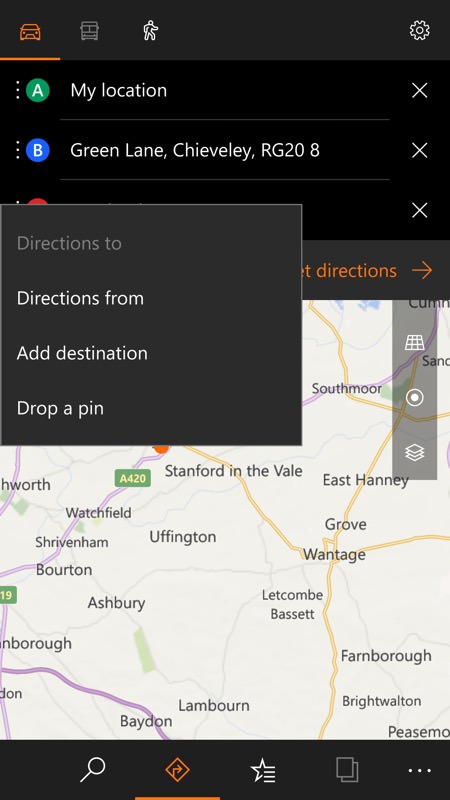
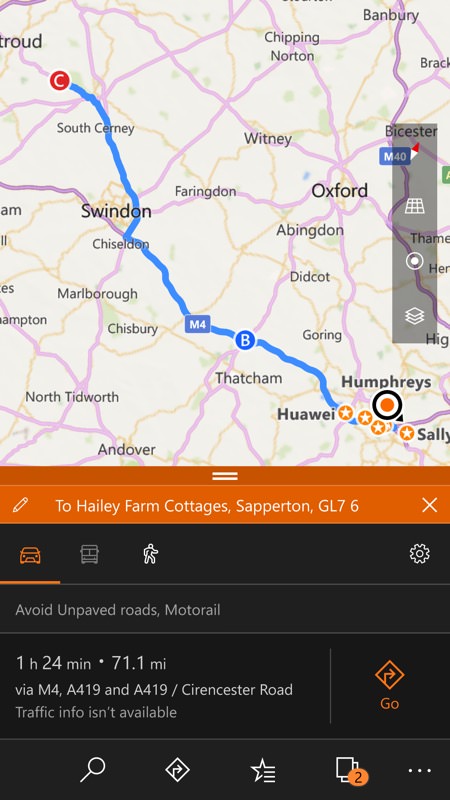
Now pick a new destination/waypoint (don't worry if this is being done afterwards, you can switch the order around later) by long pressing on the map again, this time choosing 'Add destination' and it will get added to the list; (right) tapping 'Get directions' now will plan the route and show you an overview. You can still add or change waypoints/destinations though, by tapping on the 'edit' pencil control to the left of the (orange) highlight bar above.
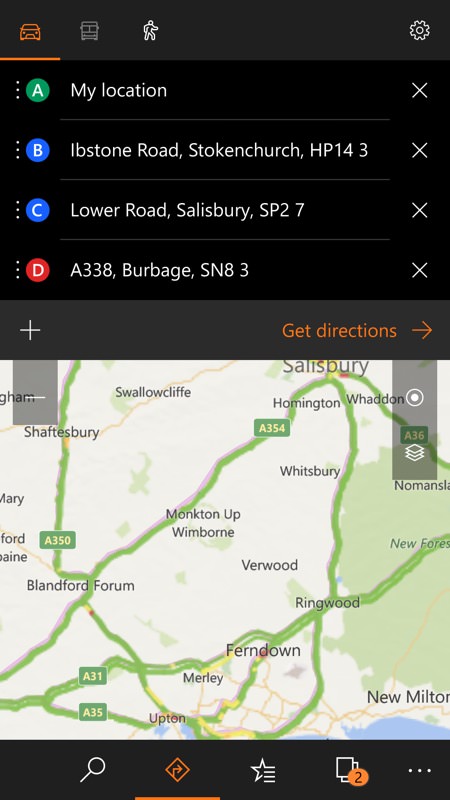
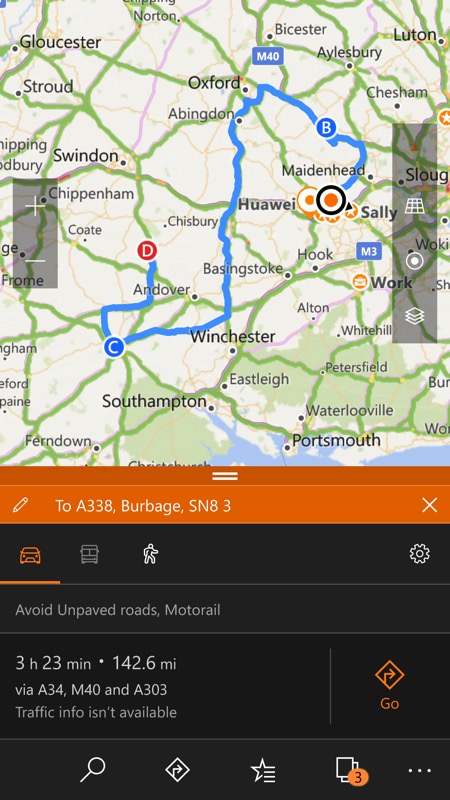
Note the vertical grab handles to the left of each item in the destinations list - this means that you can long press any of these and then drag the location around in the list, for example to put your journey into a better order. Note also the 'x' controls on the right, to remove destinations from your itinerary. Once happy, opt to 'Get directions' again and then on 'Go' if you like the route. And so on.
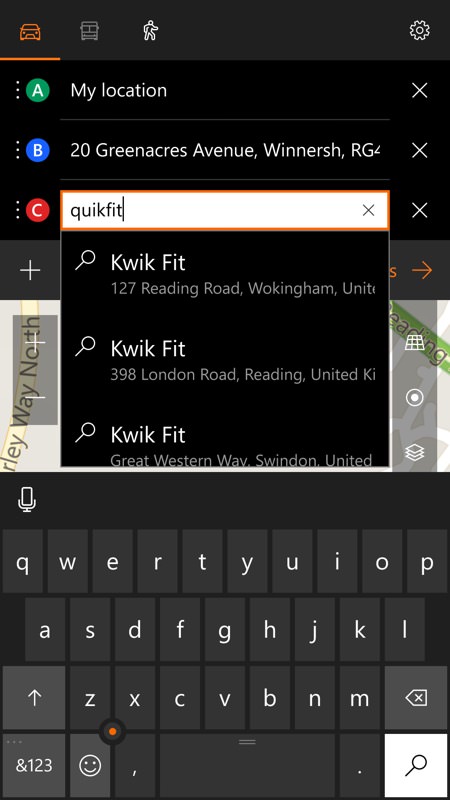
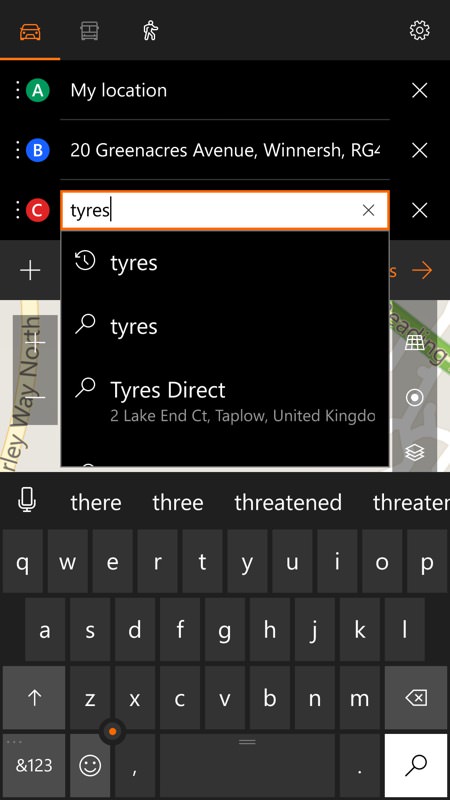
Now, what about points of interest, businesses and so on? These are slightly confusing to add into a itinerary - a lot depends if you know the place name. For example, the restaurant name or (here) the tyre outlet name - these get quick matched as you type into a new destination line. If you don't know the name of what you need (right) then just type in the search clue (so 'tyres' here for any tyre outlet)...
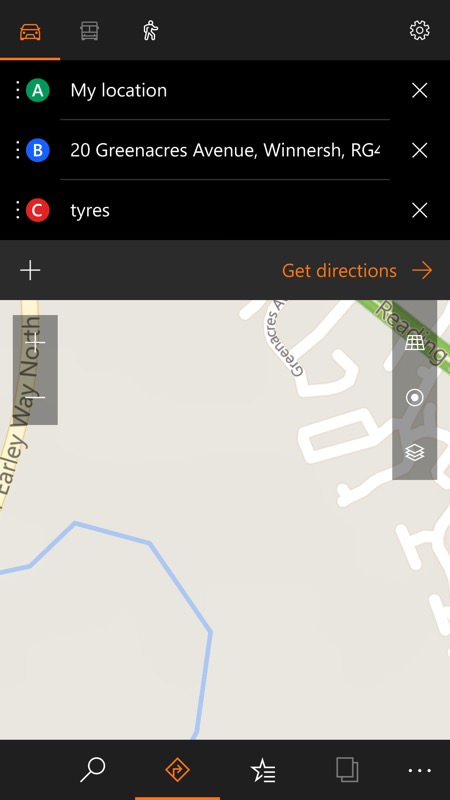
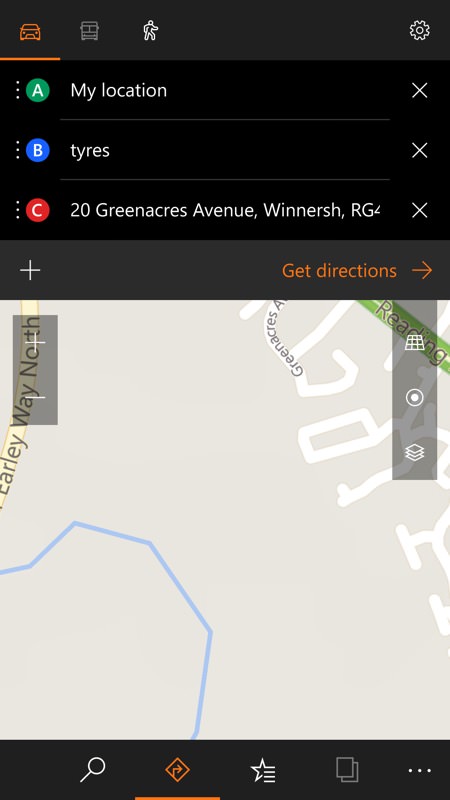
This search clue is left unresolved, slightly confusingly, but now is a good point to (again) long press and drag to reorder destinations. For example, you might want to visit a restaurant or tyre supplier on the way to your eventual destination.
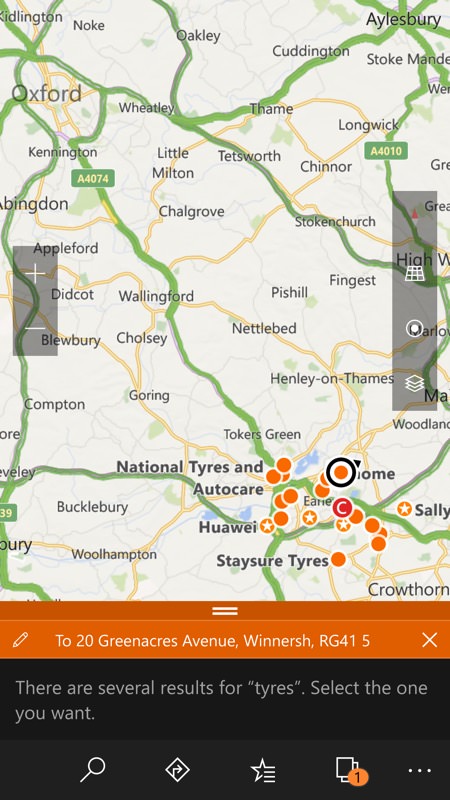
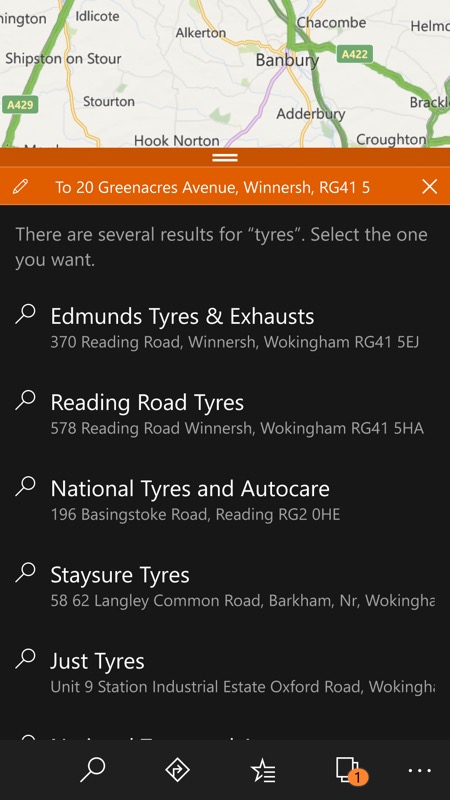
Once you tap on 'Get directions', Windows 10 Maps starts to resolve the search clue - see the pane at the bottom of the UI - and this needs to be dragged up, to reveal the most likely search matches. Just tap the one you want to use, etc.
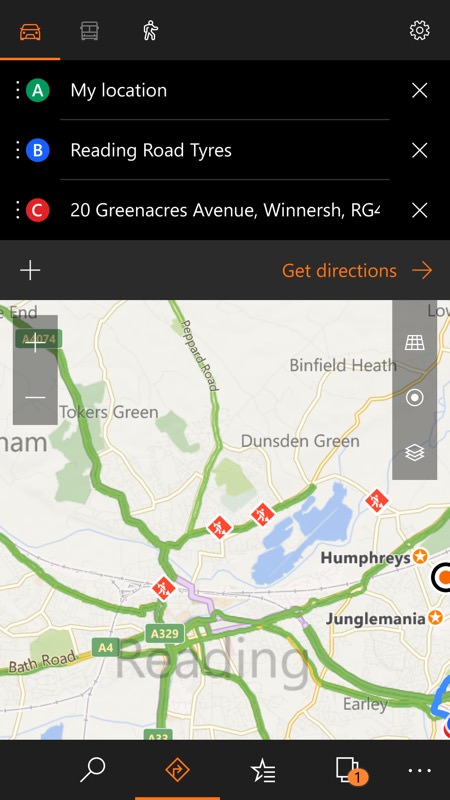
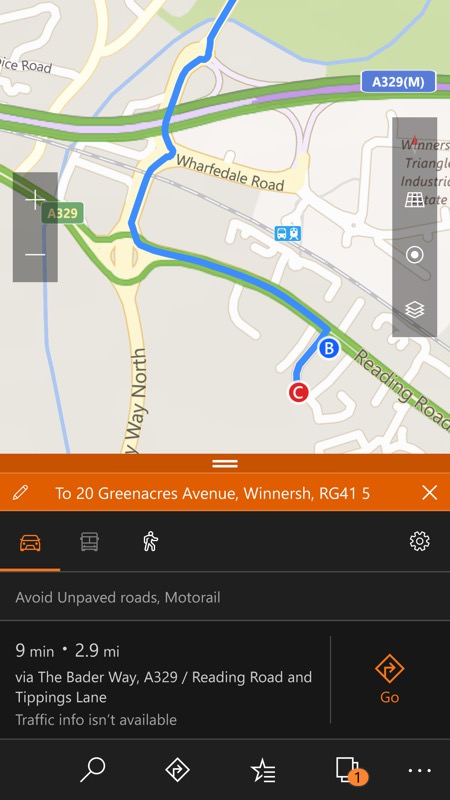
The chosen search match is then shown in the destinations list, as you would expect, and 'Get Directions' now completes, showing you the whole route. Here, happily (right), it turns out that there's a tyre outlet around 100m from my destination. Who knew?!
Note that if there are multiple search clues in your destination list then you'll be prompted in the same way, one at a time, until all destinations are nailed down - and only then will 'Get directions' end with the big 'Go' control.
Once underway, it often happens that a waypoint or destination doesn't quite match the real world (e.g. by a few tens of metres because you couldn't park exactly at the right coordinates), so you'll want a way to say 'I've done whatever I had to do at this destination now, don't keep telling me to home in on it', etc. Happily, this has been thought of with a 'Next destination' control on the '...' menu when navigating.
A welcome update, and I hope this walk-through clarifies what can be a slightly confusing UI workflow.
