If nothing else, the very idea of setting up a phone camera to photograph the moon is instructive, as it'll get you thinking about what you want to achieve from a shot and which settings to fiddle with in order to get there.
To whet your appetite, here's the shot I ended up with:
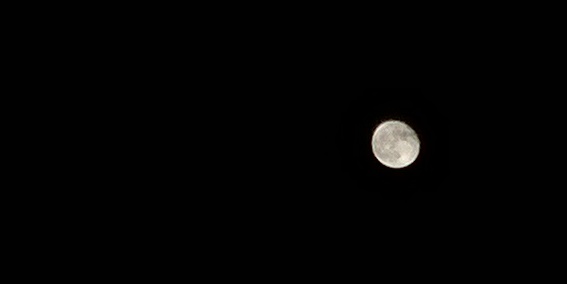
Now, let's get things into perspective. The photo above is a million miles from the 'pro' moon shots you see in magazines, shot with telescopes and DSLRs with 16x zoom lenses. That's not the point. The idea here is to see how good a photo of the moon (i.e. with some detail on its surface) can be grabbed using just a phone. No extra lenses, no gimmicks.
And, as I say, in the process learning a bit about the various settings offered by Nokia Camera. After posting photos like the one above on Twitter, I've been deluged by people wanting to know what settings I used - so here we go.
The problem
Look into the night sky at the moon, with your naked eyes, and you'll see a glorious disc, with discernable crater detail. But what you don't appreciate is that your eyes are performing an impressive feat of auto-exposure. In addition, your retina has very high 'resolution', compensating for the fact that the moon is actually a very small part of the overall scene - only subtending 0.54 degrees of arc.
Trying to get a phone camera to get close to your eyes is tough. Very tough. Take a photo of the moon with a normal camera phone on full auto and you'll get a small white blob. Try it and see if you don't believe me.
The solution
So - we have two things to solve. One is the exposure problem, one is the resolution needed:
- Intuitively, you'd look up at the dark night sky and think 'Oh, I'll need to let in as much light as possible'. No. In fact, the exact opposite. The stars will always remain black, whatever you do (actually not quite true, watch this space for a second tutorial!), but the bit you're interested in, the moon, is actually very bright. After all, you can drive and cycle and walk around on a moonlit night almost as well as if the sun was up.
The trick, then, is to somehow reduce the light getting into the phone camera. Leaving things on 'auto' results in the moon being totally blown out and the aforementioned 'white blob'.
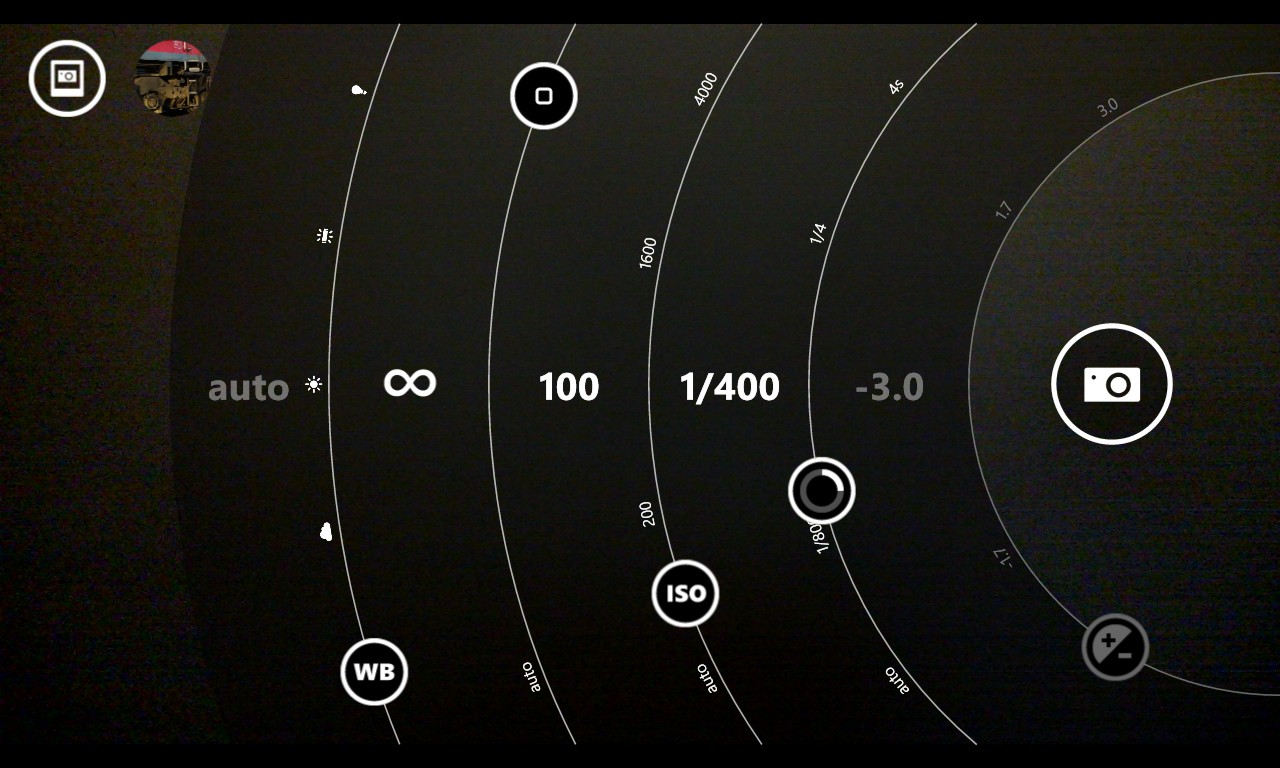
On the Lumia 1020, with the Nokia Camera application, flicking out from the shutter icon reveals the full settings UI. I set exposure (EV) to its minimum of "-3", and ISO to its least sensitive, "100".
I set shutter speed to "1/400s". This seems crazily short for a night shot when we've already knocked down the EV to -3, but trust me - the moon really is that bright. For the moon on the night I was testing, this speed produced about the right result in terms of the 1020 handling the detail on the moon's surface, but it might need to be tweaked up or down slightly depending on conditions. Note that, with such a short shutter speed plus OIS, there's zero need for a tripod, so you can try this sort of shot hand held.
Another tip some people swear by is to set the Xenon flash to fire - not to illuminate the moon(!) but to condition Nokia Camera to keep the exposure short. However, with full manual control above, I found that the firing (or not) of the flash made no difference.
- Most 8MP, 1/3"-sensored phones (think Lumia 925, iPhone, Galaxy S4) simply don't have enough resolution to see more than a dozen or so pixels variation across the moon's surface - the size of the moon's image on the back of the camera sensor is, quite literally, too small. The Lumia 1020's 41MP 1/1.5" sensor fares better, with the moon's circle subtending about 50 pixels on the sensor. 50 doesn't sound like a lot, either, but as you can see from the photo above, there's enough to give a sense of detail at least.
On the Lumia 1020, there's then the question of how to shoot the photo. As I discovered early on with the phone, highest quality comes when sampling the sensor initially rather than relying on shooting full-frame and then 'reframing' later. This rule doesn't necessarily apply when using the full PureView zoom (3x or thereabouts) because then you're gathering pixel information individually (rather than oversampling), but I zoomed in anyway - just in case. Plus it was one less cropping operation to do later.
In addition to the two steps above, there's an extra issue - focus. How is the focus on your phone camera going to get a crisp lock on something so small in the viewfinder? Usually, the answer is that it's not. Happily, Nokia Camera includes manual focus and one of the settings is '∞' (i.e. infinity) - and you can't get a better fit for that setting than the moon. (Well, OK, planets and stars and galaxies, but you know what I mean....)
Put it all together then:
- ISO 100
- EV -3
- shutter speed 1/400s (or similar)
- infinite focus
- PureView zoomed in
...and take the shot.
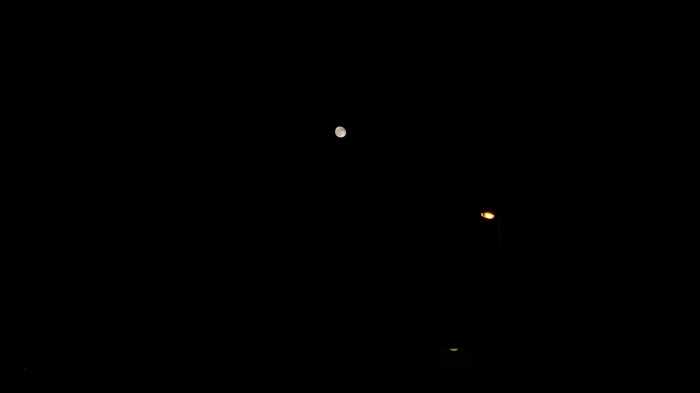
The moon will still look quite small in the photo, so use the on-device cropping tools (Photos/Camera roll/Edit/Crop, rotate and auto-fix) to crop in so that there's enough detail in the moon, while still having enough surrounding darkness to give that 'hanging in the night' feel
Accomplishing anything
As hinted at the top, if you (and, in this case, your rather flexible Lumia 1020) can photograph the moon, with its distance, size and lighting challenges, you shouldn't be too fazed by tricky shots back on Terra Firma.
- Work out what you want to be shown.
- Get in the right place to photograph it (zooming in if needed).
- Assess lighting problems and take full control if needed. This might be bumping up the ISO for fast moving low light shots or decreasing it for static subjects.
- Don't be afraid to also take control over focus - you know what you want better than the software.
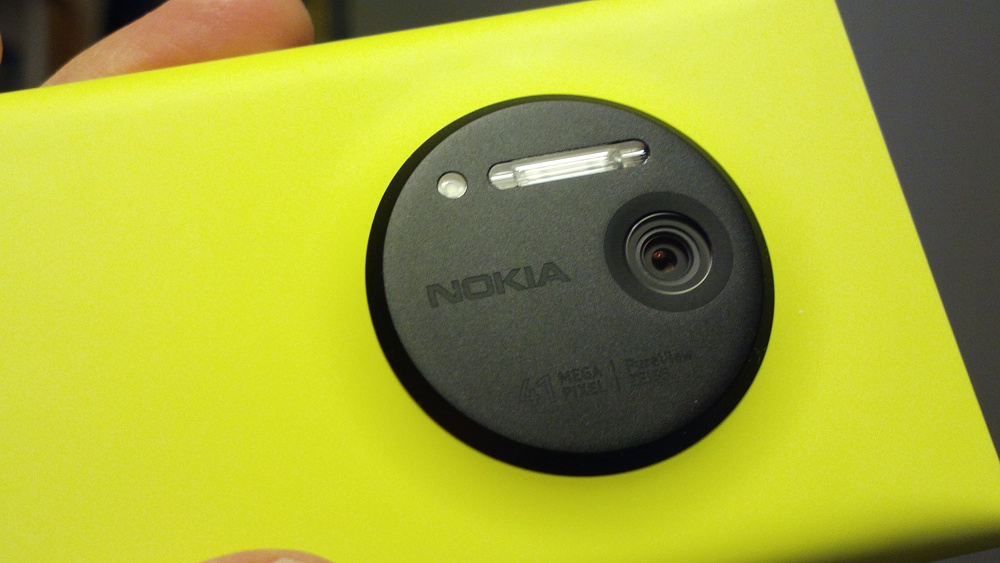
The significance of the Lumia 1020 in all this is that it's the very first true phone camera ever to have a large, high resolution sensor and OIS and finely detailed control software. The OIS eliminates the need to use a tripod, there's the oversampling purity or zoom if you need it - and, yes, there's proper Xenon flash if it's something up close.
Which is pretty darned cool, even if the shocking yellow of most 1020s will raise eyebrows when you flash it around in the evenings. At least you won't put it down and lose it in the dark!
_______