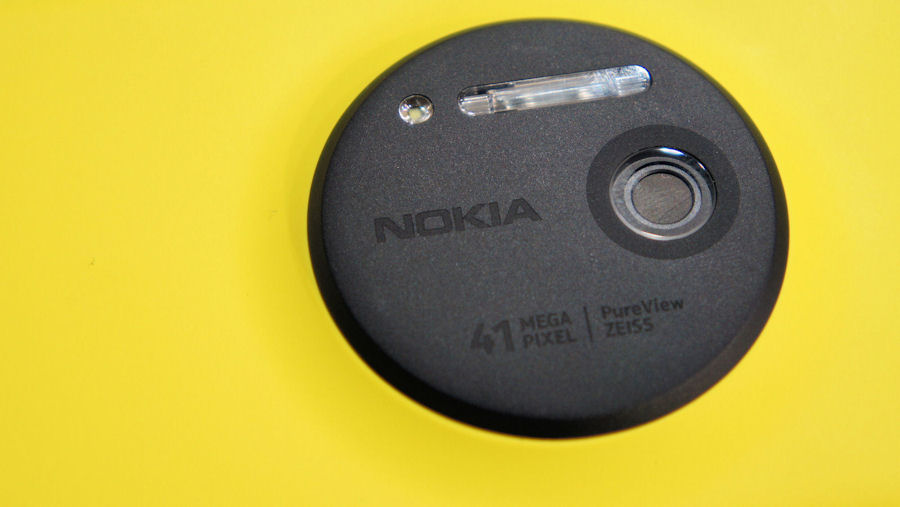
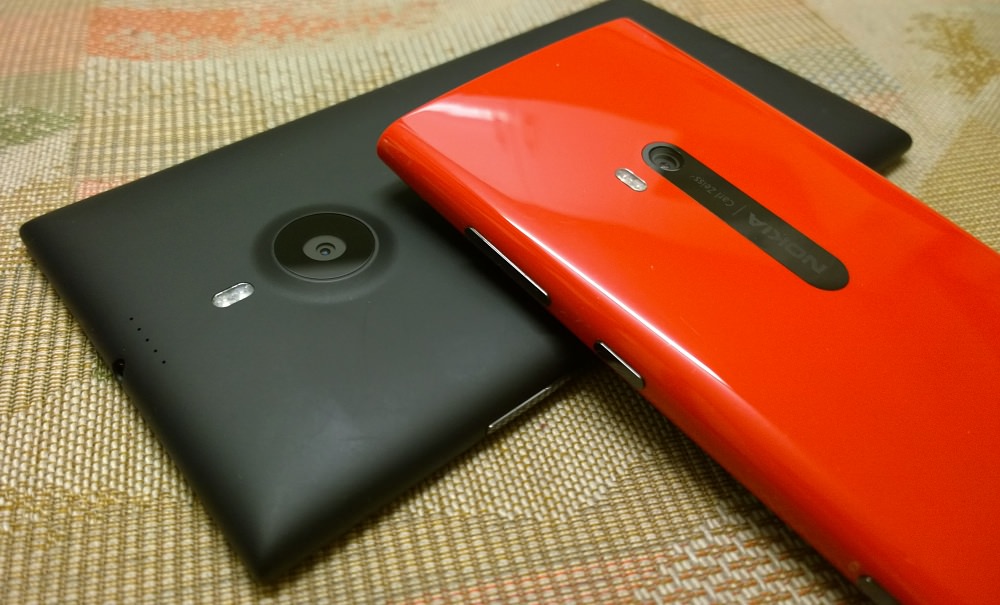
If you've ever been to an event, whipped out your smartphone and been disappointed later by blurry, jerky, muffled, badly lit footage, then these tips are for you! From light to movement to mundane practicalities, it's all covered below, in the context of shooting using a Nokia 'PureView' Lumia.
Shooting every Phones Show on a phone, I've a fair amount of experience in shooting video on phone cameras. I've come a long way in the last seven years of doing the show, as has the technology itself, and here's how to get the most from it.
1. Quick, quick
Try to keep captured video clips/scenes short, for three practical reasons, which I'll come to. In other words, if you're at a party or event, don't just start video capture and leave it recording for half an hour, wandering from grouping to grouping. Far better to select each grouping and shoot some video, then stop capture and move to the next thing to film. My reasons?
- Multiple short video clips, each with a definite 'focus' to them, are a lot easier to organise and edit together for a final 'cut' in your editing software later
- If something goes wrong in the device (e.g. battery runs out) or software (a crash of some kind) then you've only lost the clip you're shooting at the time. If you shoot in one enormous sequence and something then goes wrong, you've lost the lot!
- Windows Phone-produced footage can have small audio/video sync issues (it's to do with the handling of variable frame rates) that are noticeable when processing very long clips (more than a minute or two) later on, in desktop software (in my case, Apple's iMovie), so multiple shorter clips mean that frame sync never gets to be a problem.

2. Let there be light
As with my plethora of features here on AAWP on taking stills on smartphones, the number one consideration when capturing a video is light. In fact, it's even more important - consider that at 30 frames per second, the camera unit has only got 1/30th of a second to gather light for each frame. This is ample when the sun's shining, but 1/30th of a second to gather evening or indoor light through the (relatively) tiny lens and onto the tiny sensor in your smartphone is always going to be a struggle.
In general though, aim to shoot in as good a light as possible. Try to shoot a scene before the sun gets too low in the sky. Or maybe you can wait until that cloud blows over. Or maybe you can turn that extra room light on. You won't usually have the luxury of choice, of course, the smartphone video camera is the ultimate spur-of-the-moment capture device, but at least you'll now be able to forewarn yourself as to which situations are likely to turn out well and which will turn out noisy, grainy, streaky video.
You should also be aware of where the light is. So many amateur videos get ruined by having the light behind the subject, in which case they become a talking silhouette, like one of those spy interviews! Keep the light roughly behind YOU if at all possible. Yes, that's cliched advice, but it's cliched because it works.
Oh, and don't bother with the LED 'video light', the only thing that will do is make your subjects squint and look as if they're caught in headlights on some Blair Witch Project experiment.
3. Steady as she goes
Nothing says 'rubbish', nothing says 'amateur', more than jerky video. You don't have to use a steadicam or tripod - just hold your smartphone in two hands and try to keep things as smooth as humanly possible - the OIS built into all the Nokia PureView units will do the rest, taking out the smaller jerks and wobbles. Move slowly, move the phone even slower. When panning round, go five times slower than you think you should - trust me. Every movement gets hugely magnified in the video capture process. Try a slow pan, watch the results and see. Doesn't that look far more professional, especially given the smoothness of the OIS?
The problem is that when you're 'there', in the moment, the human eye can move incredibly quickly, taking things in - don't try to mimic this with what your phone is pointing at (unless you're going for the 'Blair Witch Project' effect). Think 'TV fly on the wall documentary' - the viewer, with no awareness of the overall context, has to got to work everything out from your 720p or 1080p video frame, so give them more time and give them a steady picture to process.
4. Cleanliness is next to Godliness
All modern smartphones are created without any camera glass protection, meaning that it quickly gets covered in fingerprints, dust and muck. Even a few small particles or a thin film of finger grease is enough to ruin the quality of your video capture, producing a tell-tale blurriness and extra flare from light sources. So, keep a (clean) tissue in your pocket and carefully wipe the 'glass' before any video capture.
5. Zoom, zoom
Your PureView camera has a degree of lossless zoom built-in (varying from 2x to 6x, depending on the output resolution chosen and the device) - so use it. Even during footage, you can swipe up or down on the display to zoom in and out without compromising quality. Purists will say that you should stop/cut, zoom and then restart capture, but I'm rather fond of in-video zooms, as they emphasise to the viewer what you were trying to highlight (and also that you had a fancy, schmancy smartphone camera with a zoom!)
Experiment with slow swipes down or up, which can result in quite arty 'slow' zooms. Either way, use the zoom to get 'closer' to your subject, if appropriate - the end footage will seem more professional.

6. Check space
Depending on your device, obviously, with modern 1080p capture eating up a whopping 200MB per minute of footage, make absolutely sure that you're saving your videos onto the right disk (e.g. mass memory or microSD card) before you start shooting. The last thing you need is running out of space halfway through a clip!
In fact, it's a good idea to keep a couple of GB free as a minimum on your chosen disk, just in case you bump into something that's worth filming during your travels.
7. Shun auto-focus when you can control the subject
Auto-focus is something of a mixed blessing when shooting video. Yes, it means that you can wave the phone around and after a few seconds everything will be back in focus, no matter the subject distance. On the other hand, there's an unpleasant 'hunting' effect while the lens is tracked in and out trying to find the perfect focus - and it's surprising how often the software decides that this is necessary.
As a result, unless you absolutely need auto-focus (i.e. constantly changing, unpredictable subject), use the manual control in Nokia Camera to set the focus with your right thumb on the arc/slider before starting to shoot. Manual focus, when done well, makes for an extremely professional look to footage.
8. Sound matters
Good audio is just as important as good video, arguably, and Nokia's Rich Recording system and HAAC microphones can produce stunningly clear audio tracks, usually in stereo (depending on device).
You can help the sound side of things by choosing your location wisely. At an outdoor event, find a spot away from swirling wind, waterfalls or crowd noise. Indoors, stay away from air conditioning units and other noisy machinery. If you do have to compromise in terms of location, cup your hand to protect the microphone hole as far as possible, to channel noise from your subject into the tiny microphone. This can help a lot if your problem is swirling wind.
It goes without saying that you should find out where the microphones are on your phone. And, having found out where it is/they are, make darned sure that your fingers don't either block the hole(s) (in your usual camera 'grip') or brush past it noisily (you'd be amazed how many extraneous noises on peoples' videos are their own fault, fingers, straps and miscellany near the microphone hole(s)!
In a really noisy situation, as a last resort, you can get very close to your subject - yes, the image might be blurry, depending on your device, but at least you'll be able to make out what they're saying. And hey, you can always superimpose some photos to break things up, in the final edit?

9. Shoot more footage than you think you need
Indeed. As a guide, when filming my Phones Show, which usually runs about ten minutes, I usually shoot about twenty and then edit down to miss out mistakes, pauses and interruptions. Even more drastically, when shooting 'home movie' footage of family, I shoot about an hour's worth for every ten minutes that makes it onto the final mix/DVD/whatever for passing on around the family tree.
In other words, there will be boring bits, wobbly bits and bloopers, whatever you're shooting. So shoot more than you think you'll need and then you'll be able to cherry pick just the best bits and still have a great final, edited video.
10. Multi-camera? Oh yes!
If you're a dab hand at video editing later, get a friend to shoot some of the same footage on their phone (of whatever variety) from a different angle, and then splice little bits of this over the top of yours (and using the audio from yours). Even if their phone camera isn't as good, the change in perspective with no break in the audio is a tremendously professional trick that you can experiment with.
Even with just your phone camera, video is now shot at such high quality that you can crop in using your video editor, back on the desktop, seamlessly, deliberately in the middle of a sequence. This gives the effect of splicing to a different video camera even though it's all from the same original, single-point footage. A neat trick, eh?
______________
Comments welcome if you can think of other tips to bear in mind!
