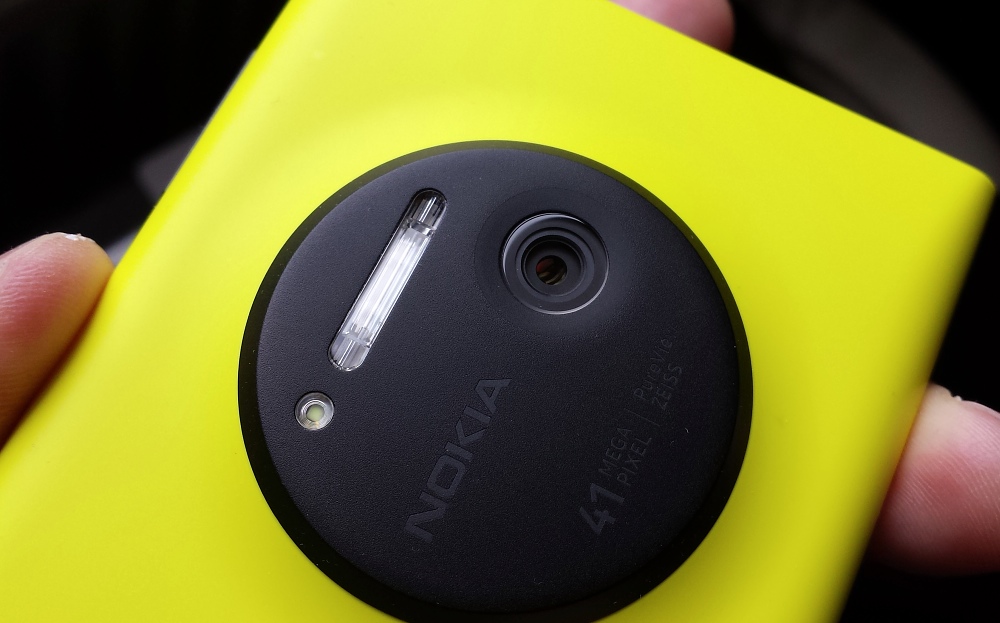
Focussing in almost every single smartphone camera (the recent LG G3 is an exception) is done in exactly the same way - the camera software takes a guess at focus, i.w. with the focussing lens in a neutral position and looks at detail near the centre of the viewfinder (or at the point in the viewfinder where you might tap, e.g. on a particular object). It then tracks the lens in or out, very quickly, watching what happens to sharpness. The software quickly works out which 'way' the lens should go for best focus and then it's just a matter of tracking past the optimum point, realising that sharpness is getting worse again and backing the lens up a notch. You get the idea.
And, of course, most users know this - you can see it happening on the viewfinder screen in your camera software on your Windows Phone. Over a period of a fraction of a second, the centre/tapped-object becomes quickly clearer and then you're ready to squeeze the shutter button all the way down, to take the shot.
So far so good. But think about it - this is a purely optical method for finding the proper focus - and so it relies on light. Outdoors, this is never a problem - there's always plenty of light to reflect back off the subject and thus to quickly find a lens position for maximum sharpness. But in low light, indoors, it's not surprising that, unless you use the right setting in the Nokia Camera software, the ambient light is simply not bright enough for quick focussing. As a result, even the monster Lumia 1020 sensor, which is quite capable of getting great low light images through long exposure or Xenon flash, seems to struggle because of slow focussing speed.
The trick is to take control over focus, in a few different ways. What follows isn't particularly advanced , isn't that geeky, it's just common sense - yet so many people write off a camera phone after misunderstanding how focussing works.
[All references here to functions are in the standard Nokia Camera application]
1. Use LED focus assist
Maybe you've experienced trying to take a moody shot indoors or at night, or perhaps of a dimly lit museum exhibit, and watching the focussing hunting around for a couple of seconds, sometimes unsuccessfully?
Even if you don't want to take the shot with flash, i.e. even if it's a low light shot of a static subject and you want lots of ambient 'feel', without the artificiality of phone camera flash, consider still heading into 'Settings/Focus assist light' and setting this to 'Auto'. Essentially, this means that when conditions are too dim for satisfactory ambient light focussing, the LED flashlight in the phone is used instead. The subject is illuminated for up to a second, enough for the usual 'sharpness' focussing cycle, and then the photo can be taken safely.
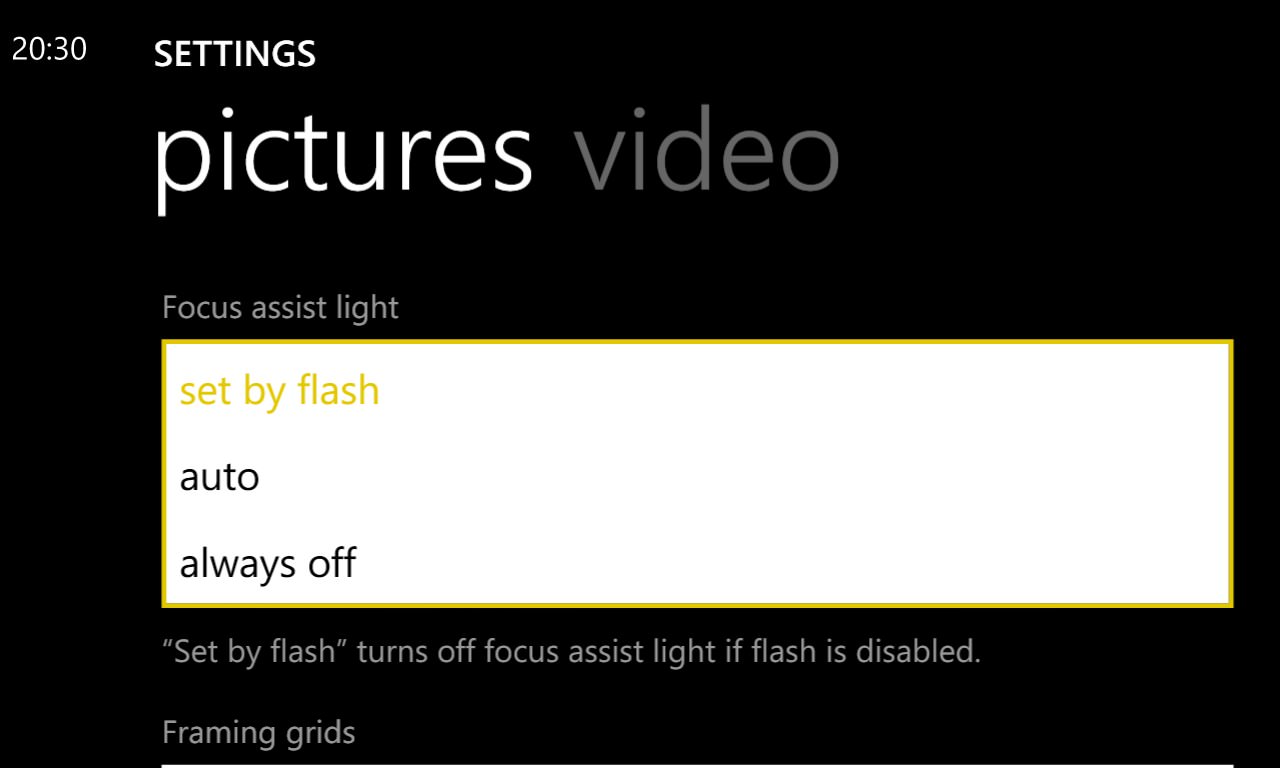
Most of the top Lumias have OIS now, which means that such low light shots can be quickly and accurately focussed in this way, and yet with a lengthy (say up to 1/4s) exposure, achieving crisp results.

Extreme low light shot (was almost pitch dark to my eyes!), yet focussed quickly (thanks to LED focus assist) and crisp and surprisingly light, thanks to OIS and an automatic long exposure here in the Lumia 1020.
[By the way, it's tempting to go with the default setting of 'set by flash', but if you're anything like me you'll be switching flash modes often in the Nokia Camera UI and then you'll often go for a low light static shot and realise that the focussing assistance is also then now off, etc.]
2. Don't be afraid to use manual focus
One of the unique features of Nokia Camera on all the Lumia smartphones is that you can take direct control over the focussing lens. This, obviously, completely eliminates any focussing delay. It's not easy to get focussing exactly right by eye, so the main use case here - albeit a common one - is when taking an evening 'landscape' scene, i.e. not something close up. As a result, there's nothing nearby that can be illuminated by the aforementioned LED focus assist, so the camera software has nothing to help it determine a focussing solution. The result is that you half press the shutter key and you get two seconds of focus hunting, often without success, just a blurred mess in the viewfinder.
The solution, when taking such a 'landscape' scene, is to use the manual focus slider and set it to 'infinity' (∞):
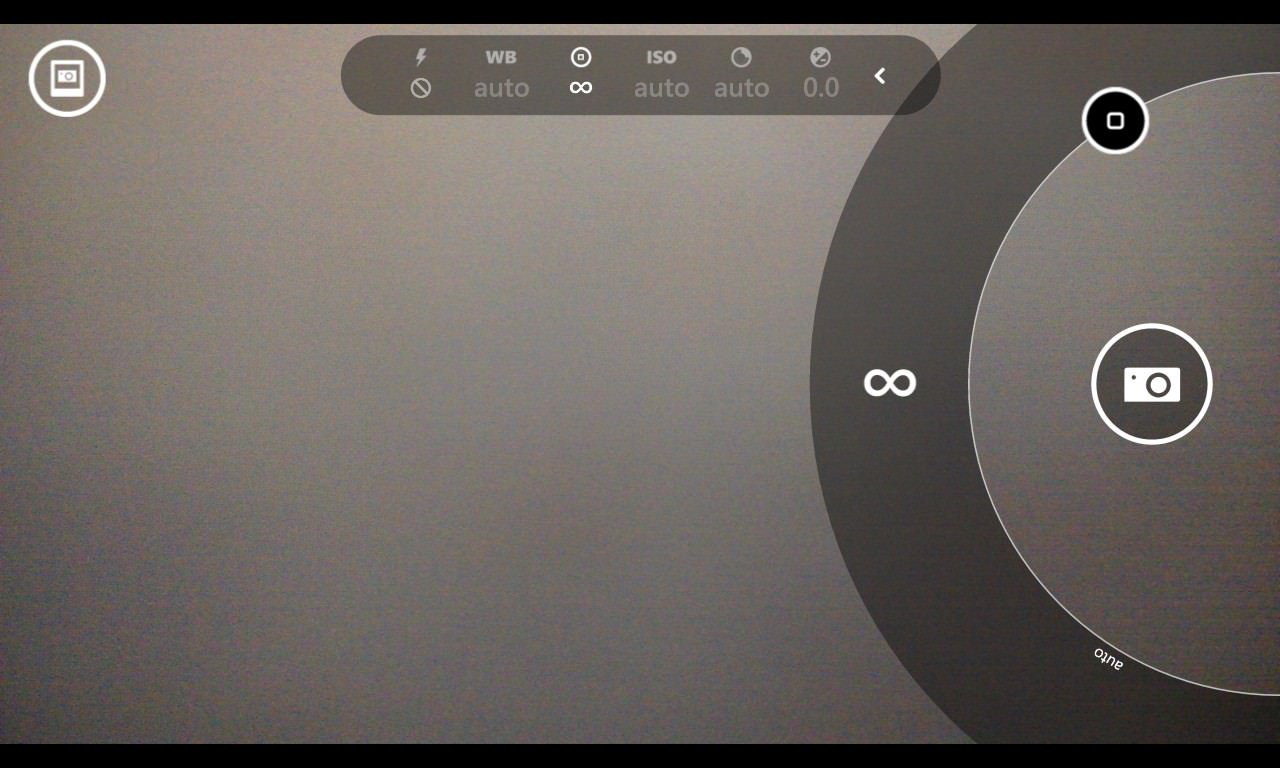
Even in dim conditions, there's sufficient depth of field from infinity to encompass any medium distance objects as well, and capturing the photo is instant, because there's no extra focussing step needed.
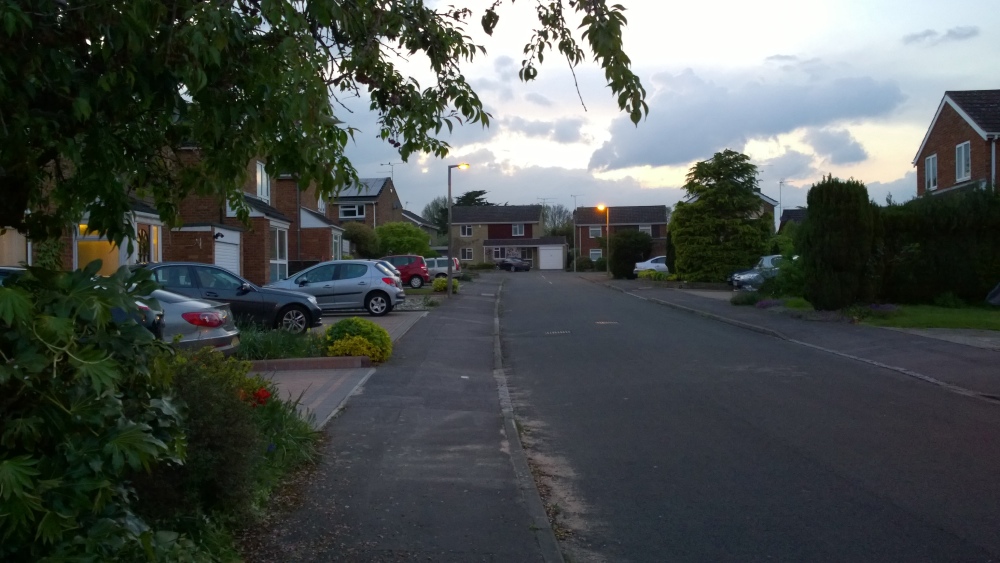
A typical dusk landscape (in reality, darker than the 1020 makes it look), one of my test shoots - focussing is traditionally a problem with smartphone cameras, so I set the focus manually, to infinity (∞)....
3. Pre-focus for anything fast moving
File this one under general photographic good practice, as it's applicable in all light conditions, but it's especially useful in dimmer conditions, where focussing, even with LED focus assist, can take up to a second. And, with a moving subject like a child or pet, it's hard to focus in the first place because they simply won't stay still!
The trick, covered previously in more depth in my article here 'The Art of Xenon', is to recognise an imminent photo opportunity (e.g. a toddler about to try on a hat) and to pre-focus on the subject - or indeed anything at a similar distance, if the subject isn't yet in 'position' - then hold the focus with your finger half pressed on the shutter button and wait for the right moment before completing the shot.
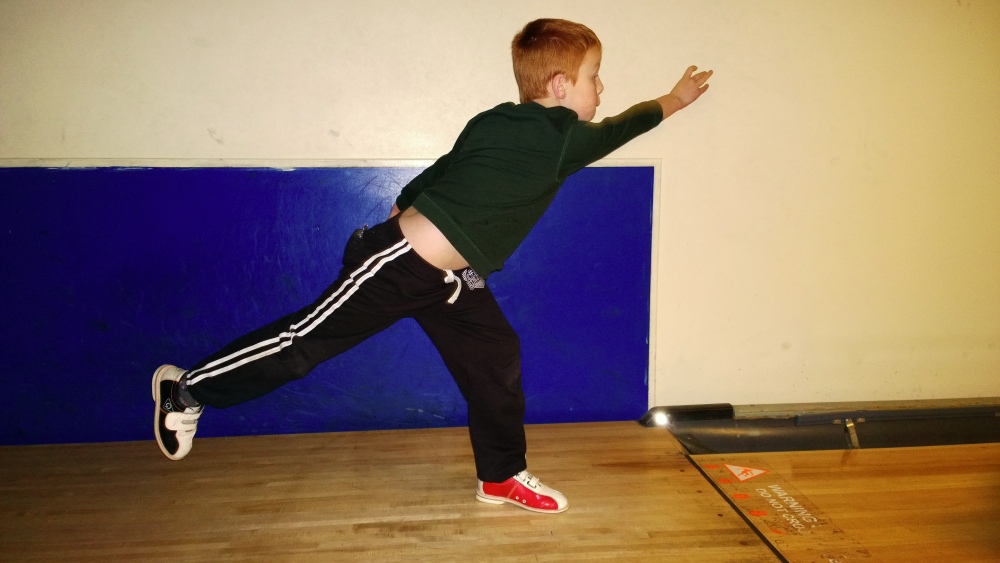
A good example of pre-focussing, in this case on the boards in the centre of the lane, and then just reframing up a little and wait for my nephew to finish his (rather impressive) ten pin bowling action. Helped here by Xenon flash on the 1020, of course, but the pre-focus principle still stands.
It's surprising how often this trick works. Or, if the subjects (pets/kids) are going to be at roughly the same distance because you're sat on a couch and they're in the middle of a rug (e.g.) then use the manual focus trick and set this about right - then snap away with zero delay on each shot, safe in the knowledge that there's not going to be any focussing delay.
____________
Using the three common sense techniques here, I've had many low light success shots, though obviously I'm reluctant to share most of the personal examples with people and kids here. In short, anyone who dismisses the Lumia 1020, 1520 and 930 (in particular) because of 'slow focussing in low light' simply hasn't thought through what's happening.*
* The Lumia 1020's older processor and larger sensor do still mean that there's a three second shot to shot time, which may be a limitation in itself, though this delay is greatly reduced on the newer hardware, albeit with less PureView oversampling.
______________
A further, anecdotal example, of using manual focus, which I thought you might enjoy. I was on holiday last week and firing a frisbee into the wind on a deserted beach (as you do) and I had the idea of wanting to, somewhat artily, capture the disc in flight as it returned to me.
I had a few goes on my Android smartphone, but there was simply no way to focus properly on something 20m away and flying towards me at roughly 40kph. Switching to my Lumia 1020, I used the manual focus feature, set this to a spot on the beach about 20m in front of me and fired the frisbee off. On its return flight towards me, I hit the shutter at roughly the right time and.... bingo. One frisbee in flight!
