The screen ageing wasn't a showstopper, admittedly, though it was annoying to know that every colour I was seeing wasn't as vibrant as it should have been. The battery degradation was more of an issue. As it is in any smartphone after two years of heavy use. I've replaced numerous iPhone batteries, for example. The exact degradation depends on how you've used the phone, but for most smartphones with sealed batteries I'd expect capacity to be down at around 60 to 70% after two years of use. Or, in other words, life is down by 30 to 40% and that usually makes the difference between lasting easily until bedtime and getting battery low warnings by tea time.
So. A new screen and a new battery for my Lumia 1020. OK, I admit that I was about to buy the parts from 'fonejoy' on eBay (no affiliation, but a reliable supplier) - and you'll need to do this, of course. Other suppliers are available, as they say!
But then it hit me - in a dark corner at AAWP Towers we had an old AT&T-branded Lumia 1020 (locked to AT&T and optimised for USA frequencies etc.) Why not just nick the screen and battery from this? After all, the AT&T device had hardly been used.
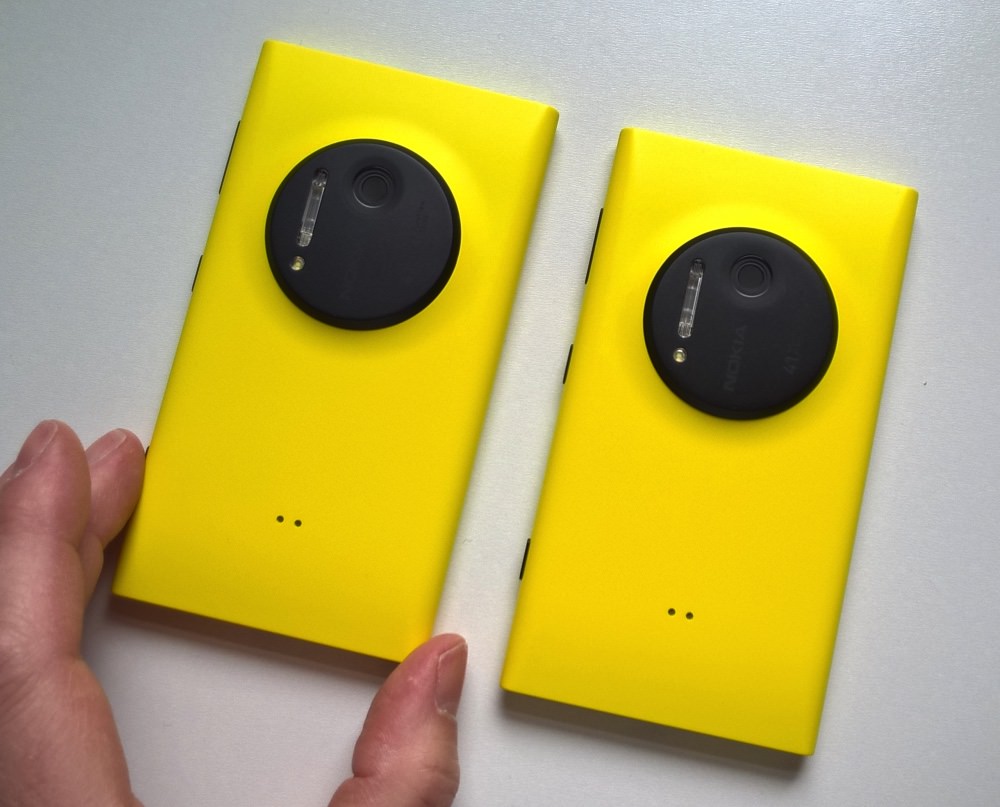
And so to LE55ONS on Youtube, with his tutorial on how to get 'into' the 1020. If you do watch it (and this is recommended if you attempt any of this) then note that you only need the initial 30% and the last 10%, since he also goes into dismantling some even scarier sections of the device in the middle!
Armed with Torx T4 and T5 screwdrivers, plus a penknife and plastic 'spudger', I found it relatively painless to:
- loosen the locking screw
- prise open the right edge of the screen, working my way down with the spudger
- unclip the battery connector
- unclip the display connector
- unclip the FFC connector
At which point I had the phone in two halves. One of which was the entire screen assembly.
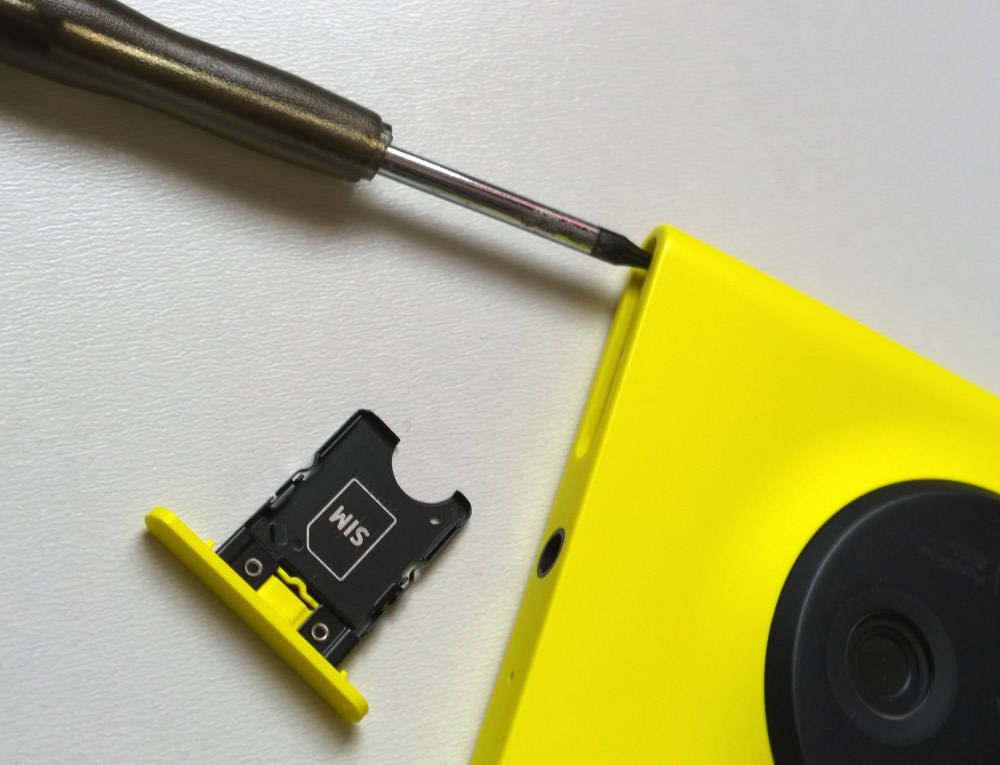
The screen unlocking screw is in the SIM tray slot...
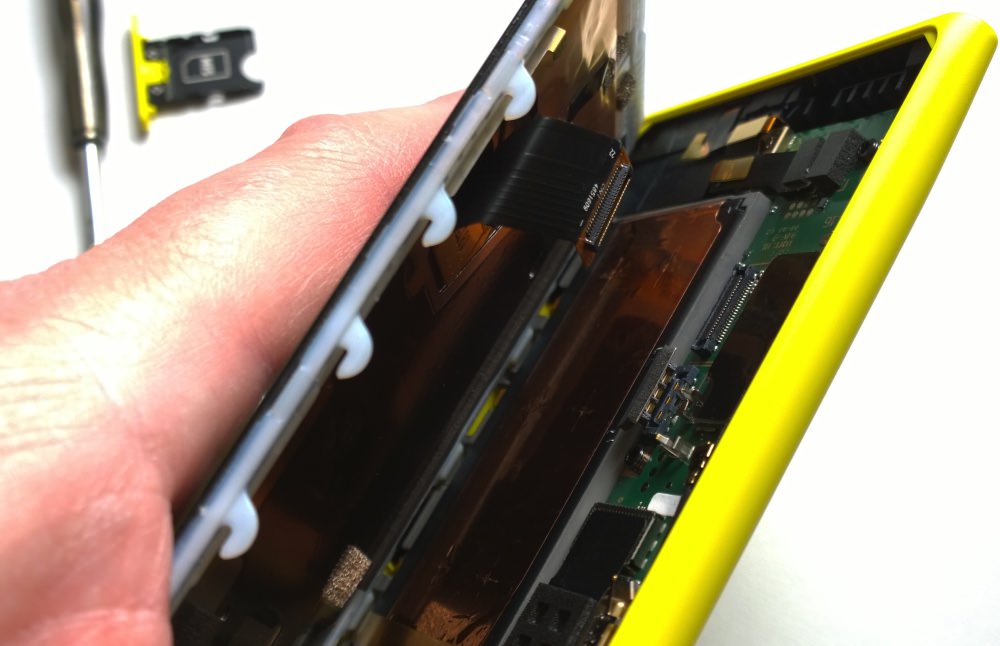
Display connector popped off, battery ditto...
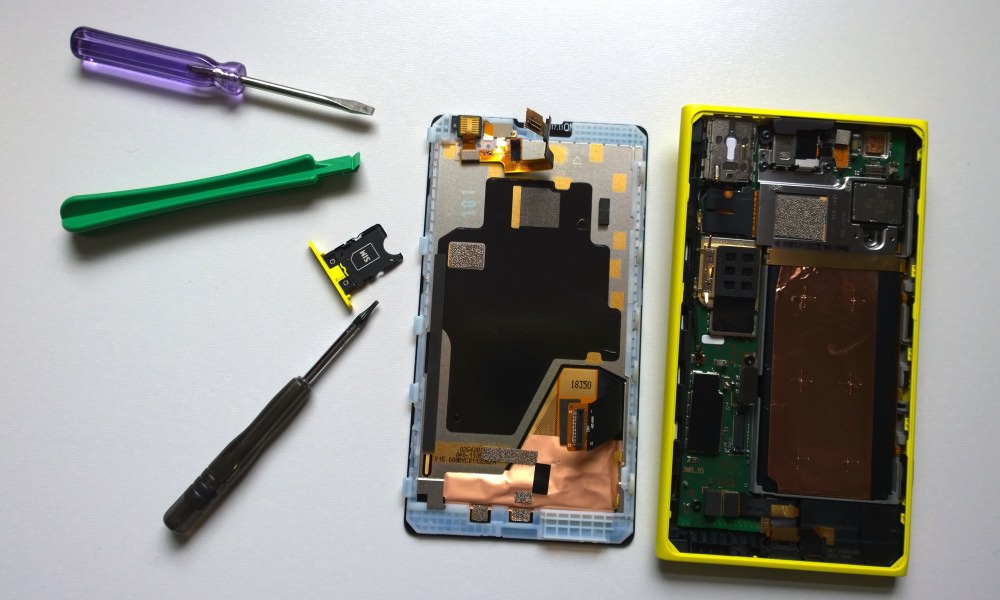
In two pieces, screen and body!
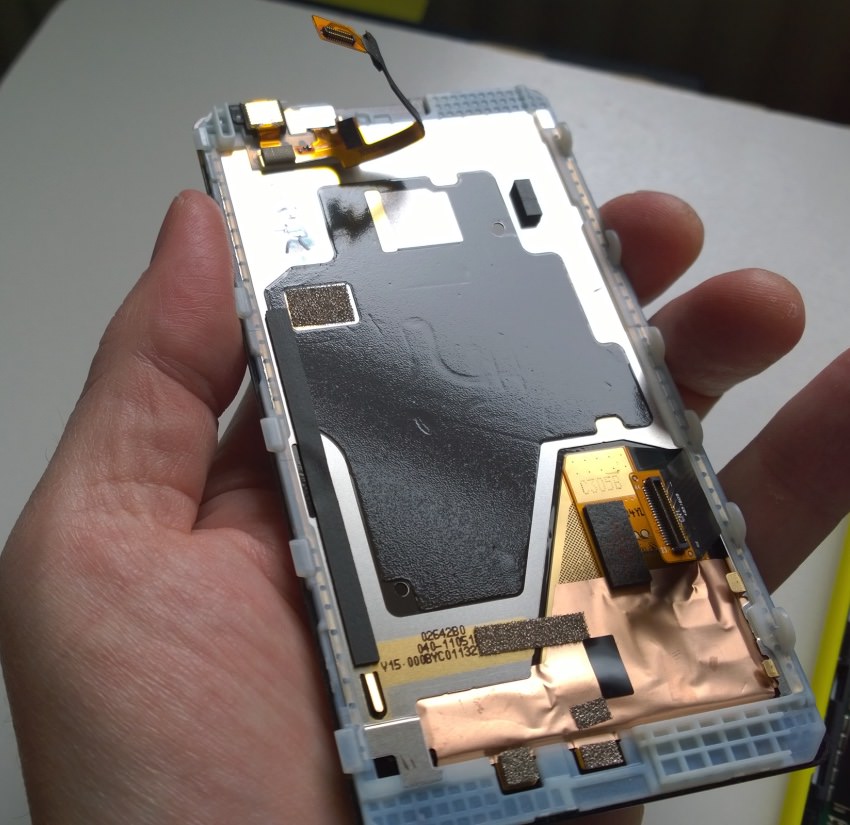
The new screen (whether harvested, as here, or bought in)
The next stage was to:
- undo the three (T4 and T5) screws
- carefully lever off the retaining cover
- slice through the heat sink tape (only present on one of my 1020s, interestingly)
- lever out the BV-5XW 2000mAh battery
Job done. Well, almost. I then had to repeat all the above steps for the second Lumia 1020 (in my case, though you'll have spare parts, bought in!), and making sure to keep the components separate, so that the right screen and battery went in my 'main' European 1020(!)
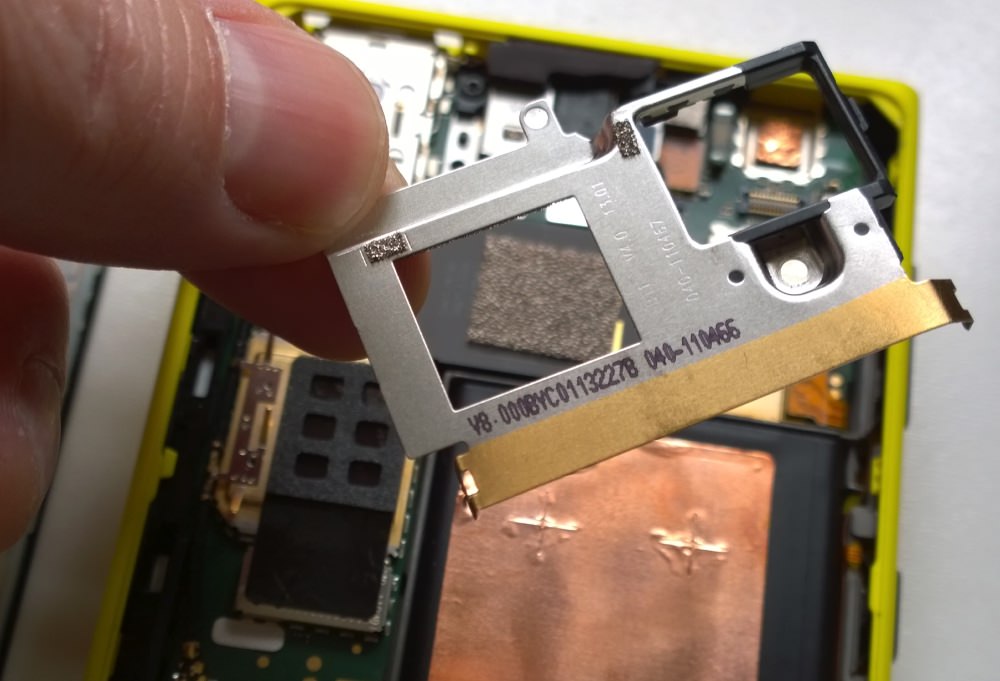
The retaining plate, unscrewed and unclipped...
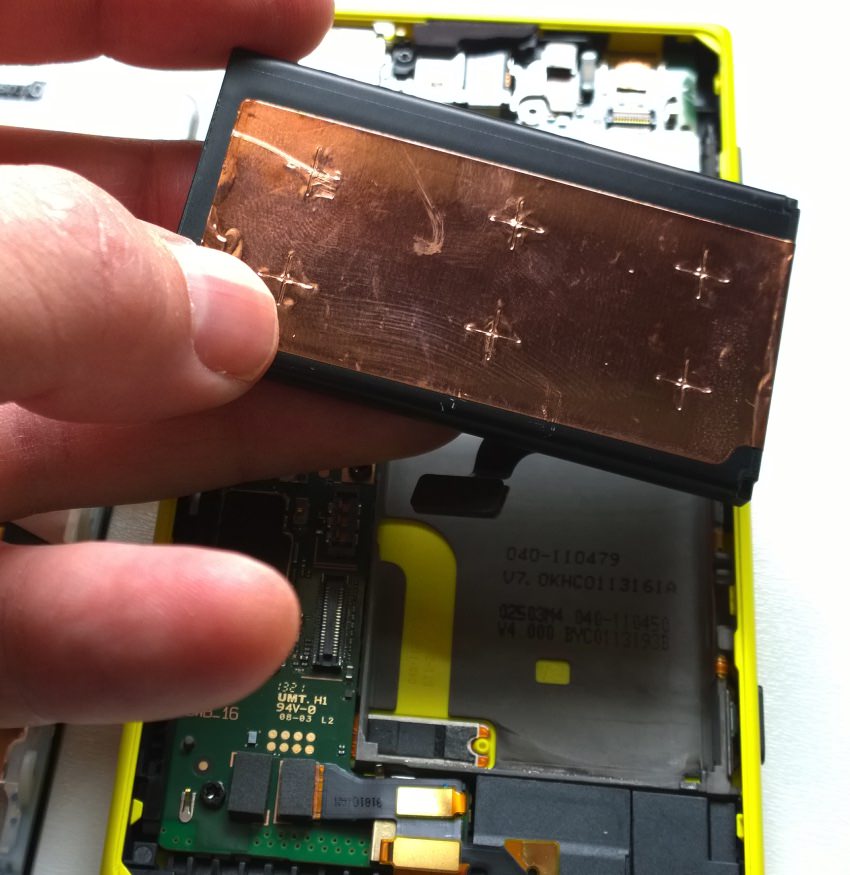
The battery is out! And being replaced...
Finally, assembly is the exact reverse of the steps above and is quicker and less worrying than the disassembly, as you might expect!
In terms of time taken, taking the 1020 apart to the point where I could take out the battery took about 10 minutes at first. Then only 5 for the second one. And, for fun, I did it all again for one of the devices and got the battery change time down to about 4 minutes for disassembly, replacement and re-assembly. It's amazing how it becomes second nature once the 'fear' factor is eliminated, though I still wouldn't recommend any of this to a nervous geek!
Of course, note that you don't have to replace both screen and battery. Depending on your needs and budget, you might just opt for one or the other.
Final impressions are outstanding though - the display looks as it did when I first got my 1020 and the battery is taking a full 2000mAh charge again. Now that's what you call a refresh!
