The Insiders programme is great fun and can offer genuinely new features and performance gains, but it also can include bugs and niggles which you don't need in day to day life. Which means that you may be wondering how painful it is to revert to 'production' status and a more stable and mature OS? The answer it that it depends...
The simplest way to jump off the Insider builds, if you have the time, is just to opt out of the Insider programme in Settings/Update & Security and to.... wait. There's a good chance that, in a few months, when the next major production build is formally made available, that your phone will simply upgrade smoothly and you'll be done. Note that I say 'chance' because I've never actually seen or done this (despite my huge stable of phones and versions), so it's purely theoretical. In addition, your 'production' phone would still have a lot of stuff left under the hood from the various Insider builds, so this isn't necessarily a foolproof way forwards.
Thus it might be better to bite the bullet and follow the steps here in returning to production status the harder and more time consuming way. It's absolutely your call - if you're tempted then do please make sure you read right through this text before doing any of it!
_________________
The biggest issue with all of this is that, at the time of writing, in early March 2017, there are 'restore' incompatibilities between the version of W10M that gets flashed by the (Win32) Device Recovery Tool (DRT). The problem is that the backups made using modern (Redstone/Redstone 2) Insiders builds aren't fully compatible with the production firmware images on Microsoft's servers, from the 'Threshold' days. And 'Threshold' (the 10586 branch of W10M) is what gets reflashed by the DRT. Come on, keep up at the back....(!)
If you do try restoring to a re-flashed 'Threshold'/'branch 10586' phone from a modern backup then you'll end up with a phone with no Start screen! It's a known issue and so you'll have to use the two-step system here. So by all means opt out of the Insiders rings and by all means use the DRT to go back to 'production' but do note that you're taken back to Threshold and then have to do a second flash/update through the Anniversary Update, and so on. And at that point you can reset and restore. See the steps below!
Returning a Redstone or Redstone 2 Insiders phone to full Windows 10 Mobile production status
As usual, just work through the step here and you won't miss too much in terms of data. It's just a little (real-)time consuming!
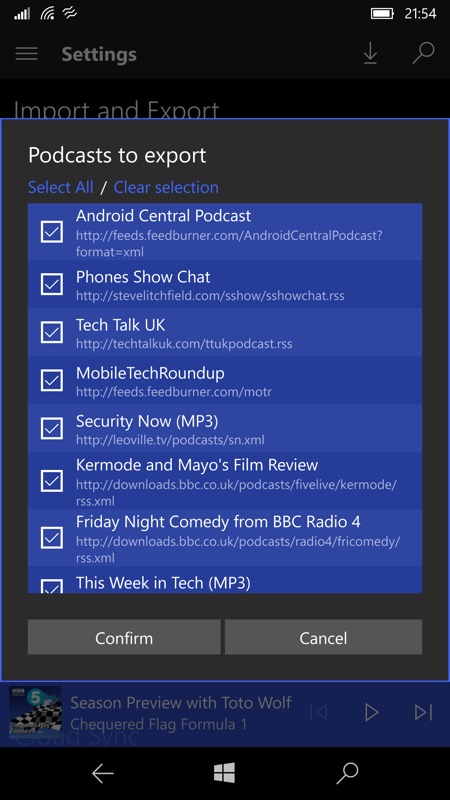
1. Export your podcast feeds
Go into your chosen podcatcher and clear its storage/cache of MP3s (since you don't want these to be needlessly backed up - they can always be downloaded again afterwards if needed). Now the important bit - make sure that feeds and/or database are backed up - this usually happens to OneDrive, but you may have to upload a file or two manually (e.g. in the ubiquitous OPML format) - depends on the app (Grover Pro is shown below).
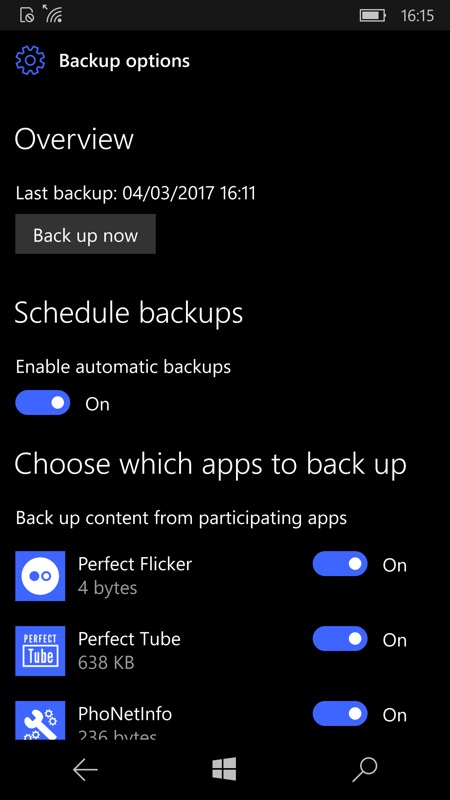
2. Back up
Check you do have a full backup: go into Settings/Update & Security/Backup, and make sure both check boxes are on ('Back up content', 'back up settings'). Now tap on 'More options' and wait a few seconds while the information is retrieved from OneDrive. Check that 'Last backup' time and date is recent (e.g. within last 24 hours).
Also, check that backup is toggled on for all installed applications (see screenshot below) and perhaps consider doing an extra 'Back up now' (and then wait!!!)
3. Finish your games
You'll lose game states in most cases, so finish off that tricky title and draw a line under it before moving on?
4. Check you know your passwords
The usual precautions about double-checking that you have any relevant passwords (e.g. Microsoft, Google, Dropbox) to hand, to save messing around with recovery emails later!
5. Save your Start screen layout
A bit of a 'belt and braces' hack, this, but just in case the auto-restore of this doesn't happen(!), screenshot your current preferred Start screen layout (power+volume-up button), repeat for each screen's worth! Upload the resulting images to OneDrive or share them with yourself via email etc.
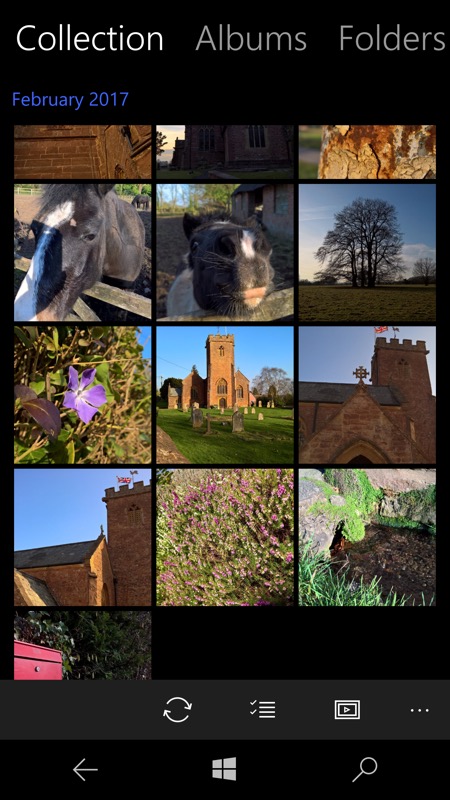
6. Photos, PIM up to date?
Make sure that all of your latest photos are synced up to Microsoft Photos by going into this and hitting the 'refresh' control. You don't want to risk losing a valuable recent photo!
Ditto for Outlook Mail and Calendar, do a final sync to make sure any latest phone tweaks to PIM apps are synced up to the cloud.
7. Take out your SIM if you're expecting a call
Take out SIM card and put in something else for the time being, if you're worried about not being phone-able for a few hours! You will need this downtime, not least for the large download in step 8a below!
It's also a good idea to plug into power now if you haven't already, making sure that your battery is near fully charged - there's a lot of downloading and flashing about to happen!
8. Flashing time!
Connect the phone up to a Windows 7, 8 or 10 PC and run the (Win32) Device Recovery Tool (DRT). You can grab this for yourself here if you don't already have it on your Windows 7, 8 or 10 system.
Follow the instructions, connect your phone via its data cable (microUSB or USB Type C), click on the graphic when prompted and the DRT will scurry off and find the appropriate baseline OS version for your phone. Don't be alarmed if the version shown is too out of date - in my experience at the time of writing (March 2017), the DRT tends to take all phones back to the old 'Threshold' branch of Windows 10 Mobile.
Downloading the full device OS image will take a while - on my test Lumia 950 here the download was just under 3GB, so once you've set this in motion you'll want to go off and have a cup of tea (or something stronger, to calm your nerves!) Once the download has finished on your PC, it will get checked for corruption and then the 'flashing' of your phone will start automatically.
So, in theory, you can just come back in an hour and find your phone flashed and 'working' again, just as if you were a novice user buying a (2015 Windows 10 Mobile branch 10586) phone off the shelf(!)
9. Signing in (temporarily)
You'll be faced with a smartphone that's showing the typical set-up screens: choosing country; accepting Microsoft's EULA; setting the date and time; selecting a Wi-fi network; agreeing to go 'Express' with default settings. You'll be familiar with all of these and it's not rocket science to work through.
Next is being given the chance to 'Sign in' and you'll almost certainly want to do this. Give the phone your Microsoft account email and password and tap 'Next'. You may also be asked to complete two step verification by one of your chosen backup methods (e.g. code sent by SMS to your nominated phone number).
The phone will scurry off and offer to restore your online backups, but resist the temptation - it won't work and you'll be left with no Start screen! Select 'Start afresh as a new phone' from the bottom of the pick list and you'll be taken through to a default Start layout. There will also be loads of application updates waiting in the Store, but you can completely ignore these for now.
10. Do the production upgrade to Anniversary Update
Head immediately into Settings/Update & Security/Phone update and then 'Check for updates'. The production Anniversary Update (branch 14393.something) should start downloading and, when finished (it'll take a while) you can opt to 'Install' and then 'Restart now'.
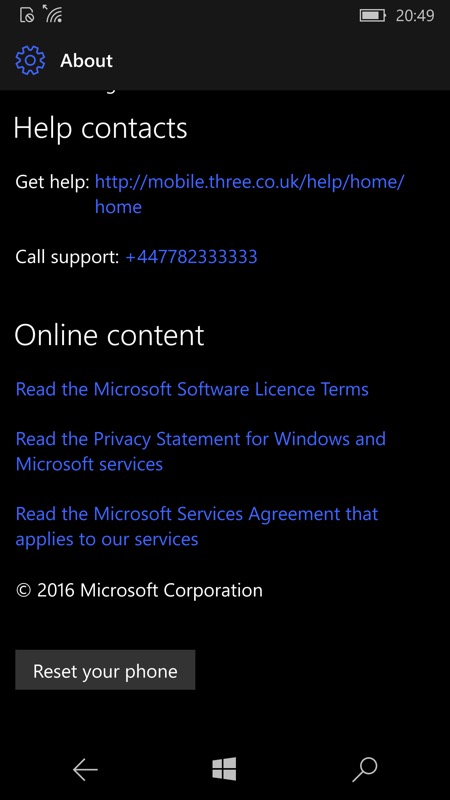
11. Reset time
Once rebooted, head into Settings/System/About and scroll down to the 'Reset your phone' button. Tap this and confirm, to set the phone erasing itself - this will take several minutes, so be patient.
12. Signing in
You'll be faced with a smartphone that's again showing the typical set-up screens: proceed as before. 'Sign in' as usual but this time, when prompted to restore from a backup, go for it. The right and most recent backup will hopefully be highlighted in blue, but do double-check it (both device RM code and date/time - e.g. a few hours or days before). You may also be asked to complete two step verification by one of your chosen backup methods (e.g. code sent by SMS to your nominated phone number).
13. Restoring your settings and data
You're now faced by a number of restoration steps. The first involves a progress bar and should take about ten minutes - you might also be asked to confirm your details again at around the 20% mark, depending on which OS version you're on.
Next, step through the agreements for OneDrive and Cortana. Windows 10 Mobile then helpfully gives some hints along the lines of being patient in terms of the app installs. Which proves to be apt advice - you may think you're nearly there but in fact you've still got at least an hour of background application installs to (lightly) supervise.
14. Re-installing and updating applications
Head into the Store and look on the menu for 'Downloads and Updates' - hit this and then scroll through the long list of updates waiting until you come to the Store itself. Tap on its download icon and update this first, for a smoother ride overall!
The Store will update and terminate, so then you can launch it again and go into 'Downloads and Updates' again - this time tap on 'Check for updates' if need be, and you should see around 50 or (much) more updates waiting.
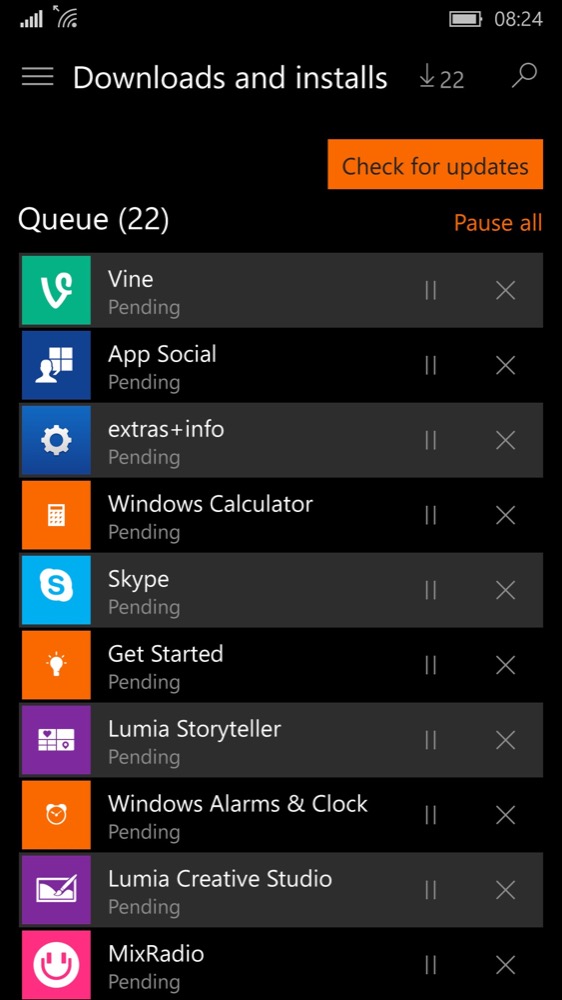
At this point it's safe to simply tap on 'Update all' and then go off and do something else for an hour or so. True you could insert your SIM at this point and use the phone for the basics, but I'd advise against it - your phone needs to be on Wi-fi and relatively undisturbed - it's doing a lot of installation work and will be slow and (probably) hot during this phase. So best leave it alone to get on with it.
15. Final checks
Once everything's installed and settled down, power down and insert your main SIM, then run through the basic applications to make sure that your PIM data syncs all happened OK. So that's Outlook Mail and Calendar - is everything restored/synced and in place? Use the 'Refresh' tool in each if not. And you'll want to head into your podcatcher too, importing all your shows/feeds from wherever you saved your exported list above.
Phew!