It's worth noting that this guide applies to any Windows Phone 7 device. However, the Nokia Lumia 800 and 900, which many readers of this site probably own, arguably have the best camera in the Windows Phone 7 range – with the HTC Titan as a close second. Steve Litchfield is our resident camera expert and you can see his detailed breakdown of the Lumia 800's still capture abilities here and his review of the HTC Titan here.
Whenever a geek goes on holiday, there's always the dilemma of which gadgets to take with them. In my case, I try to take as few as possible, and so I need something that's a jack-of-all-trades. In the case of a smartphone I absolutely have to have something with a great camera, and considering that my main device was the Nokia N8 for a long time, my standards are quite high! Nevertheless, now that I've moved onto the Lumia 800 I am very confident in its photography credentials. The Lumia 800 can produce quite stunning results just with its automatic settings. However, with just a little knowledge of its camera settings you can take things to another level. Therefore, I opted to take my Lumia 800 with me to the Peak District and taught myself a few photography basics in the process.
In this guide, we'll go through some basic steps and build up to the best bokeh technique – and explain what that word means if you've never heard of it before!
Macro Photography
Confusingly, Windows Phone 7 has two distinct settings that are both called 'Macro'. One is a focusing mode, and the other is a scene preset. If you intend to take close up images, then you really need to use both of these settings.
While the focusing mode informs the camera about the distance to the subject of your shot, it's the scene mode which will help out with the exposure settings. In the photos below, the first image was taken with focusing mode set to Macro, while the second had the scene mode set to Macro too. The third image was taken on a Panasonic DMC-LZ7 point and shoot as a control sample.
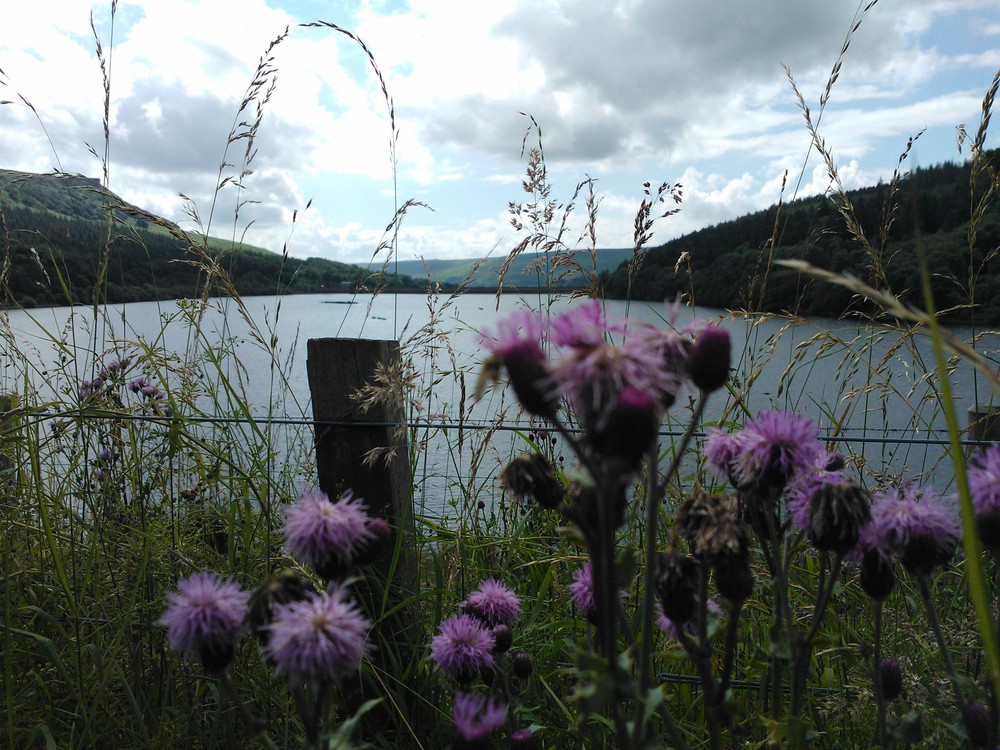
Nokia Lumia 800: Macro focusing, auto-scene, exposure time 1/2410s.
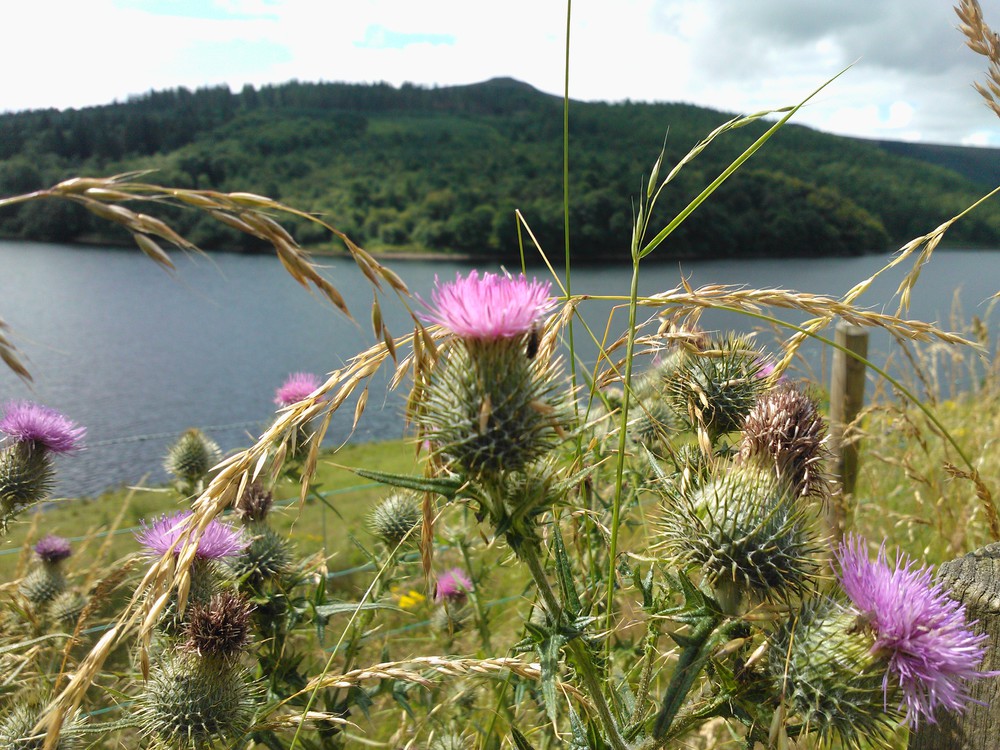
Nokia Lumia 800: Macro focusing, Macro-scene, exposure time 1/1149s.
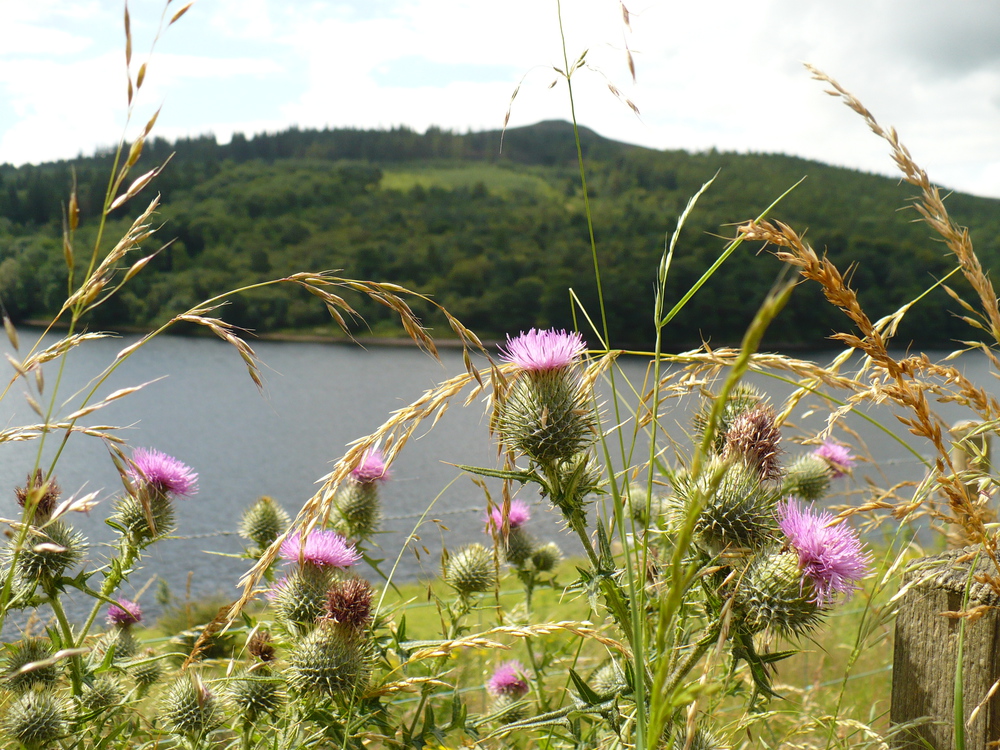
Panasonic DMC-LZ7: Macro focusing, exposure time 1/800s (ISO 100).
The photos on the Lumia were taken with the shutter key, which instructs the camera to lock on to the object closest to the centre of the viewfinder. We can see in the cut-out sections below that the point and shoot Panasonic was able to better lock on to the desired subject than the Lumia. You can avoid this by either forcing the camera to focus on what you're interested in by half-pressing the shutter key with that object in the centre, and then reframing before taking the shot - or, alternatively, you can touch the screen on the object you want to focus on – known as 'tap to focus'.
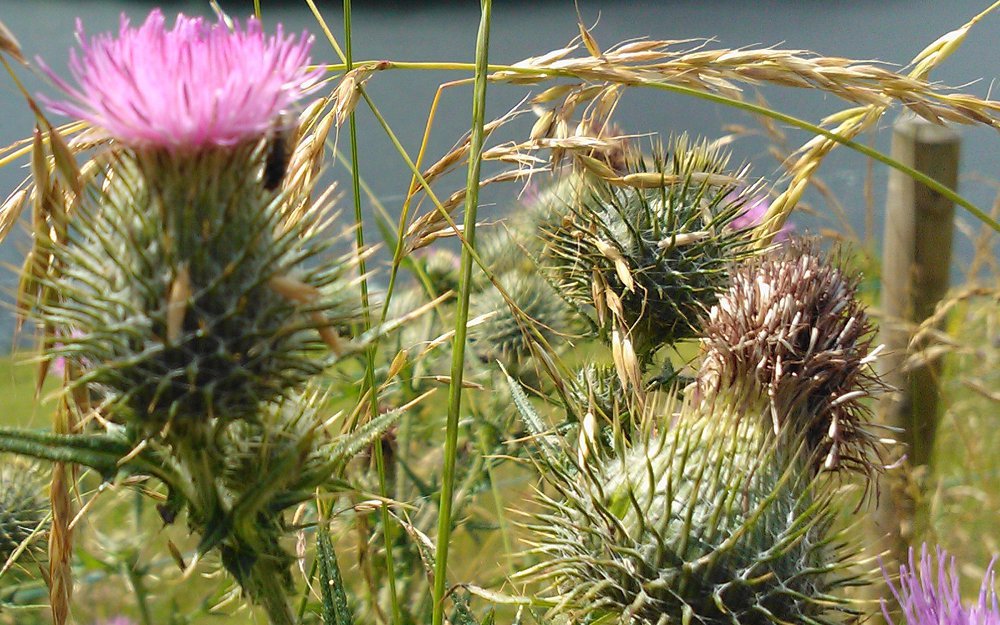
Nokia Lumia 800 Macro-focusing missing the prominent thistle.

Panasonic DMC-LZ7 Macro-focusing capturing all the desired details
Here is an example of how finely the Lumia 800 can focus. In the following shot, the flower was the object, but again, shutter-key focusing failed to pin-point it, but look at the tiny dew droplets on the blades of grass that it did focus on.
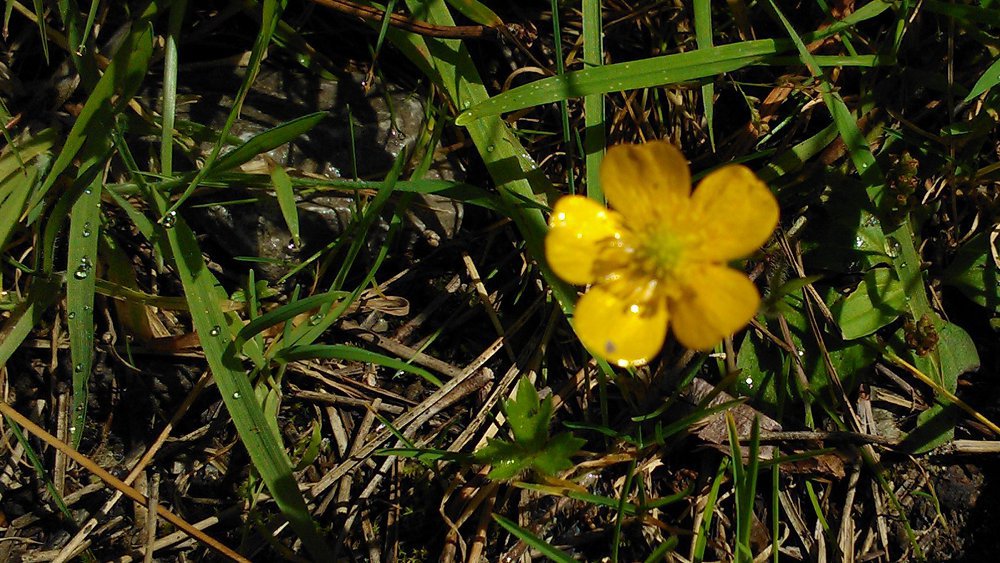
Nokia Lumia 800 Macro, with centre-spot metering. Note the dew droplets!
Finally, just to demonstrate that the Lumia 800 (and its user!) can get focused on a deliberate target …

Nokia Lumia 800 – butterfly and leaves
Metering
You are probably aware from using various digital cameras and smartphones that one of the most accessible settings is always Exposure – i.e. how long the sensor will collect light for before processing the image. If you look at the exposure scale on your camera and don't know where to start, don't worry. The metering mode is another way in which you can get some exposure control without manual adjustments.
The metering mode is the way in which any digital camera asseses an image and settles on an optimal exposure setting. Windows Phone 7 has three metering modes which relate to the best area of the image on which to assess exposure. "Frame Average" bases exposure on the average light levels across the whole image. "Centre Weighted" measures across the whole image but puts more importance on the central area of the image. Finally, "Centre Spot" provides a much more accurate tool by only measuring the light levels of the very centre of the frame.
If you are photographing a high-constrast scene, then it's best to stay clear of Frame Average mode. Depending on the area of the frame you're trying to capture, use Centre Weighted or Centre Spot metering instead; e.g. taking someone's face with the sun behind them. Conversely, Frame Averaging can bring out details obscured by shadow in scenes where there is also extremely bright lighting.
Metering in low-constrast frames
Frame Average versus Centre Weighted Metering
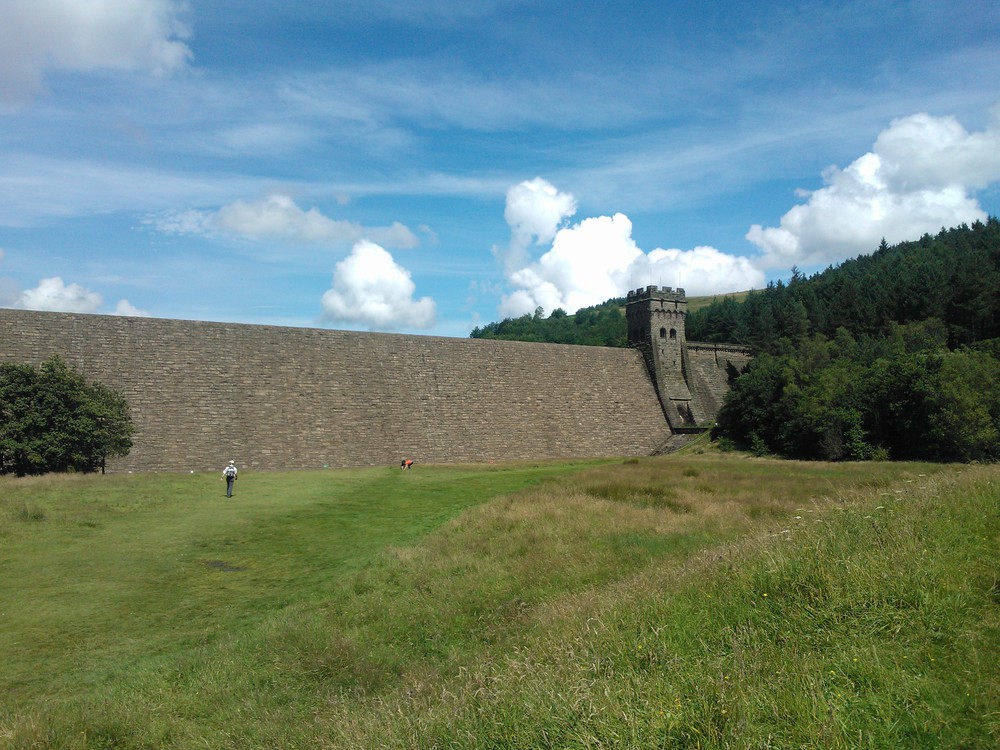
Nokia Lumia 800, Metering: Frame Average
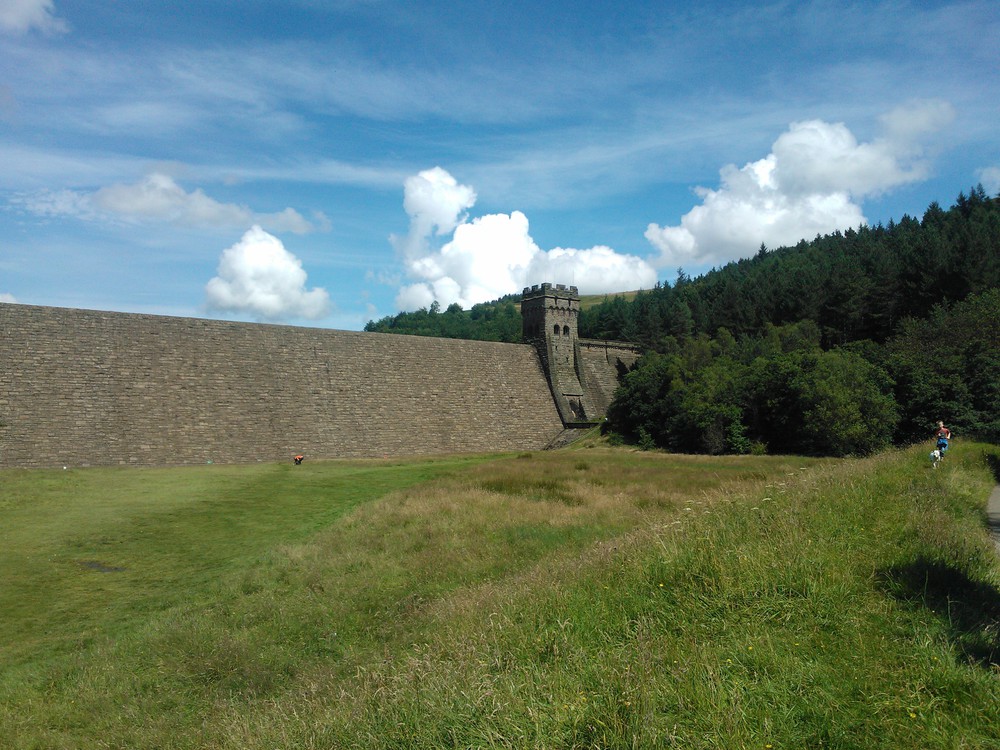
Nokia Lumia 800, Metering: Centre Weighted
We can see here that there's no discernable difference in the exposure, both images look identical – notwithstanding a slightly different camera position.
Metering in high contrast frames
Frame Average versus Centre Weighted Metering

Nokia Lumia 800, Metering: Frame Average
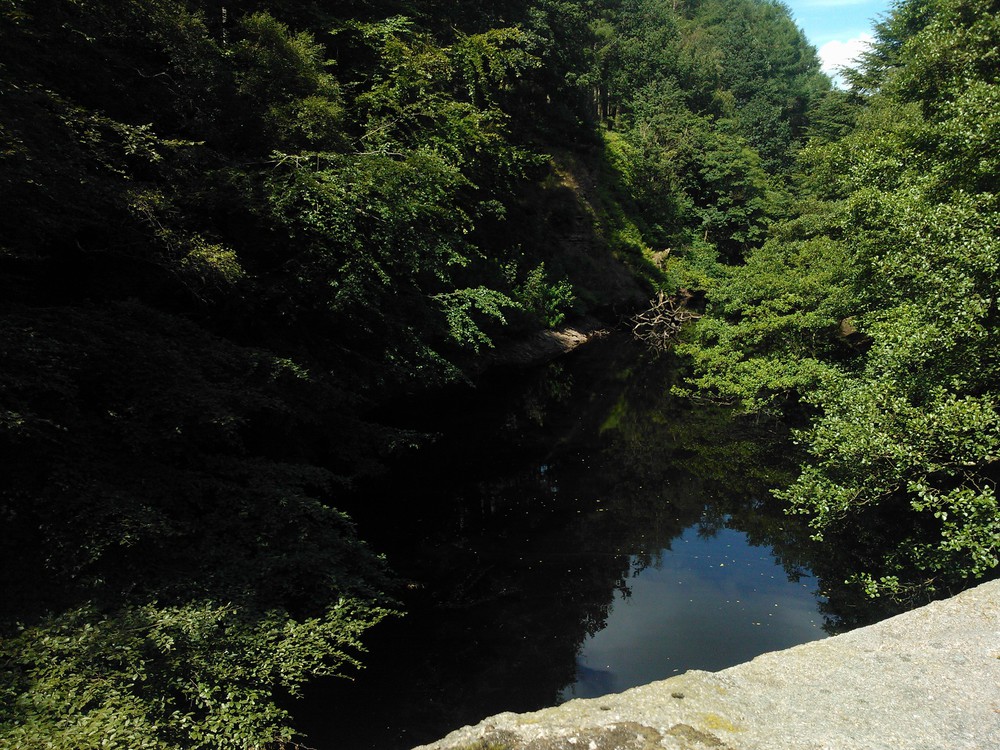
Nokia Lumia 800, Metering: Centre Weighted
In these shots, the trees on the right were in such intense sunlight that the average exposure was brought up to a level were the shaded areas were almost 'blacked out'. Whereas by centre weighting the exposure, there is a much more even contrast to the resulting image, while detail in the light and dark areas are still clear.
Bringing it all together to make bokeh
Even if you haven't heard word 'bokeh' before, the chances are you've dabbled in it. It is the process of taking a photo with a very short depth of field, such that everything but the subject is out of focus. You can use this affect to emphasize the subject or simply for artistic effect.
Bringing together what we have learned in the previous sections, it is possible to create an impressive close-up bokeh with the Lumia 800 and 900 camera, by following these steps:
- Enable Macro scene mode
- Enable Macro focus mode
- Enable Centre Spot metering
- Put the subject of the photo in the centre of the frame
- Half depress the shutter key so that focussing can lock and metring take place
- If you’re not happy with the focus lock, repeat the previous step until satisfied
- Once satisfied with focus lock, reframe the image to get the right composition; e.g. following the rule of thirds, but keep the shutter key half pressed
- Fully depress the shutter key to take the image
Alternatively, if centre spot metering is not needed try lining up your shot first (i.e. ‘composing the frame’), and then use the tap to focus feature. In this case, the camera will focus on the point you select and take the photo in one operation. The drawback is that you probably shouldn’t use centre spot metering and so may lose control over the contrast range of the image.
Here you can see an example of the above steps in practice. The focus lock has created a very narrow depth of field with individual flowers of the bunch being inside and outside the focused area. Metering was optimised for the bunch of flowers, and so note the slight over exposure of the cloud tops and the relative darkness of the blue sky.
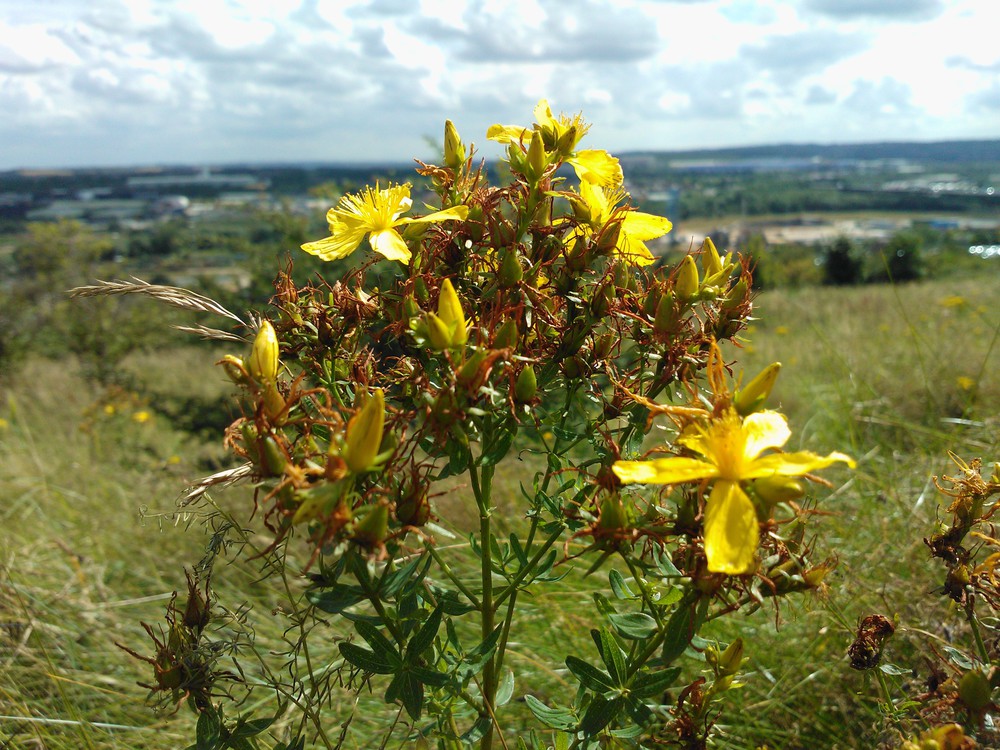
Bokeh created on the Lumia 800
Summary
Since there are so many situations and conditions in which you may be taking photographs, the advice here can only be offered as guidelines and not as a strict prescription. The other thing to bear in mind with the Lumia 800/900 camera is that while it is a great camera module, what separates it from the likes of the Nokia N8 and 808 PureView is low-light performance. You absolutely have to have adequate lighting to get the best results, and this applies even more for lesser cameras on other phones.
Unfortunately, the ultimate camera app that will take perfect photographs every time on automatic settings doesn't yet exist. So the best advice I can give is to not get harassed into taking a quick shot and moving on, but to really stop and think before you take a shot. While the Windows Phone 7 camera app is no DSLR substitute, it does have plenty of settings to experiment with – so take advantage of them.
