Gilbert writes:
Here are my real world experiences with GeoMeterPro 10 UWP app on my Windows 10 Mobile-running Lumia, on my Windows 10 notebook and finally with the Continuum feature back in my office.
Maybe you remember my review of the GeoMeterPro 10 UWP app a few weeks ago? [See the link for original download/buy link - Ed] The focus there was on preparing hiking tours by retrieving tracks from published proposals and selecting offline maps in the desired resolutions around them. At that time, I proposed to complete my point of view about my experiences with GeoMeterPro 10 regarding functionality in the field in an upcoming feature. Meanwhile, I've had the time to be on some hiking tours in southern Switzerland and was able to collect plenty more detailed information and experience.
I've been in practice with the GeoMeterPro app for Windows Phone 8.x for some time already before, as I've written about last time around. The old app offers comparable functionality based on the same map data and is still maintained. So existing users of Windows Phone 8.x devices aren't cut off. On the other hand, beside the new UI, the new GeoMeterPro 10 UWP offers map interaction and GPS tracking in the same reliable way as before. In this feature, I'll focus on some features specific to UWP apps and the 'track navigation' feature that I haven't used before. The track navigation is an optional feature in both versions of the app. You can buy it for 7EUR via in-app payment. A short description about the usage of track navigation can be found here:
The first main difference of GeoMeterPro 10 UWP, when compared to the Windows Phone 8 app, is the support of PCs. This offers the opportunity to plan a tour on a notebook with the same app, and so using mouse and a big screen instead of using fingers on a small smartphone display. You're allowed to install the app on up to 10 Windows devices using the same Microsoft account.
Due to bad weather conditions on higher mountain peaks at the time of my vacation we rejected the planned tour around the Cristallina glacier that I picked as an example in the previous review. I decided to plan another interesting tour more in the south near lake Lago Maggiore instead. The tour starts in Verzasca valley, above the reservoir Lago di Vogorno. The dam of that reservoir is usually well known from the opening sequence of the 1995 James Bond movie, "Goldeneye".
The map details shows both a bus stop and a parking place in the village Mergoscia. A friend of mine and my daughter joined the tour and my wife offered to drive us to the starting point in the morning. But now, back to the track plan. We're talking about a light alpine track (T3/T4) starting from Lago di Vogorno reservoir along the high mountain ridge above Locarno up to the peak of mount Madone and back to Locarno via cable car from mountain station of Cardada.
I couldn't find an exact matching track in the track database of Outdooractive, so I've decided to draw the track plan manually by myself. To do this, you need to clear the map first by clicking on the trash bin icon of the app bar. Then you can start editing by clicking on the edit button of the app bar. Each point of the track is connected to a yellow circle that can be used to select the point. A selected point shows a big flag with distance information and buttons. If you point to a new position, the flag is blue. If you select an existing point by clicking a yellow marker circle, the flag is red and shows buttons to save the track, add a new point or delete the selected point. You can drag a selected point by dragging the flag. The drawing tools are big enough to be used easily by fingers on small displays. But to draw a track with hundreds of points, you're much faster using a mouse on a big screen, of course. I recommend to hide the "Hamburger" split view pane and the track list pane to maximize the screen space for the map.
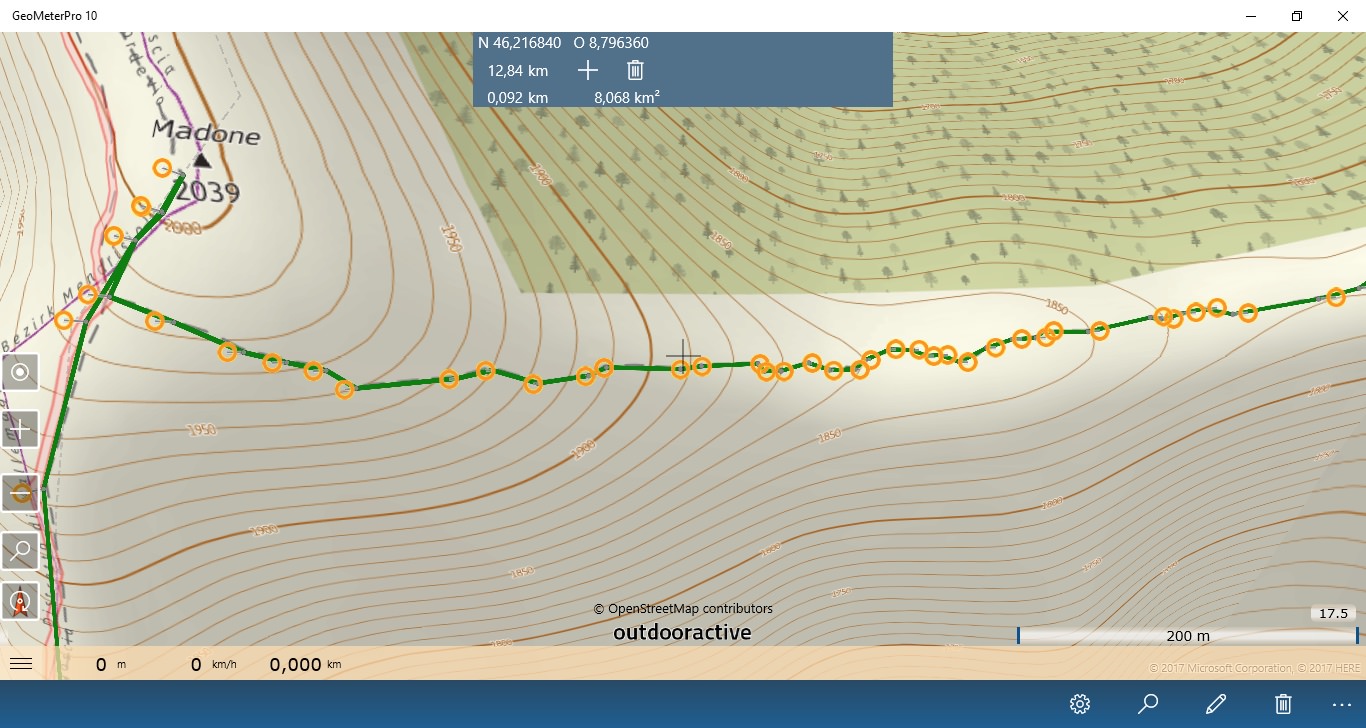
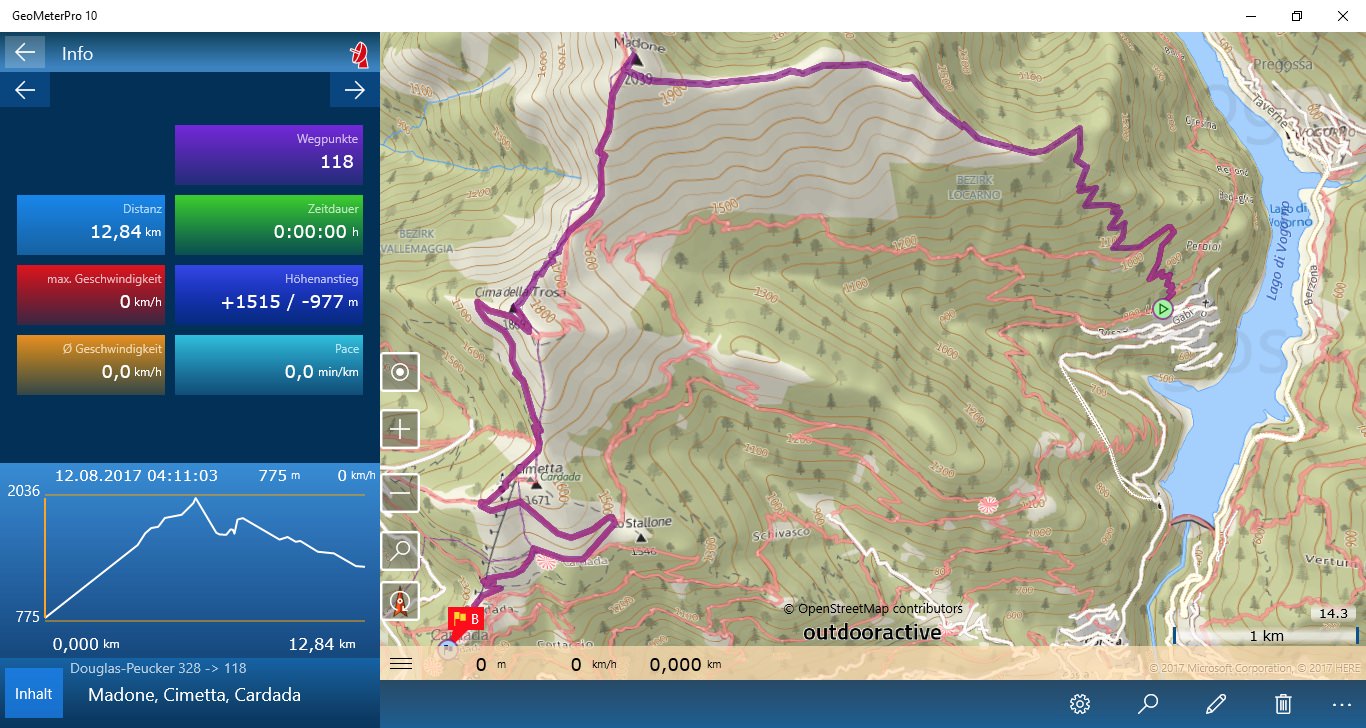
The mountain peak of Madone will be somewhat up the rocks behind the last labelled path crossing, that explains the jagged trail here at the end of the mountain ridge path. Down from the peak, it's planned to climb to the peak of Cima della Trosa before descending to mount Cimetta and finally reaching the Cardada cable car mountain station for the way back down to Locarno. In some cases, when adding new points to the track, the map scrolls randomly and places the selected point on a weird position on the map. That bug in the app was a little bit annoying while drawing. But anyway, I was able to draw the track line in about half an hour on my notebook using the mouse, thanks to the UWP version of the app. That's a big advantage over the phone version of the app. After I finished the drawing, I saved the track.
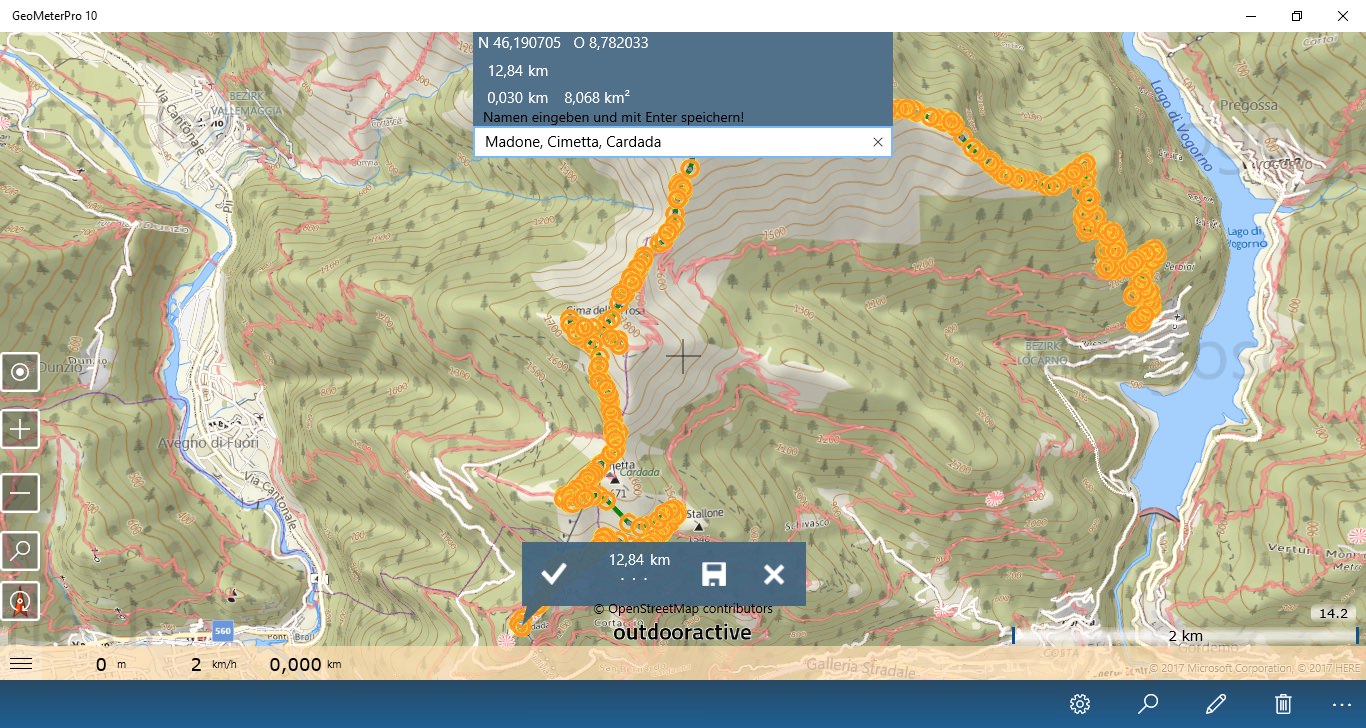
To save the track you need to press the Enter key after entering a name of the track, as described. You can see the new entry in the track list of the app by selecting "Track list" in the hamburger menu pane.
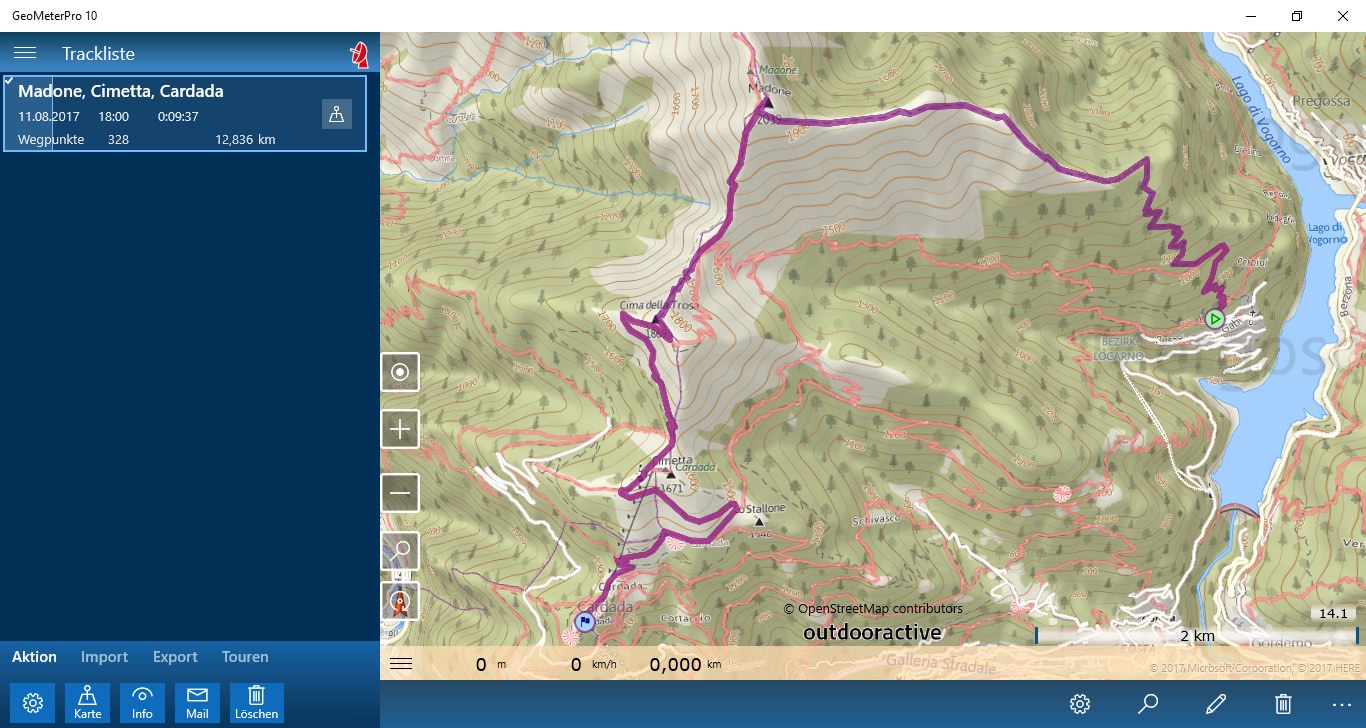
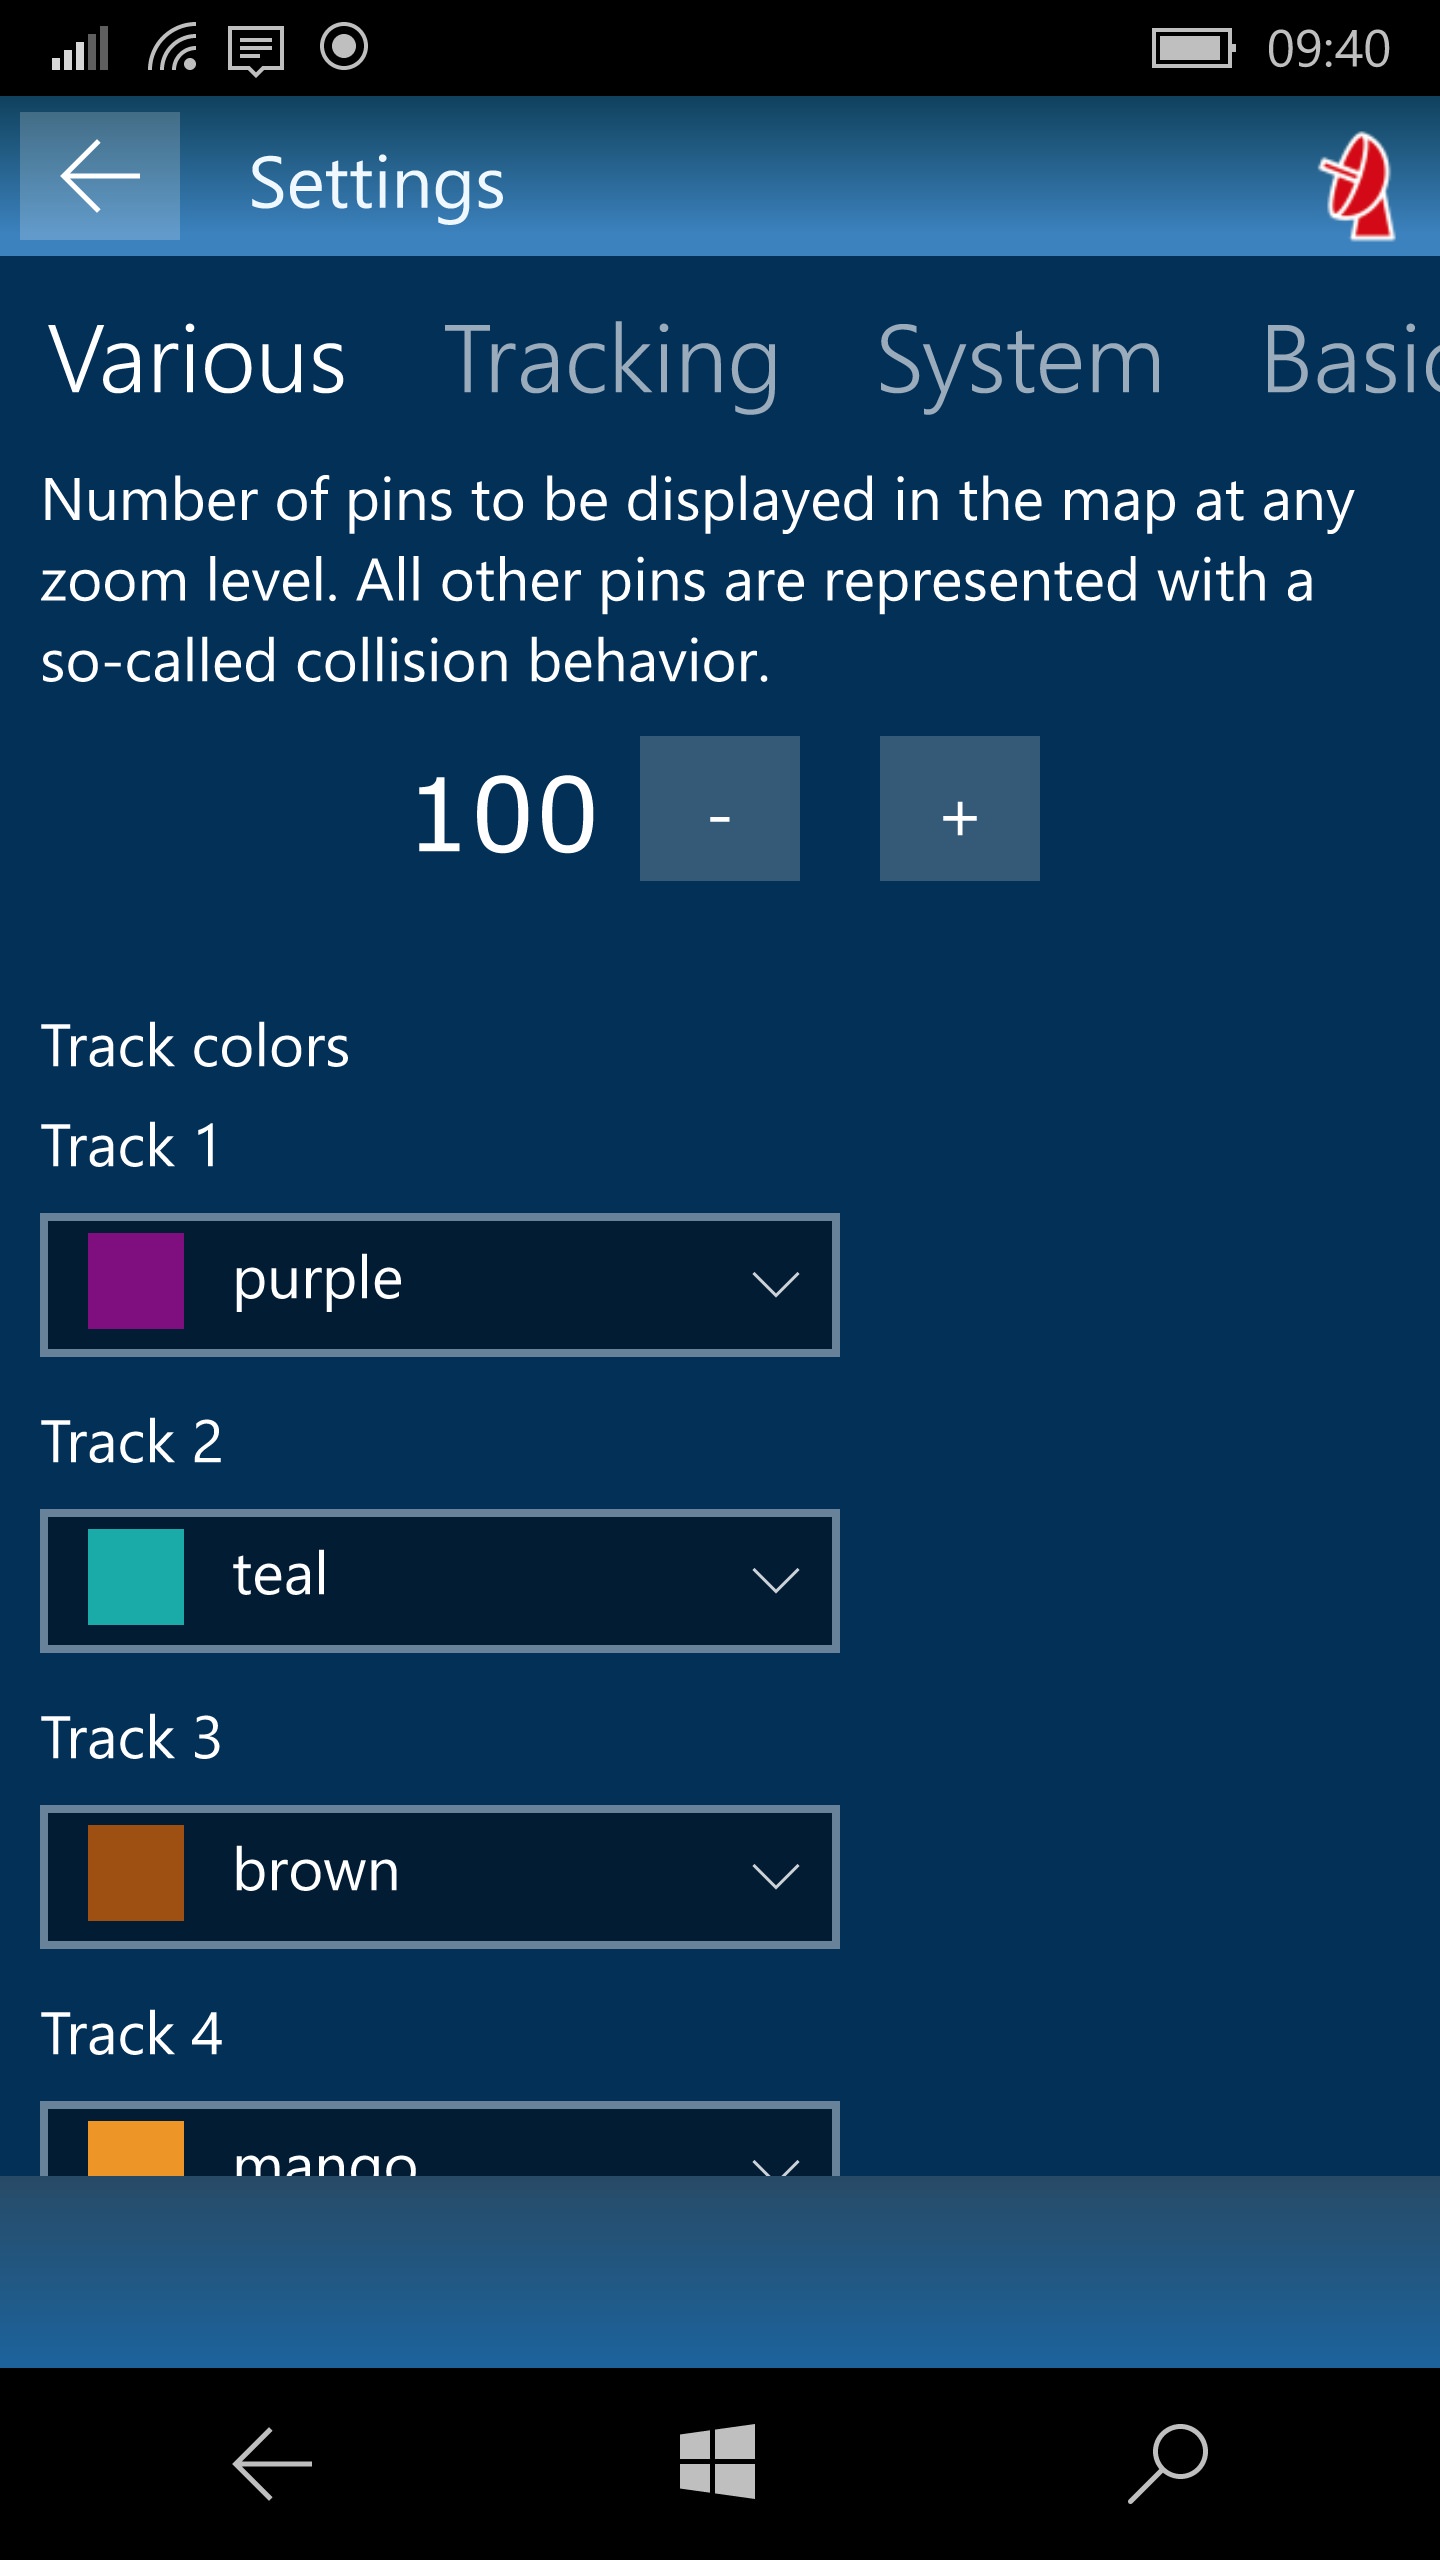
I uploaded the track via "Export" option from this list on my notebook PC, directly to OneDrive to share it with my Windows phone. In the app on my phone, I opened the track list via hamburger menu and used the "Import" option in the track list to load the track. Now, after having selected the track in the track list and switched back to map view by tapping on the "Maps" icon in the app bar below the track list, you can see the track in the map on the smartphone. You can select multiple tracks in the map. The track colors can be changed by opening the settings pivot in the hamburger menu and swiping to the section "Various".
My friend uses the map app published by "Deutscher Alpenverein (DAV)" on his iPhone. I emailed the track from my Windows phone from inside the GeoMeterPro 10 app with a tap on "Mail" icon in the app bar below the track list, and he could then use my track in the DAV app on his iPhone as well.
Back on my Windows phone in the GeoMeterPro 10 app, on the track list pane, the "Info" option shows summarized information about the planned track and offers the animations between height profile and map already described in my previous review.
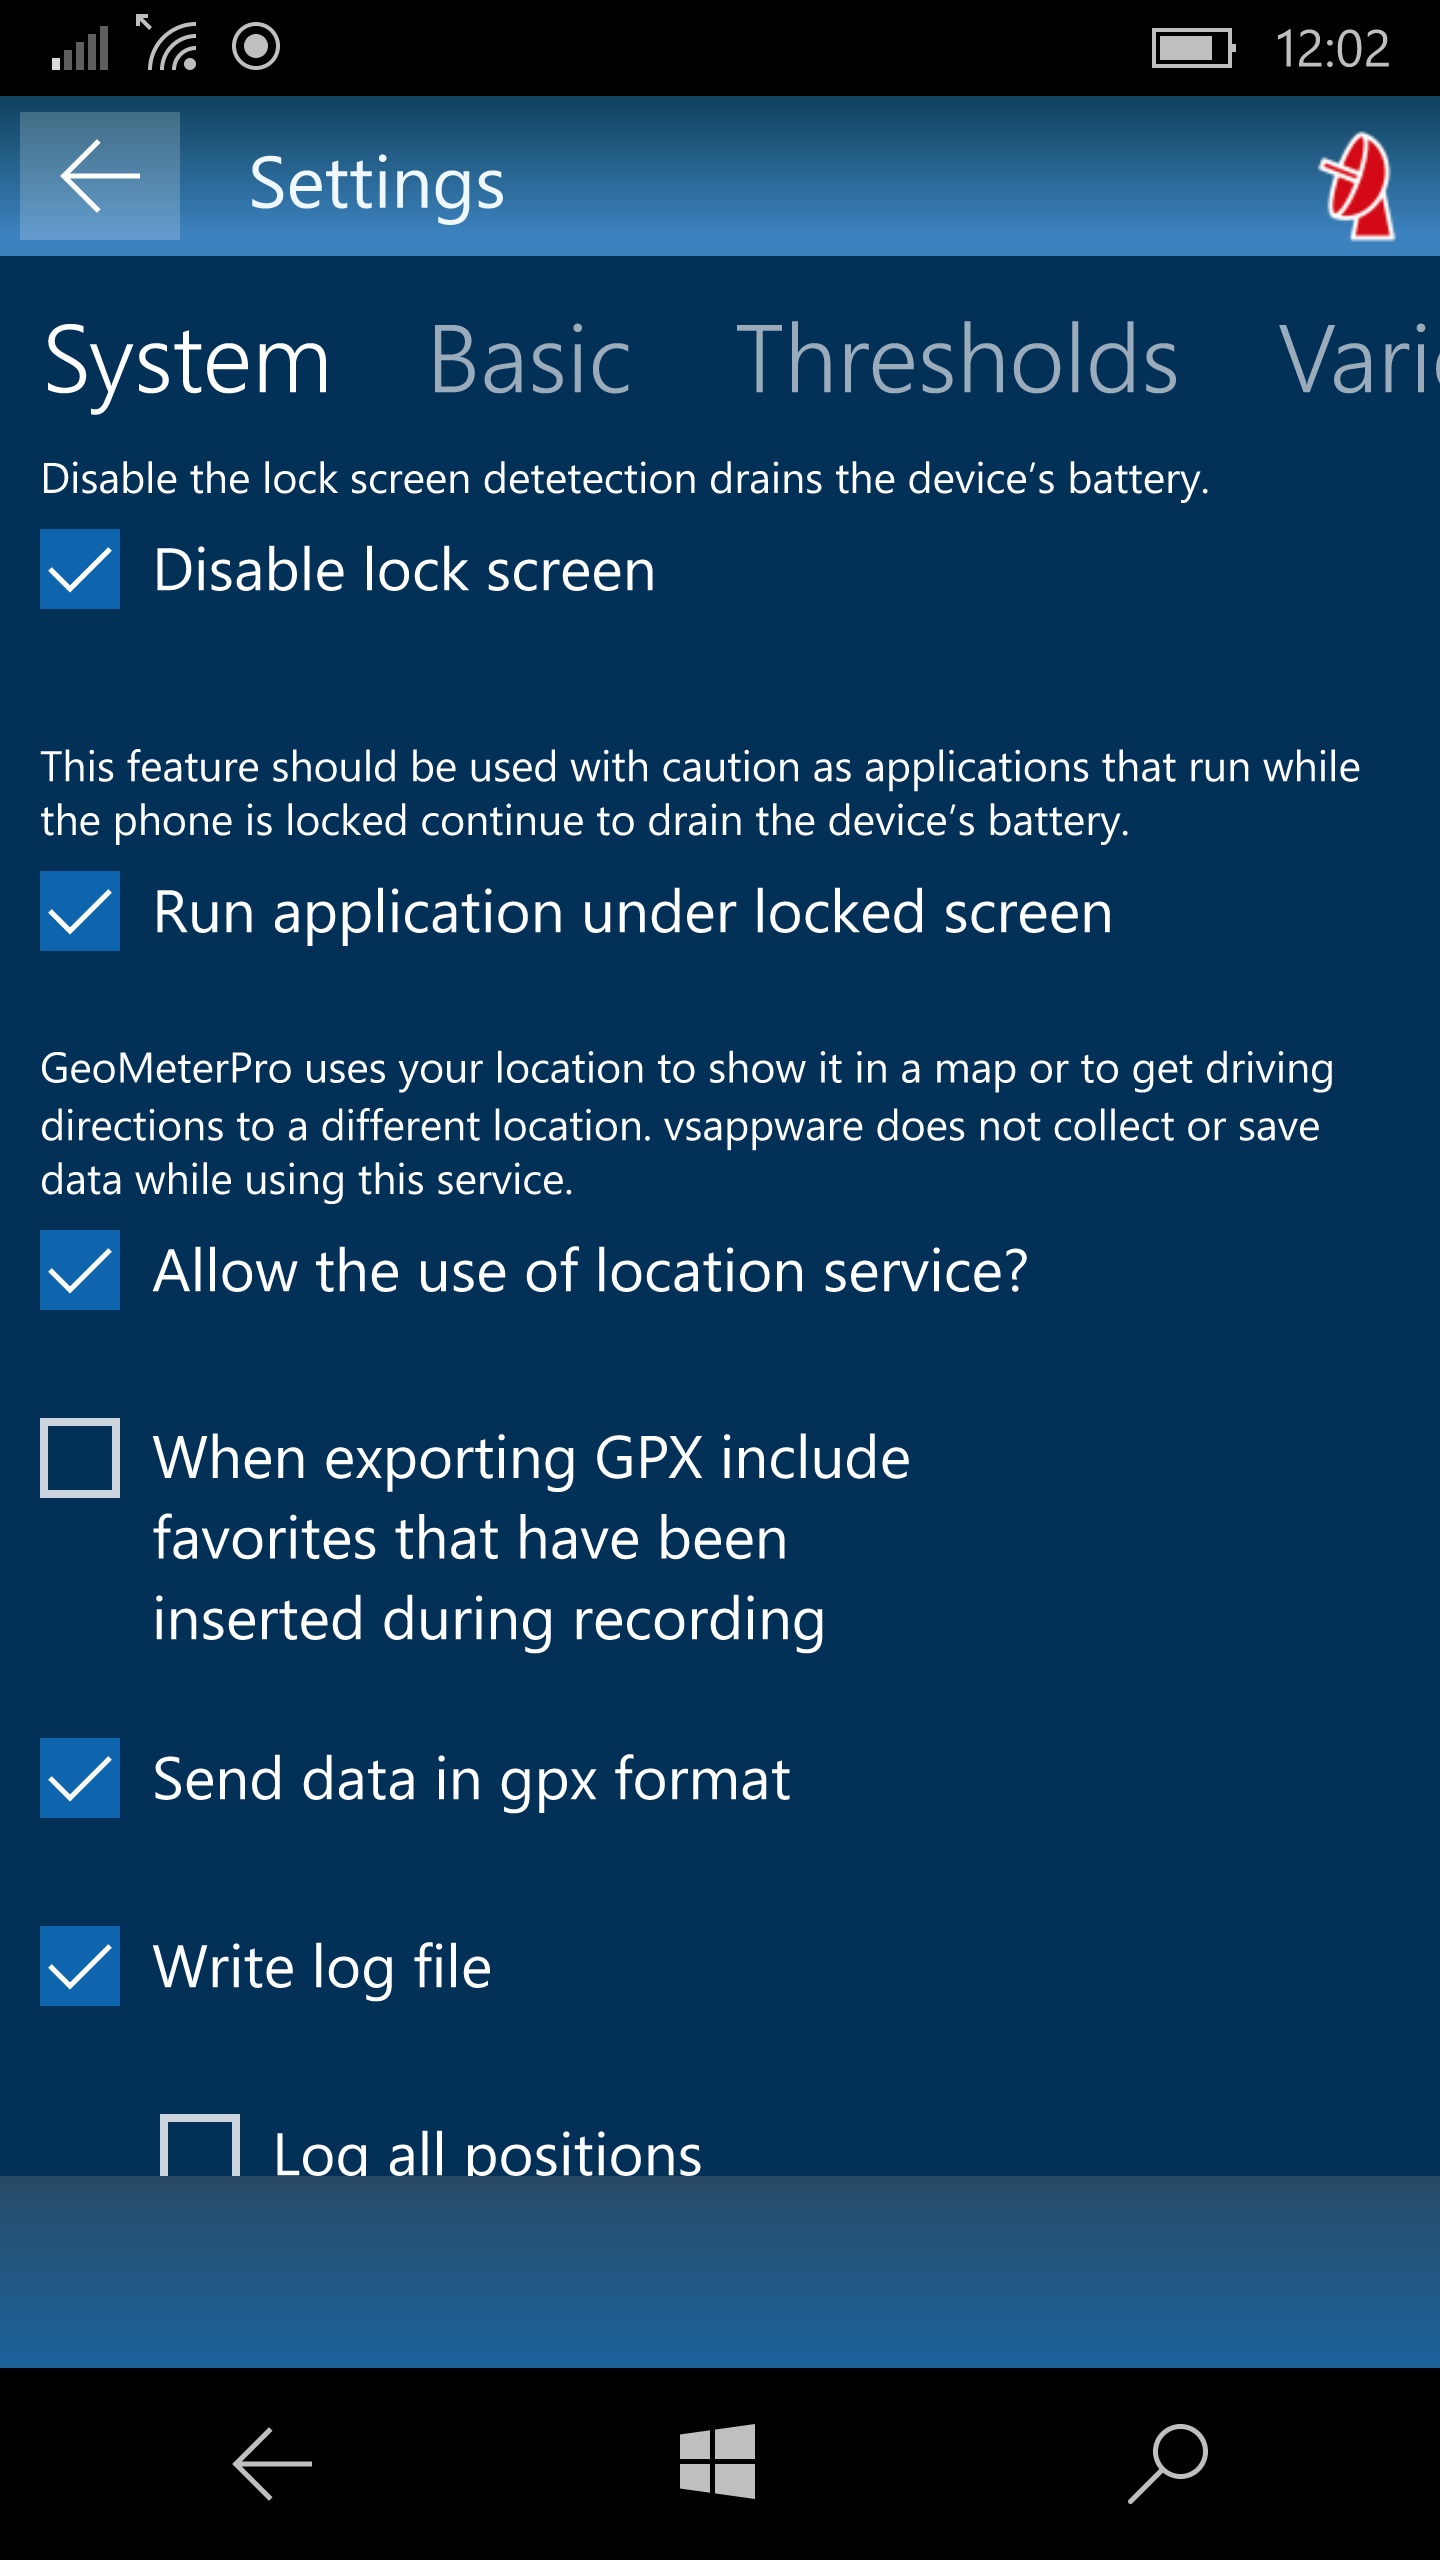
Before starting the tour, you should pay some attention to the tracking settings. At first there are settings concerning the background processing of the app. I prefer to prevent automatic lock screen while navigating. But by activating this setting you must be aware of not forgetting to press the lock/unlock button at the side of the phone body manually before putting away the phone. Enabling app background activity in the locked state is essential for track recording, so I recommend to use this setting if you like to record tracks. In addition to this setting, I recommend to increase the track interval from the 2s default value to about 20s. Otherwise, you'll run out of battery too early on longer tours. I prefer a low minimum pause recognition speed if your path leads through rocky or other difficult terrain, too. Disabling WiFi, Bluetooth, NFC and unused background apps is useful, too, in preserving battery.
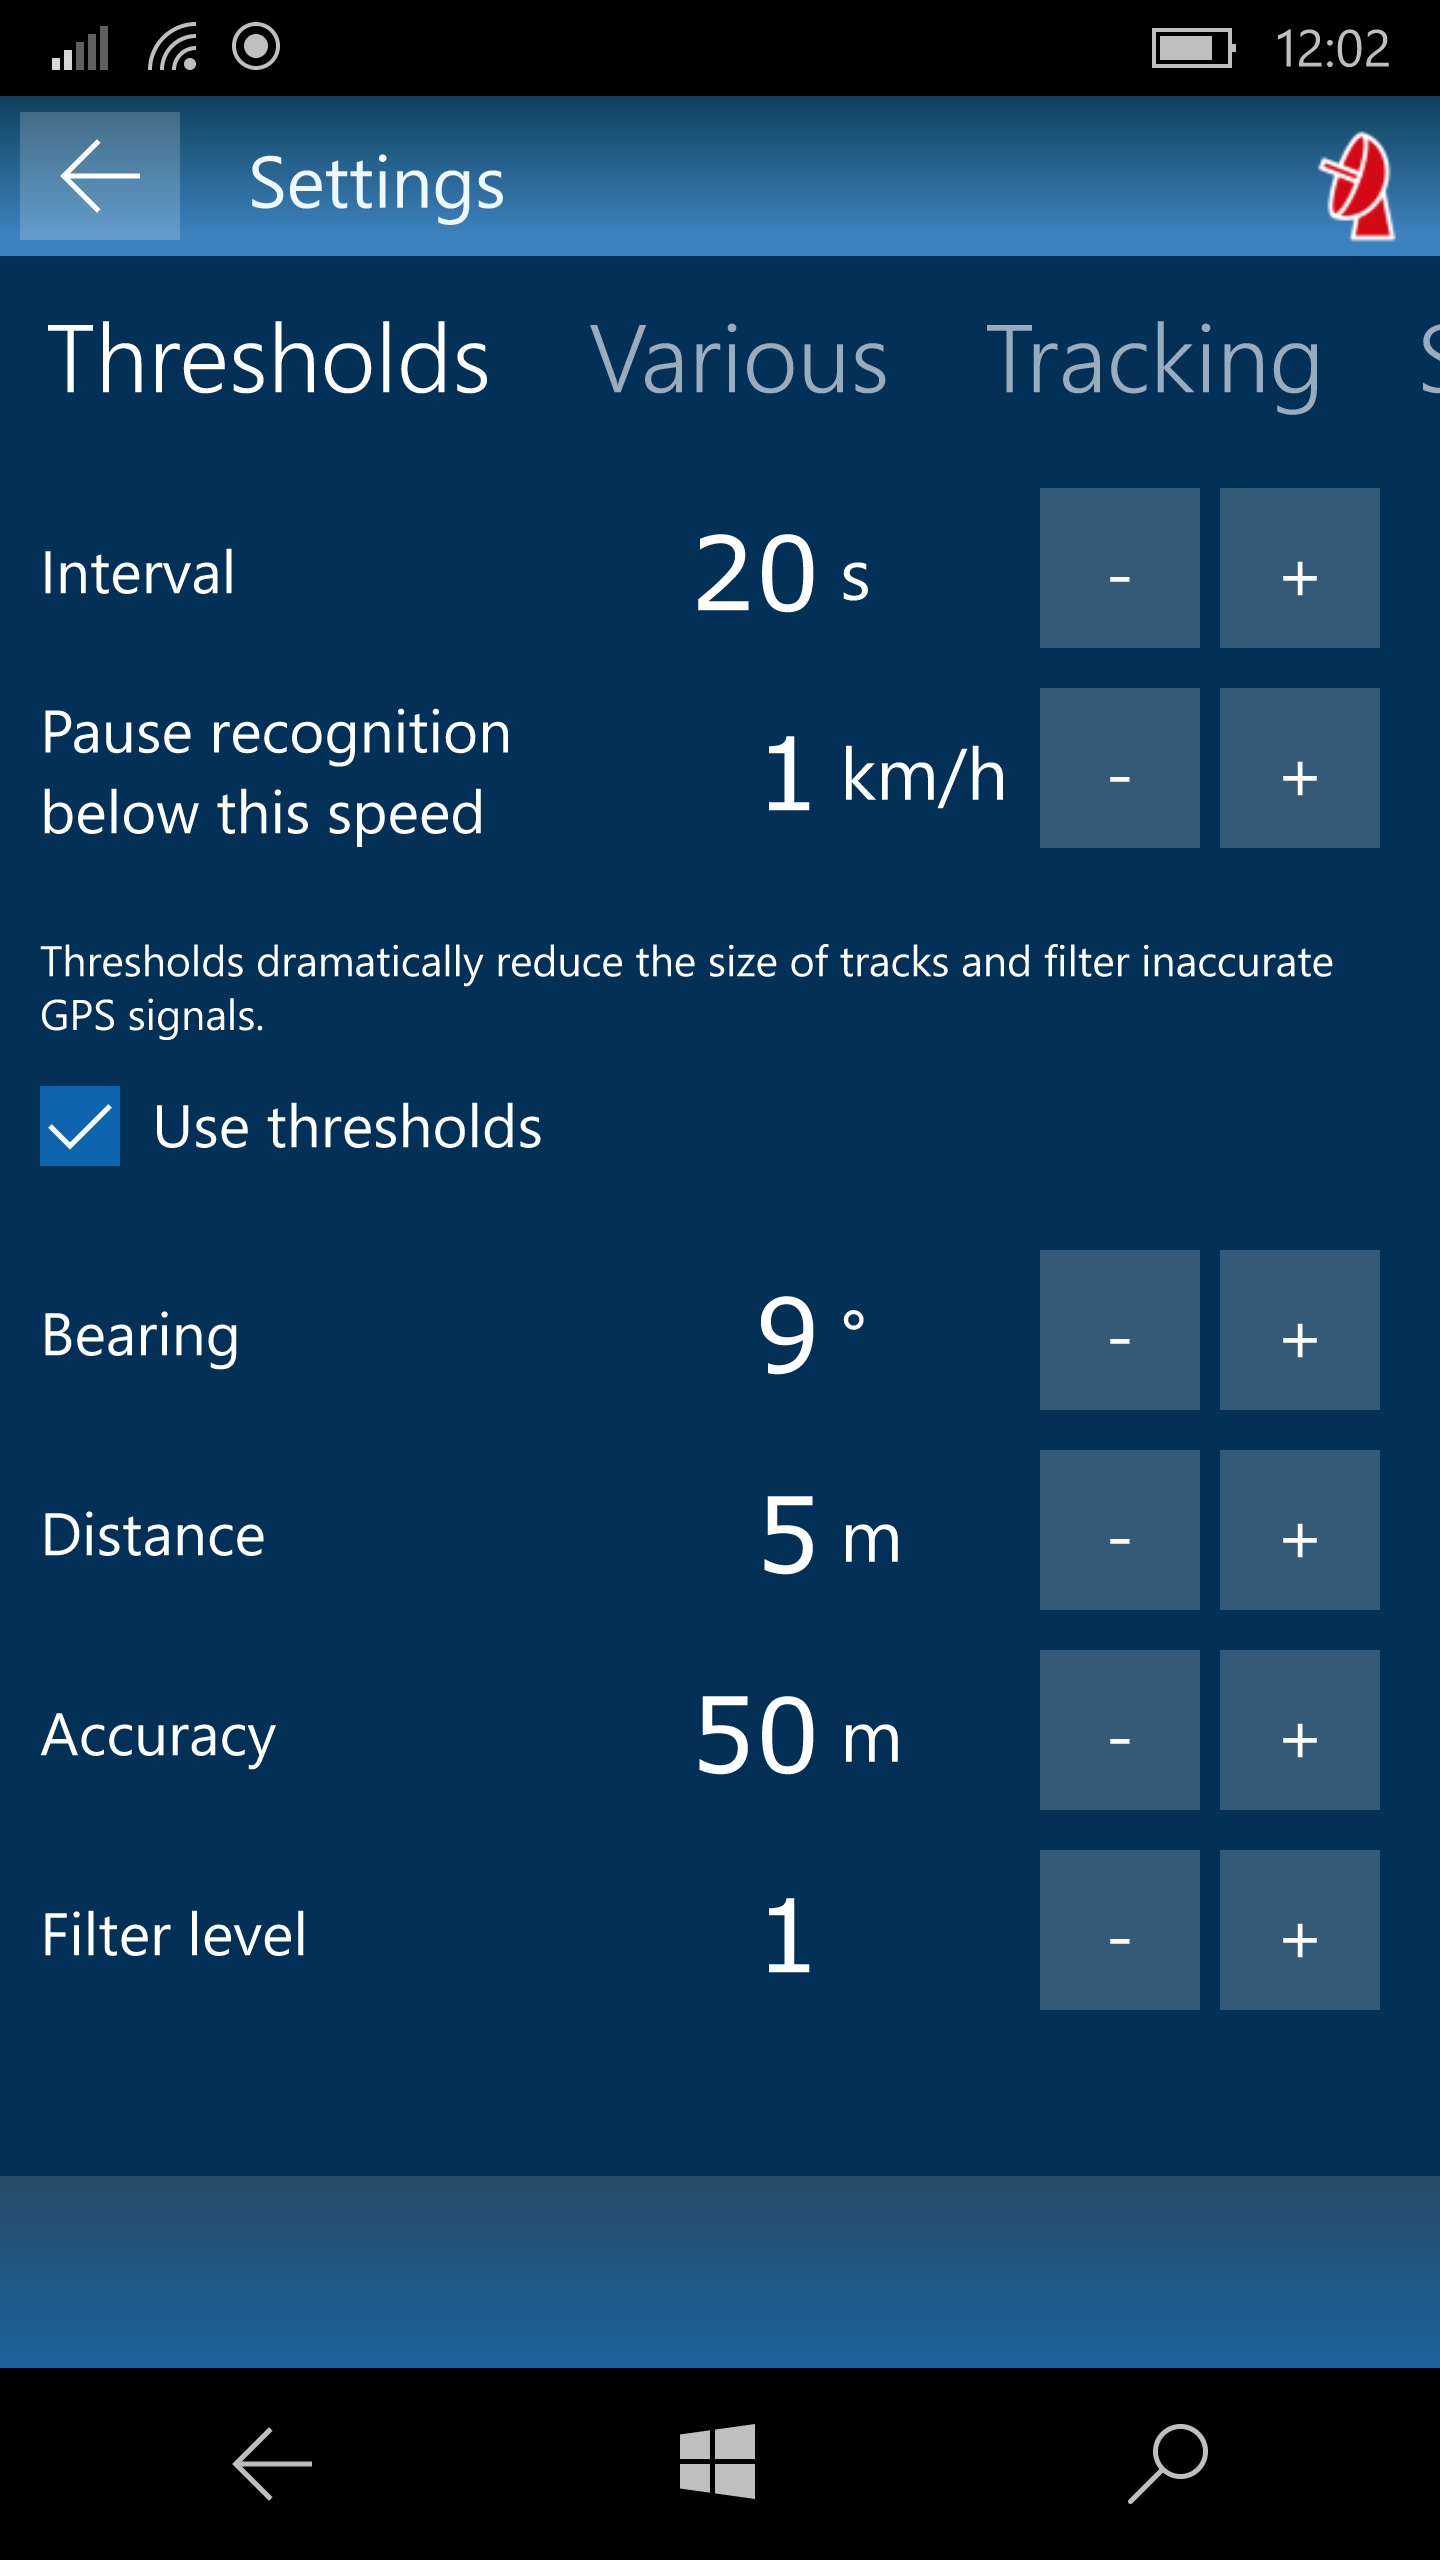
That's it for the app presets I've used. I've used tour tracking and track navigation and shot about 150 photos, uploaded a dozen photos to WhatsApp and sent a couple of SMS per day with my Lumia 950 on four comparable tours during this vacation. I've used a new AUKEY 5000mAh USB-C Mini quick charge power bank to extend the battery lifetime, resulting in near 30% battery level in the evening. I expected higher energy consumption due to the 3D map graphics animation, but in fact the battery drain was relative moderate. But, on longer tours I'd recommend carrying a second quick charge power bank for safety.
Now, let‘s look at this tour as planned before, starting above the Lago di Vogorno reservoir.
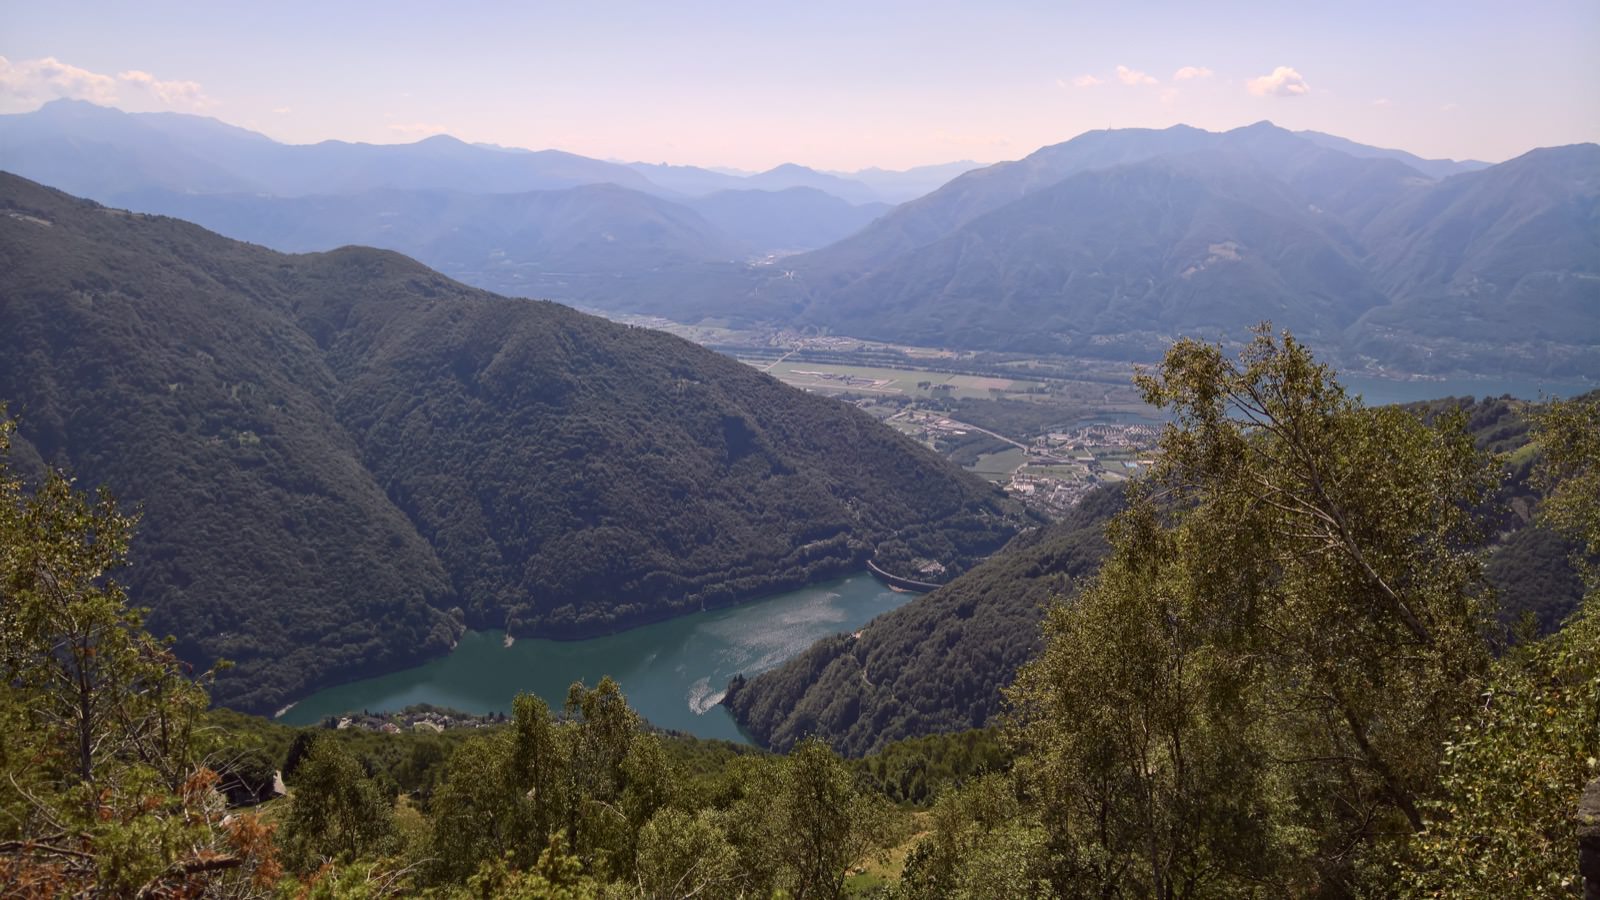
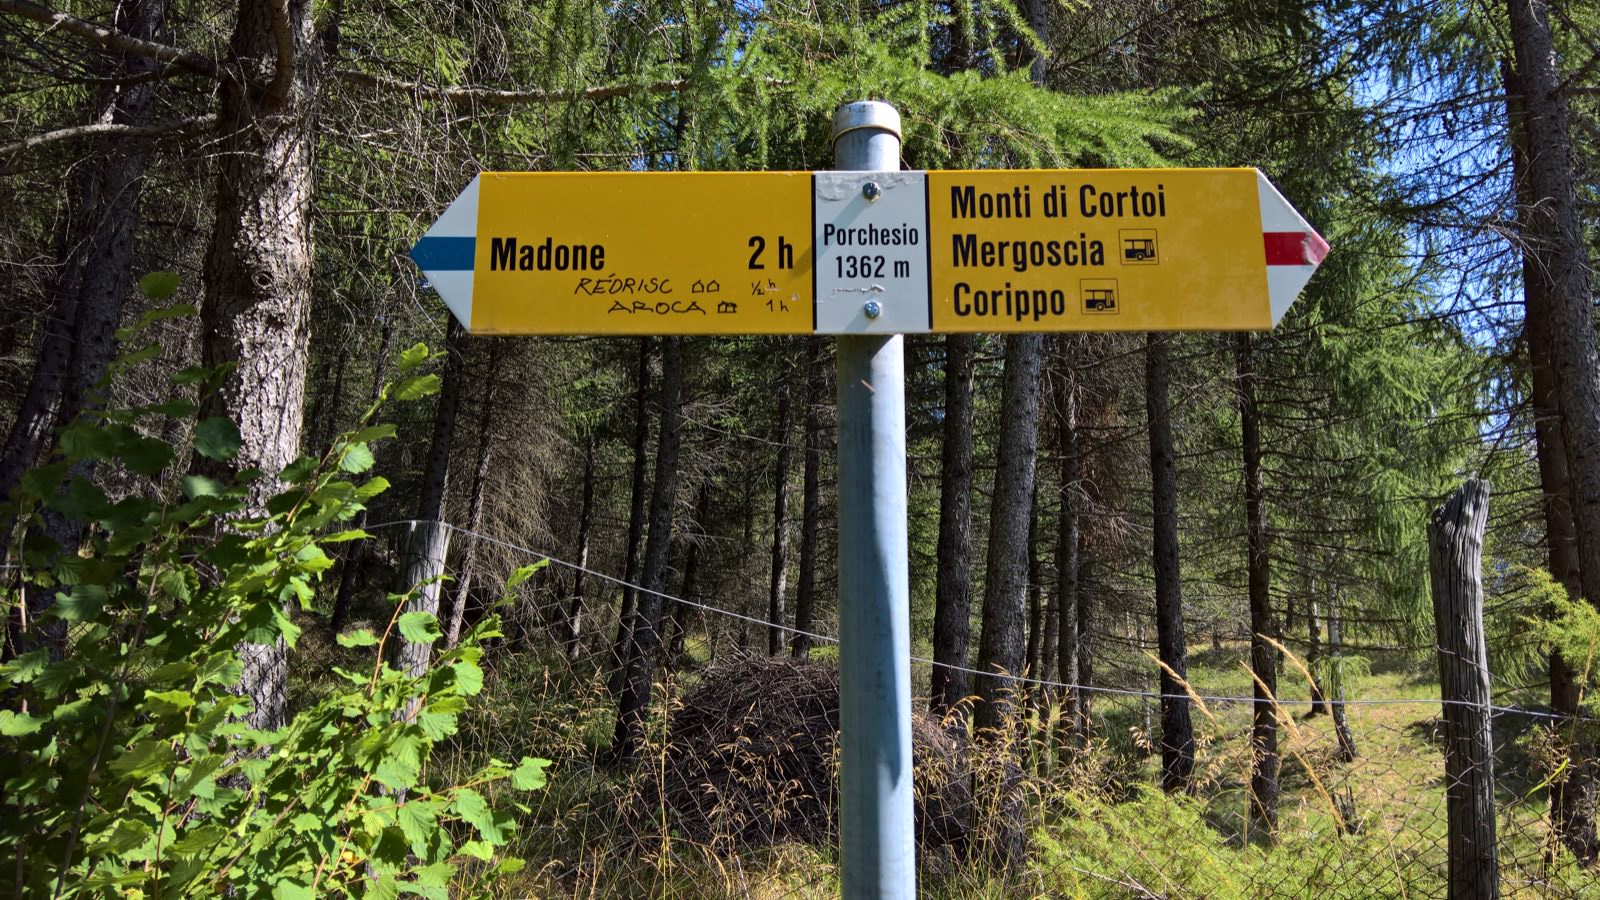
The first part of the tour leads up on a well maintained way through the forest. We crossed two glades with "Rustico" granite housings in first 100 meters of height. Above 1000m, the steeper way branches off and 350m higher, after the third little collection of Rustici, the way switches to the alpine white-blue-white sign.
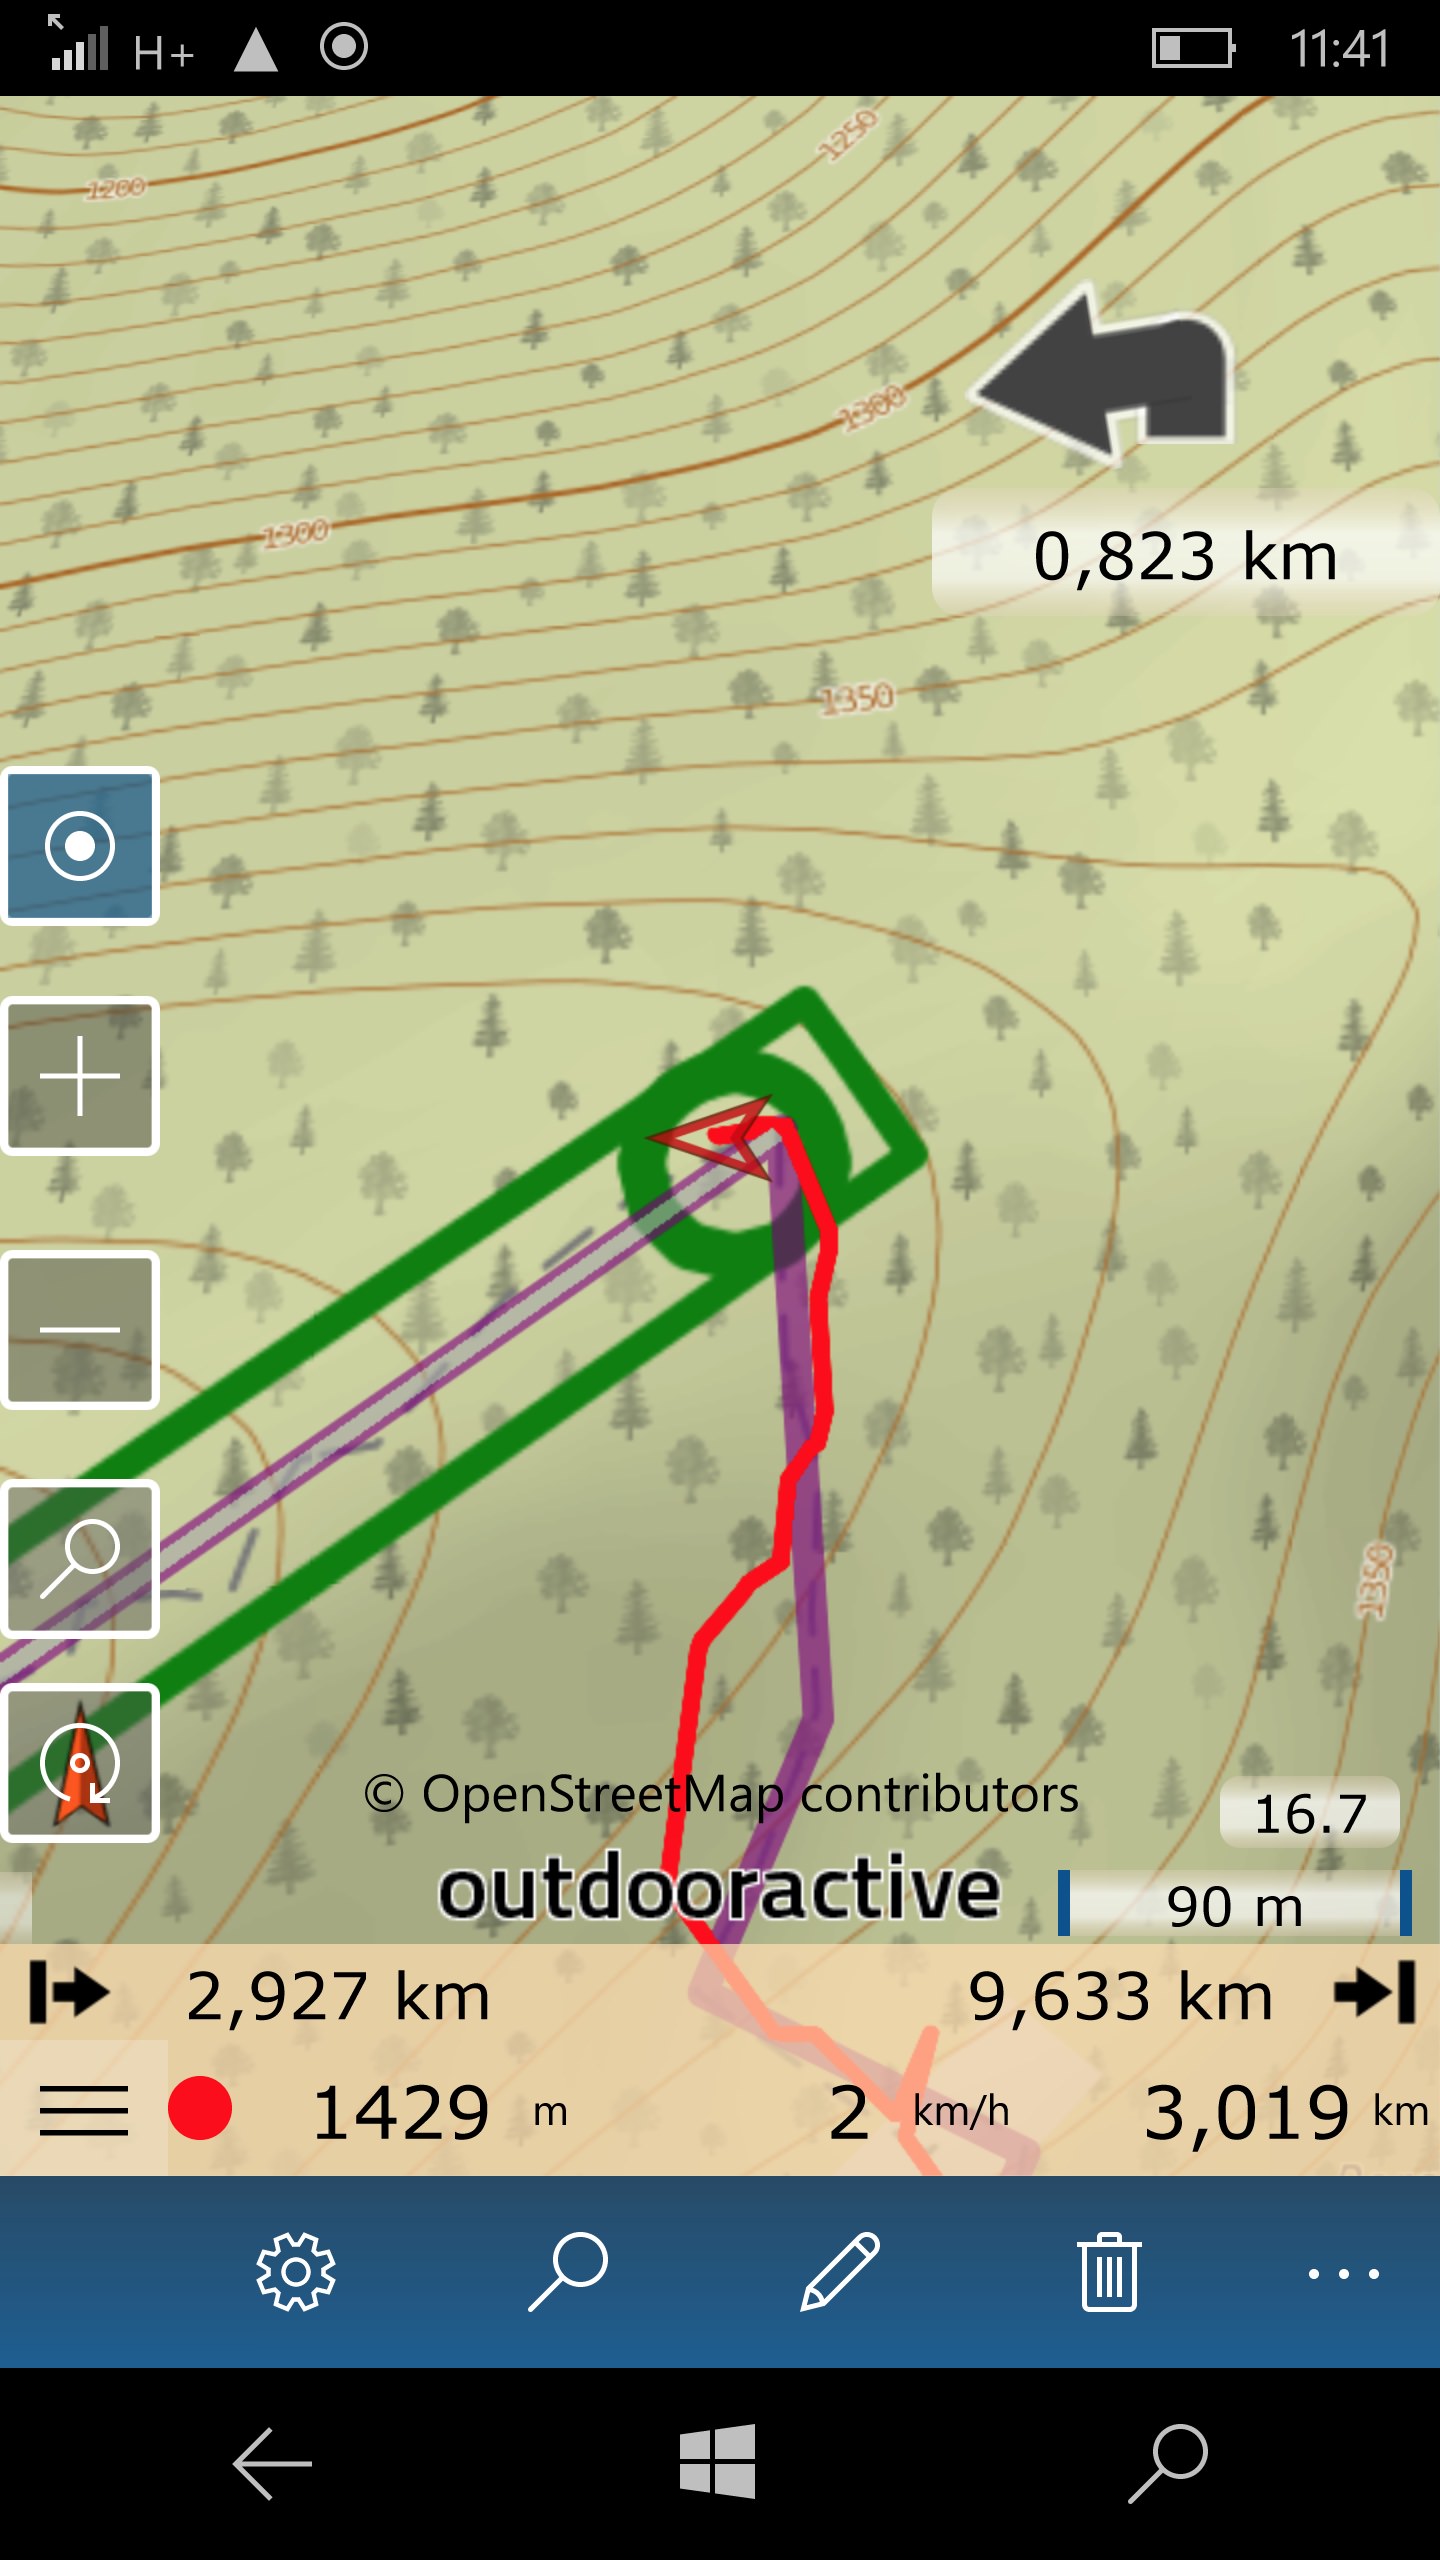
I was anxious to collect some experiences with outdoor track navigation, and from now on I preferred to use only the voice warning when missing the planned track. The speech navigation all along the planned track is funny for a moment. But, listening to the lady talking to you about each corner of the path where you have to turn in what specific angle, that's really annoying after a while. On the other hand, track navigation with voice control automatically activated when leaving the track is very helpful, e.g. on dense terrain. You can see on the map screenshot, there's the planned path shown in purple color, the recorded track in red color, the arrow of current position and direction, the navigation tolerance area in green and the distance to the next following direction change shown by the black arrow sign above.

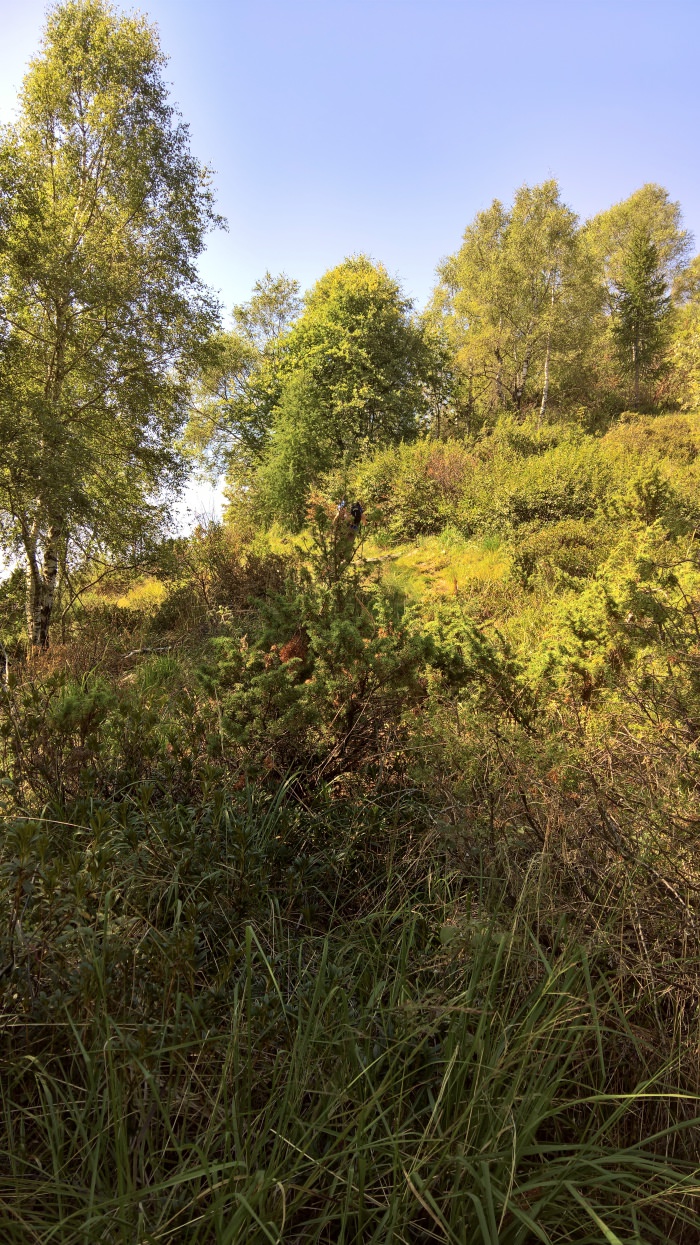
In reality, you're not able to watch the map on the screen all the time. Looking at your smartphone display while hiking or climbing would be at least annoying, up to seriously dangerous. But, as you can see on the next photo, sometimes you'll be faced by an unclear or almost not existing path. Here it's a real puzzle to find my friend, the hidden hiker on the track in the photo.
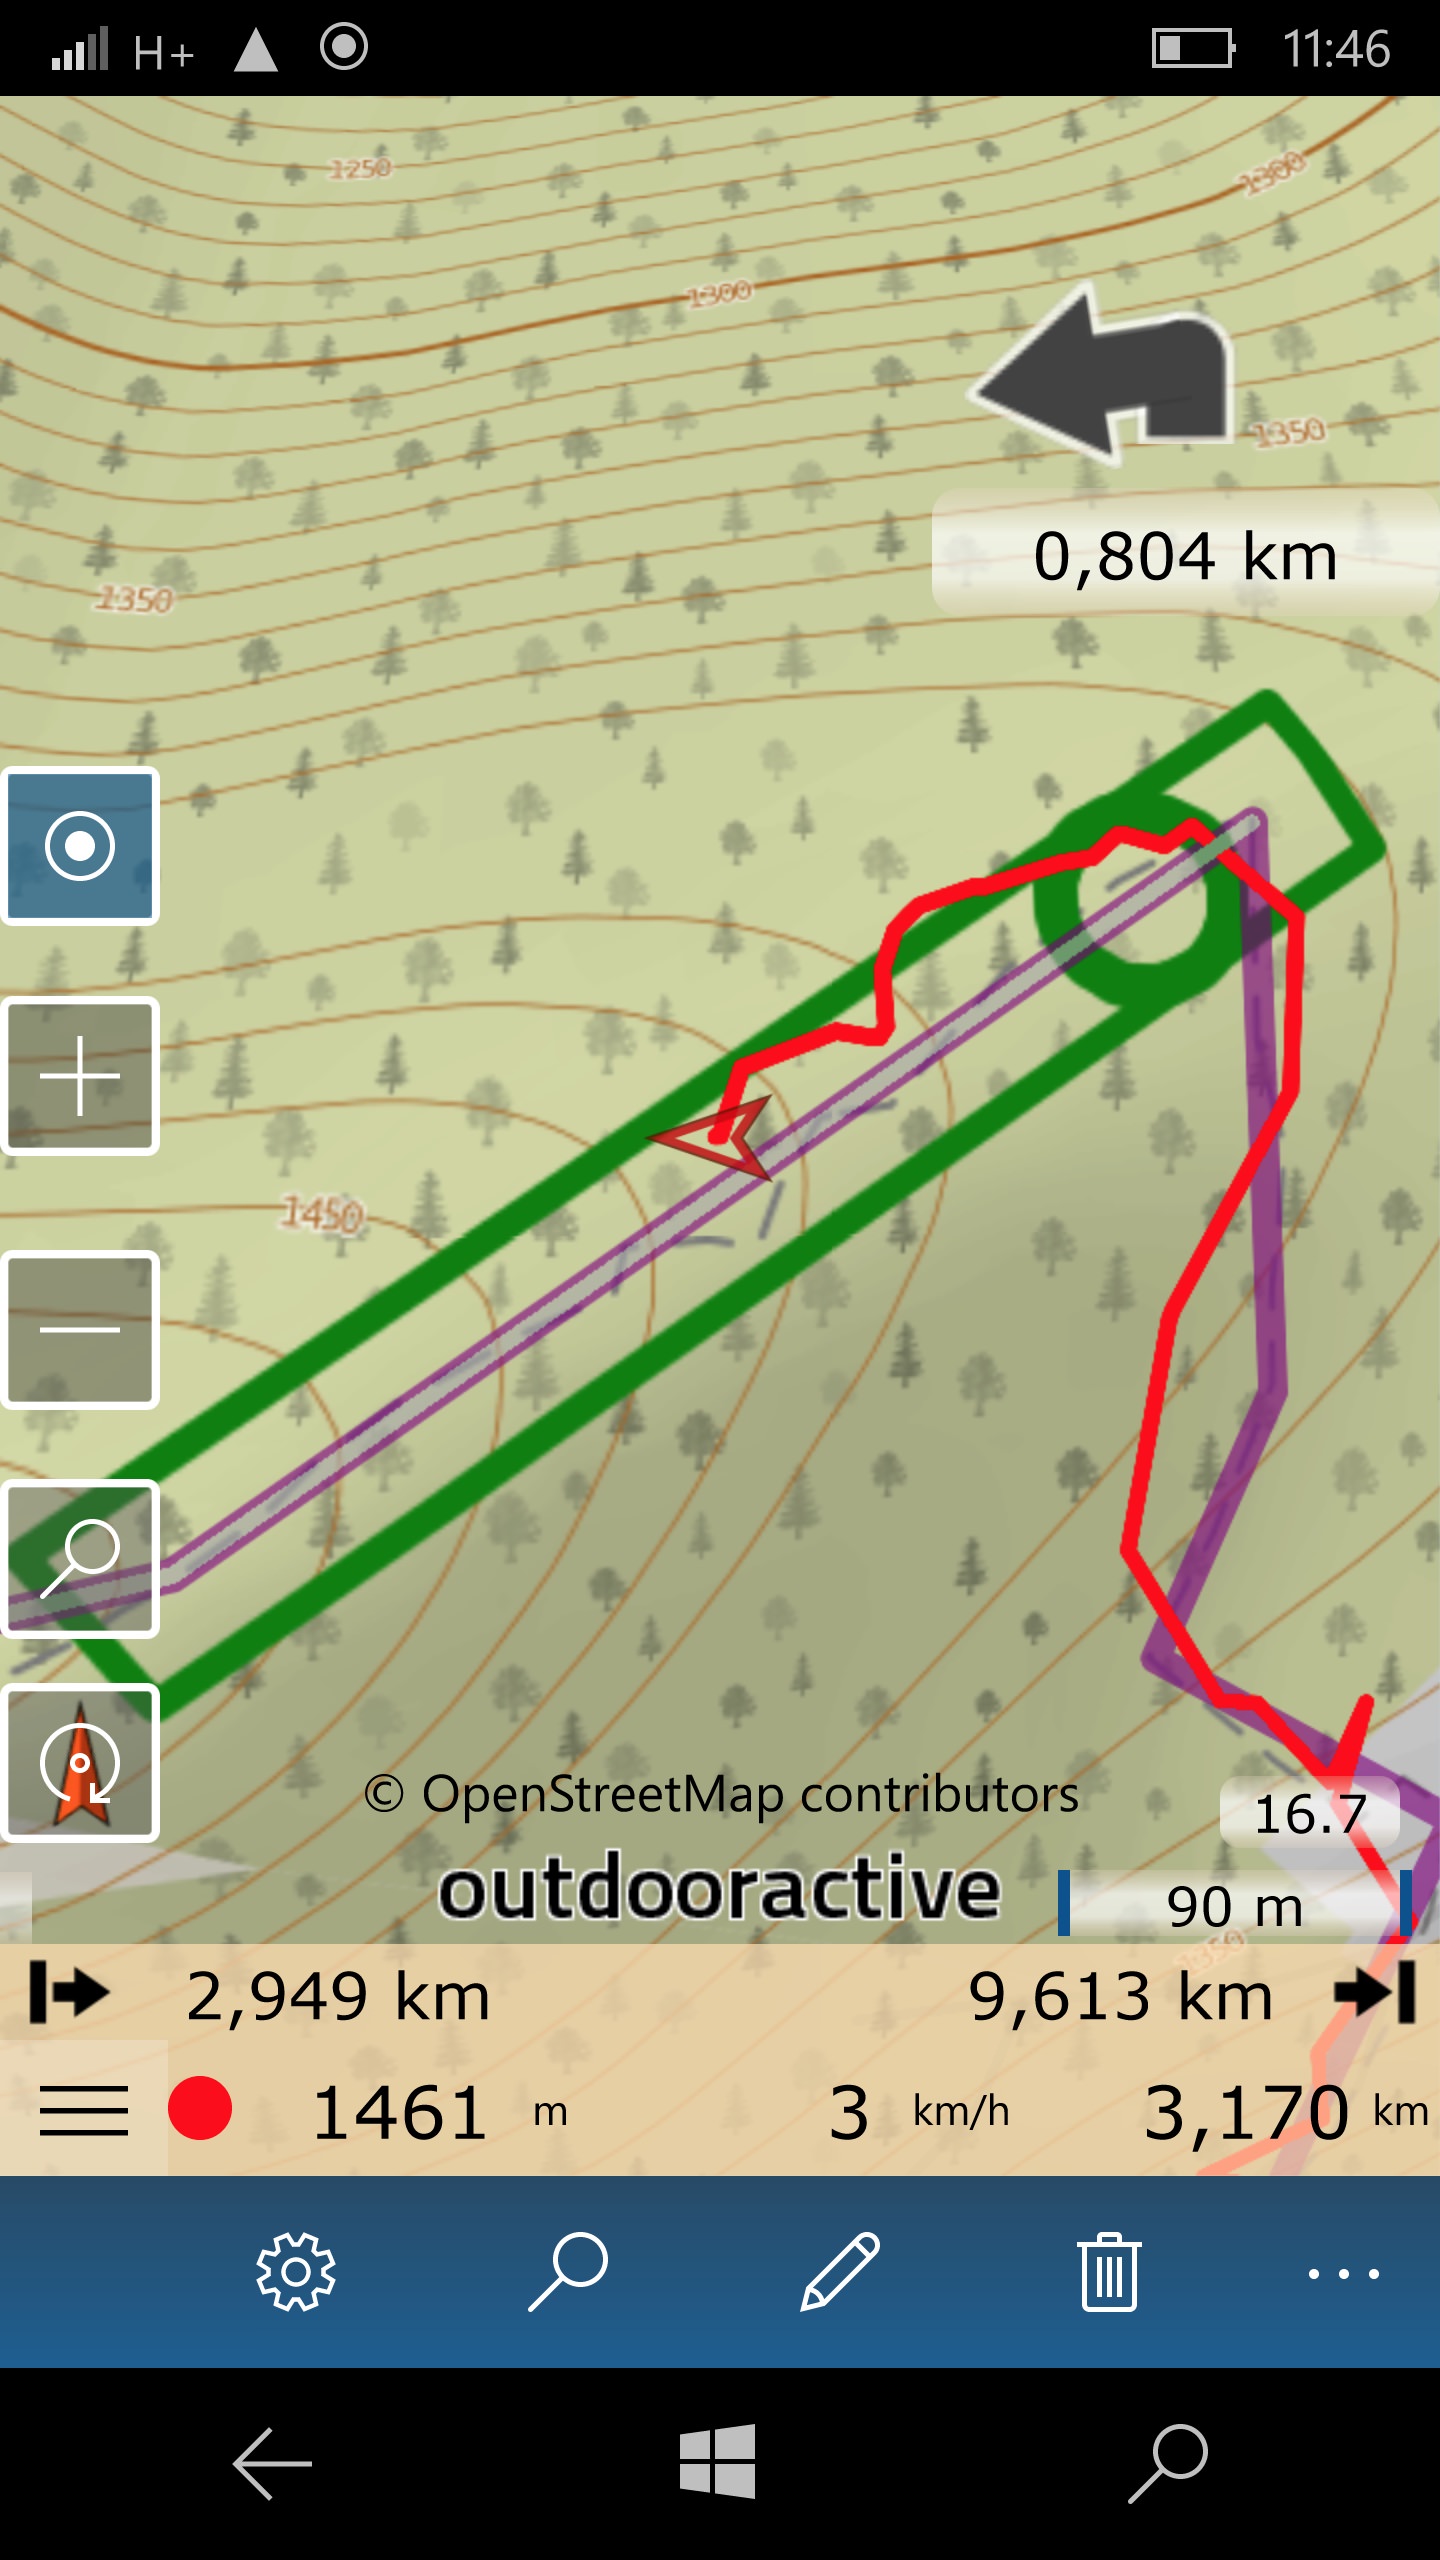
In such terrain, it's useful to get a voice warning from the smartphone in the pocket when leaving the planned track too far and then stop and watch the map graphics on the display.
In fact, that feature works reliably within the range of current GPS accuracy and depending on signal quality. It's a disadvantage of GeoMeterPro 10 in contrast to the Windows Phone 8 app that you need to open the GPS pane to look for current GPS signal quality. The colored antenna icon and the vertical and horizontal accuracy is shown on that pane but not in the map view.
A broader view over to the mountain ridge was visible after crossing the height border line of tree growth and we could see a first view to the track target, far away.
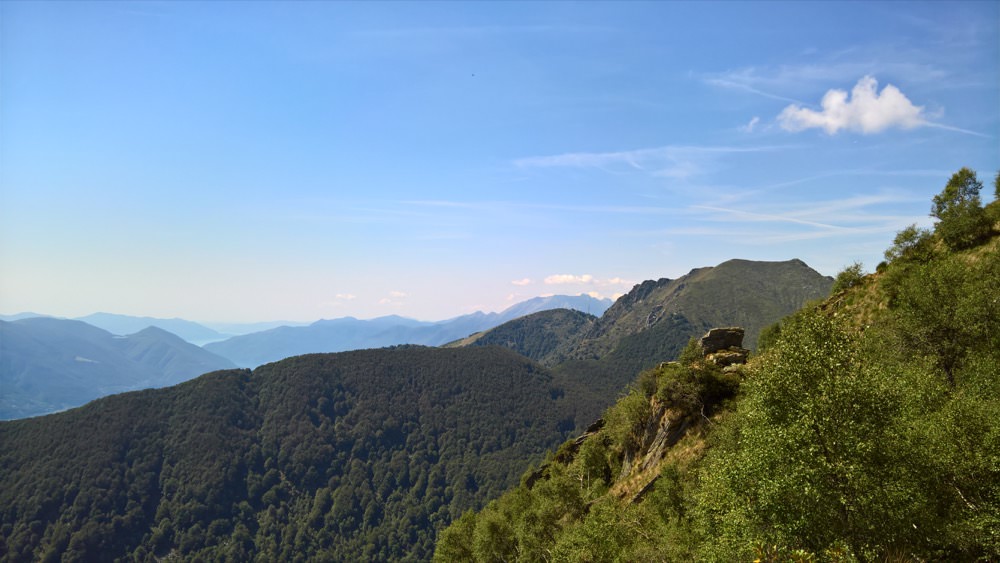
After a first break on the mountain ridge, the path leads further along some tricky steep grassy slopes before finally reaching the first way sign after almost 4km, signalling the final part up to the peak.
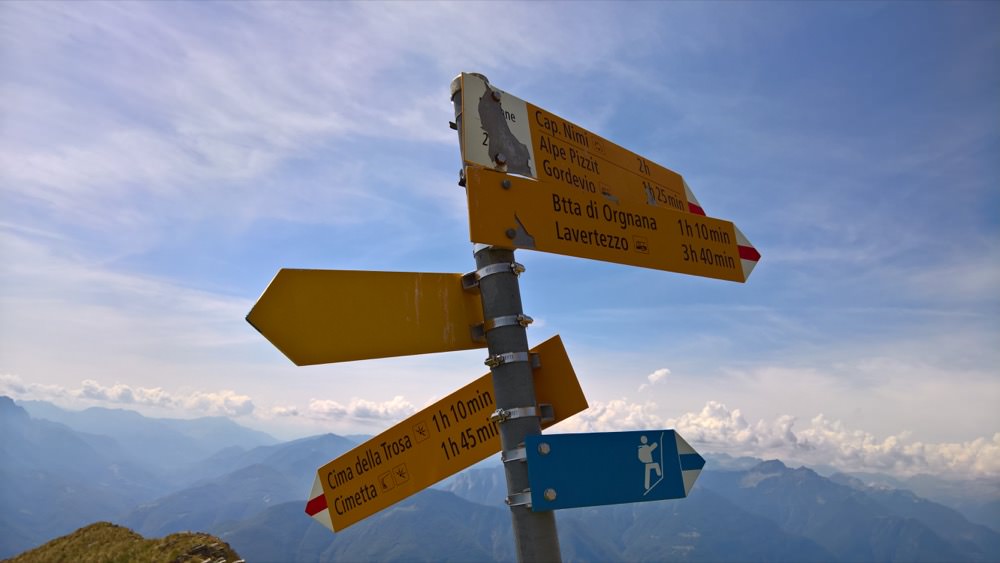
On that part, at three rocky but easy to handle places, there are iron chains mounted to support climbing. Finally, we can enjoy the panorama on the top.

We climbed back to the way sign from before, and then on the way down there were two more rocky parts, but there are iron chains mounted here to support climbing, too. Next, we can see the ascent to the next peak, Cime della Trotta.
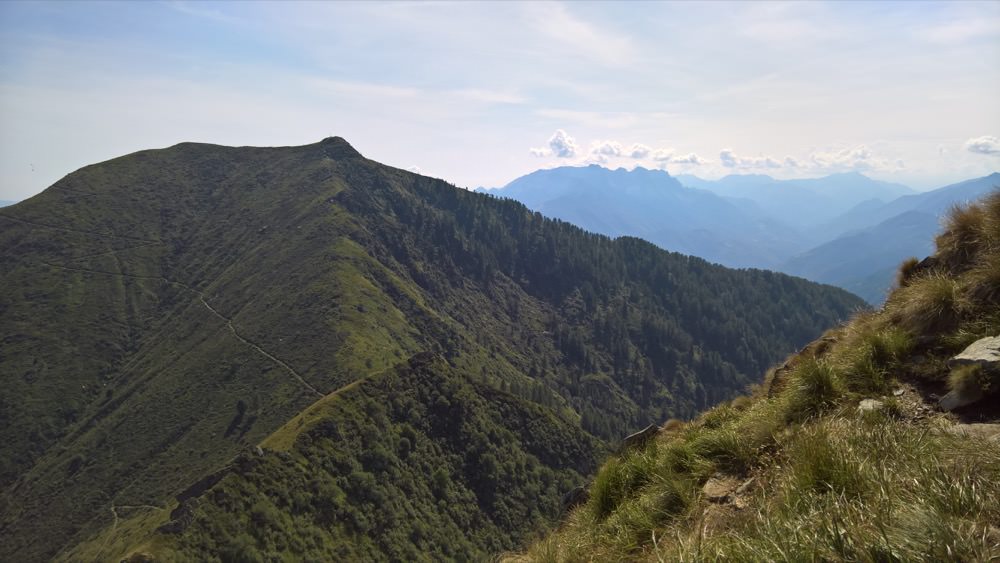
After being silent all the time, our navigation lady talked to us again(!) when leaving the planned track after crossing the saddle.
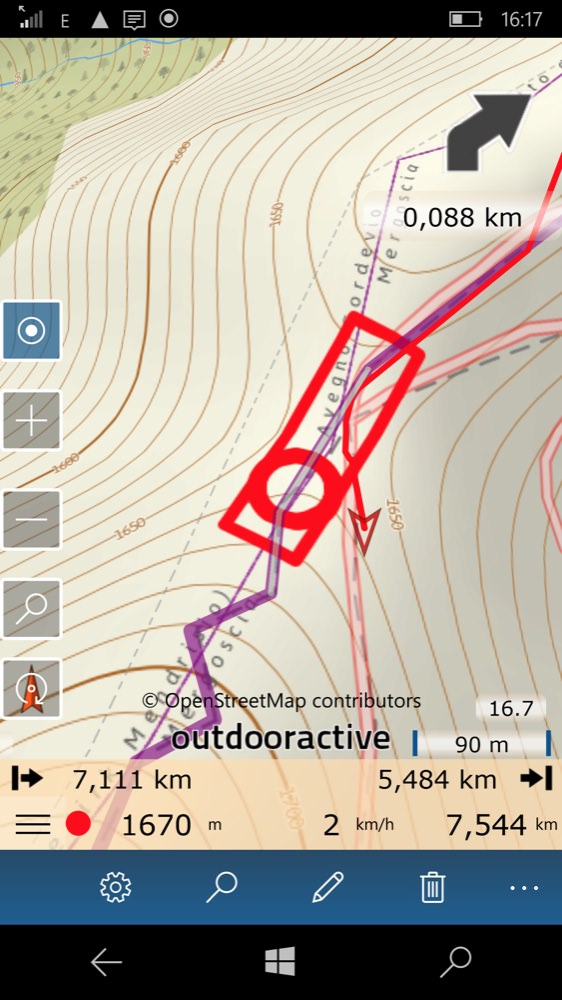
We could see the full mountain ridge along the horizon where we climbed up in the morning, when turning back. Reaching from the forest at the lower right corner to the actual highest peak only visible as a tiny point between and behind the two peaks on the upper left corner.
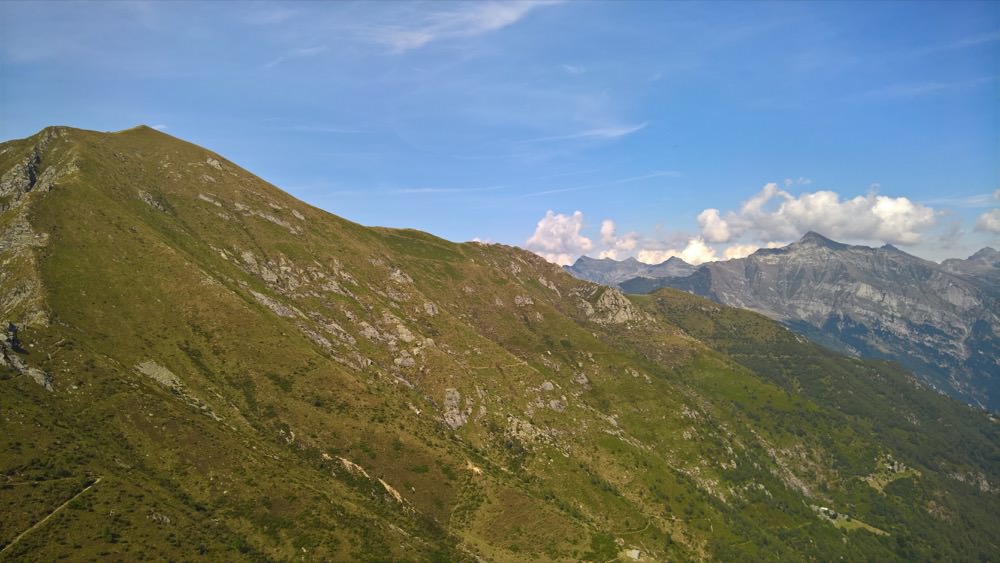
After we've passed Cima della Trosa there was an easy and well maintained way down. Soon, we could see the antenna and chair lift mountain station on Cimetta.
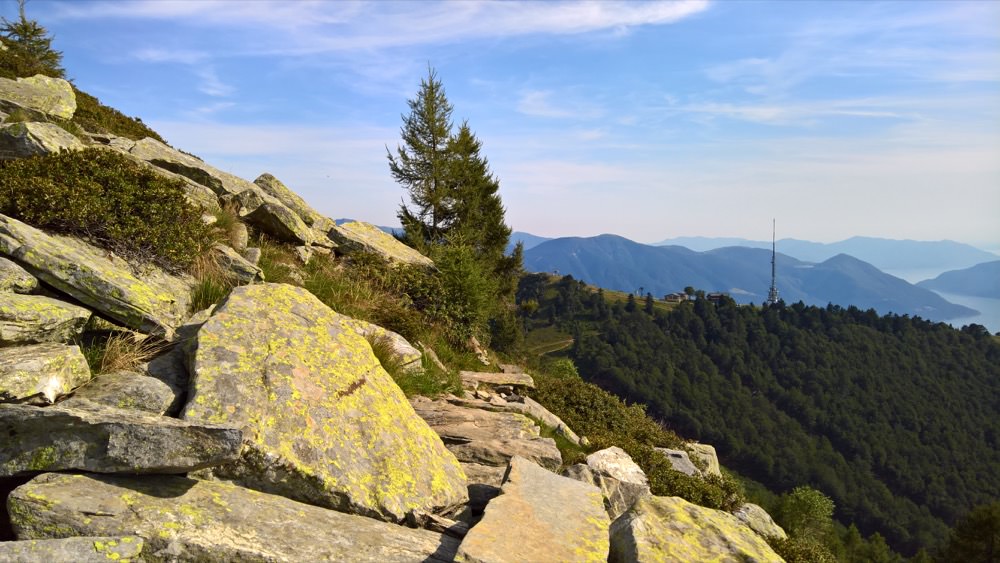
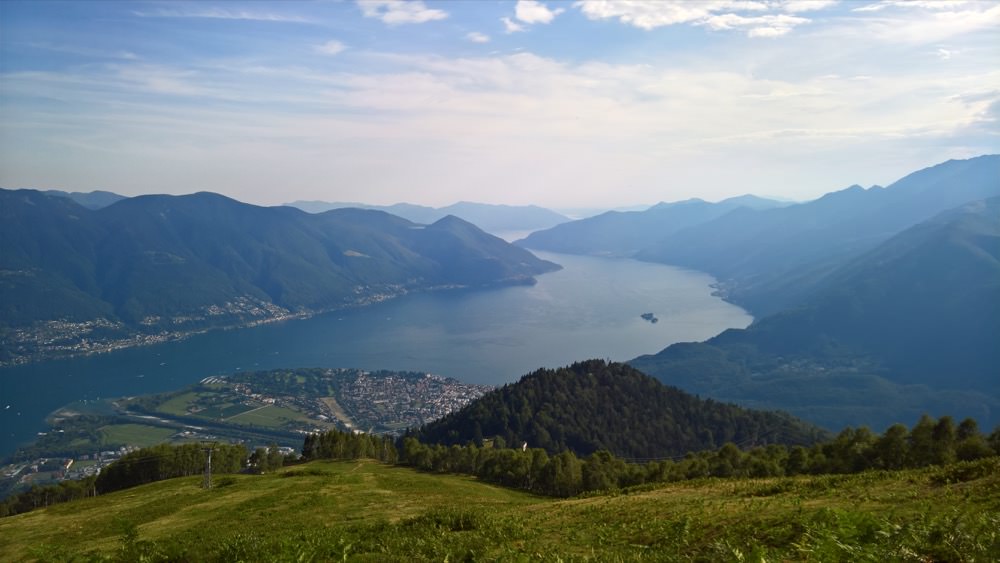
On the way down from Cimetta, it was very enjoyable to make a break at the mountain hut "Lo Stallone" to toast to the success of the tour. Of course, I've checked the cable car timetable via internet before and as expected, the last drive happened at 19:45h. So, we arrived at the cable car mountain station at Cardada soon enough to get the drive down to Locarno in the evening.
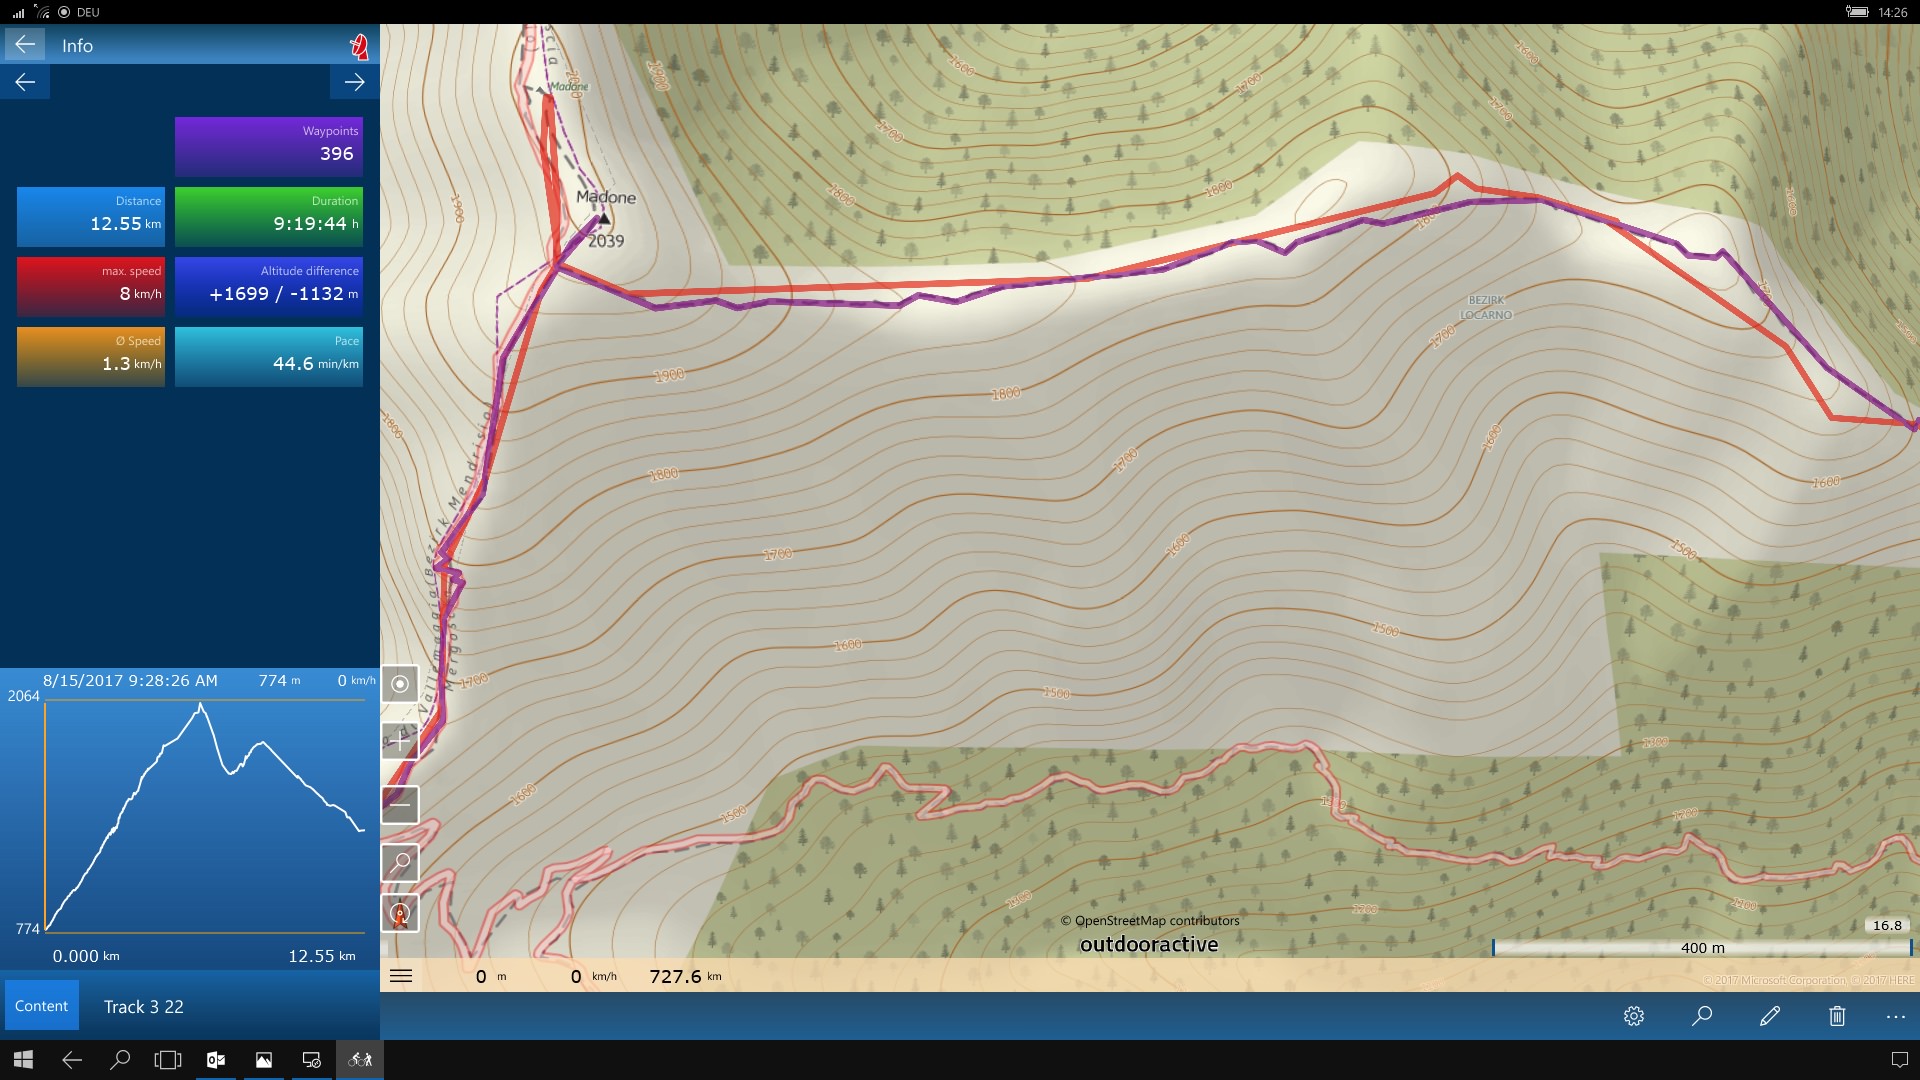
A view to track info summary recorded by GeoMeterPro 10 is offered by selecting the recorded track in the track list pane and tapping on the "Info" icon in the app bar. A tap on the height profile switches between a couple of different curve smoothing algorithms.
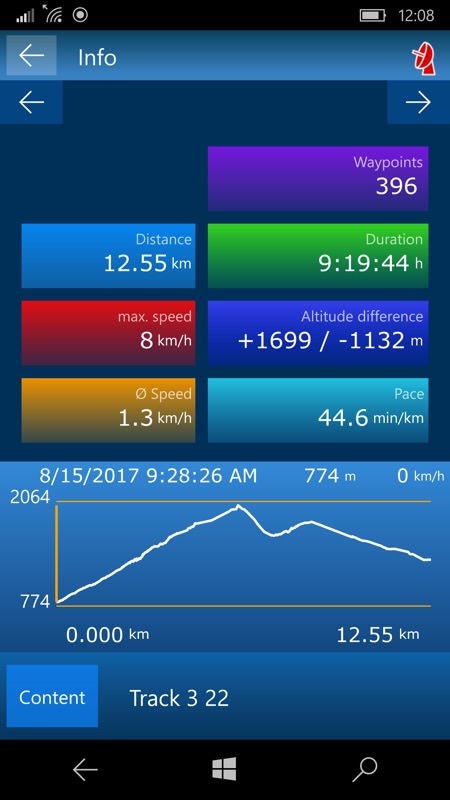
Back in my office I plugged my Lumia 950 to a 24" Screen via HD-500 dock and finally, here's a screenshot of the Continuum view of the track info offered by the smartphone. The planned track in purple and the recorded track in red color.
These then are my impressions from using the GeoMeterPro 10 UWP app while on a hiking tour in the mountains. We've been on four other tours during the vacation and the experiences were consistently good. Importantly, my concerns in advance about higher battery consumption caused by the higher quality 3D graphics visualisation of the map weren't confirmed. I hope my few notes may help users to know a little more about the options of outdoor tracking and navigation on windows mobile devices using the GeoMeterPro 10 app.
Gilbert
