The Lumia Black software update, and therefore RAW capture mode, is currently only available for AT&T variants of the Nokia Lumia 1020. We expect the update to roll out to other Lumia 1020s early in the New Year. RAW capture mode is also available in all Nokia Lumia 1520s. We included some DNG samples in our in-depth Nokia Lumia 1520 hardware review and will be adding some further detail when we explore the device's imaging capabilities in more depth in a forthcoming article.
RAW explained
A digital camera of any type that saves a JPG file is automatically carrying out image processing (and compression) on your behalf. The basic idea behind shooting in RAW mode is to save an untouched (and lossless) image so that you can carry out manual processing yourself, rather than relying on your camera to do it for you. The untouched file, typically referred to as a digital negative or DNG file, can be thought of as the equivalent to film in analog photography.
The DNG file contains the full resolution (RGBG) data (34MP for a 1020 in 16:9 aspect ratio) as taken from the sensor. To obtain a viewable image from this file, it must be converted (processed) into a standard photograph (RGB) data. This is done using a RAW processor (application), with the output usually saved as a JPG or TIFF file (i.e. it's a non-destructive process, with the image processed out of the DNG file, which can be used over and over again).
As with analog film, the shutter speed, aperture and ISO levels are fixed, but all other processing elements are manually controlled in the RAW processor (i.e. white balance, contrast, sharpness, colour tones) and you can also specify your own sharpening and noise reduction algorithms. While the processing process can be time consuming, the flexibility this offers renders arguments about automatic processing settings something of a moot point (and remember you can also control shutter speed and ISO levels in the Nokia Camera app).
The RAW processor can be any application that can take in DNG files, but the most commonly used are Adobe's Lightroom and Photoshop. Adobe has something of an advantage here since it has long provided the tools of choice of the professional photographer and was the company that proposed and continued to promote DNG as an open standard for RAW files in 2004. There's more to discuss here about alternatives to Adobe tools and other capabilities of RAW processors, but we'll leave that for a future article.
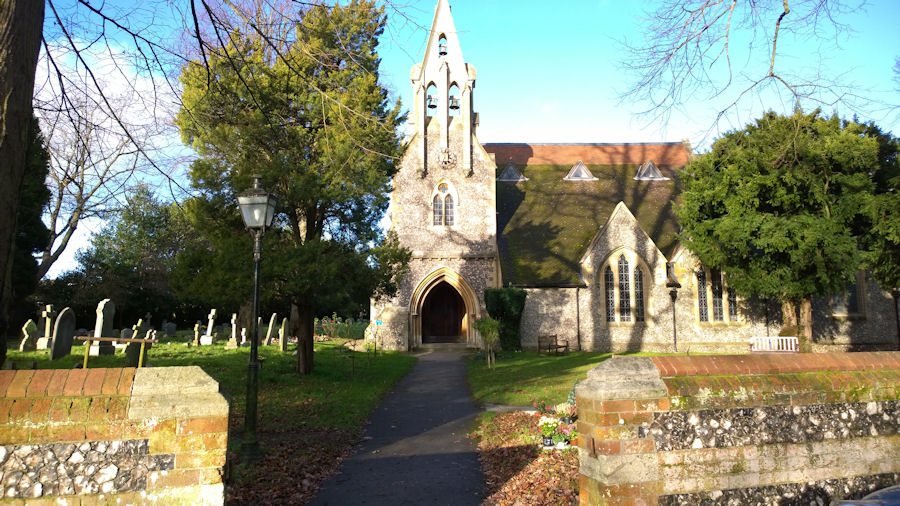
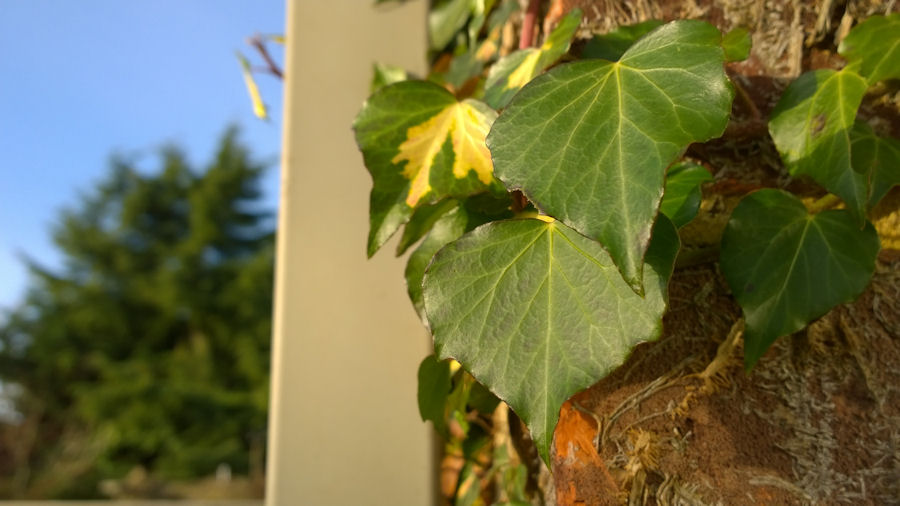
JPG image as produced by Lumia 1020
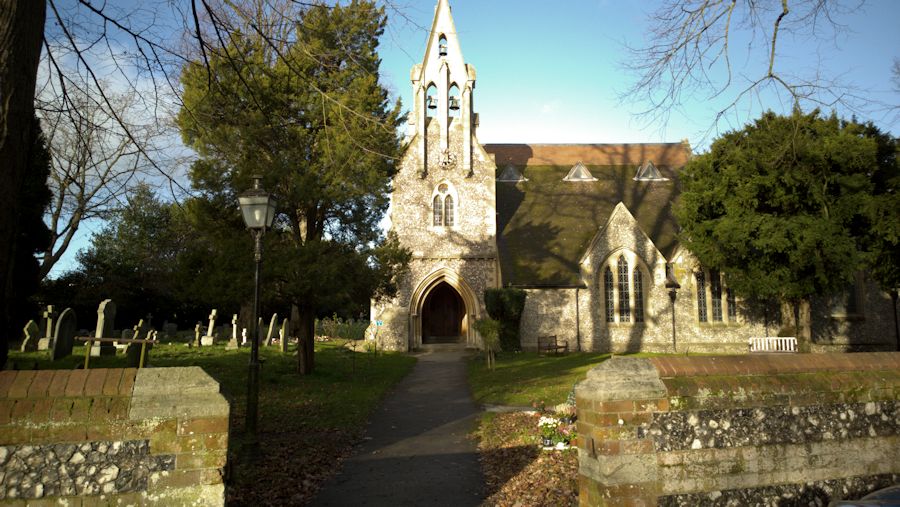
JPG image after processing from DNG file
From a practical point of view, the downside of shooting in dual capture RAW mode is that it uses up more storage space. While the oversampled standard 5MP JPG file will be the same size, the high resolution DNG file is four or five times bigger than the equivalent high resolution JPG file. That means you'll be using around 43MB of memory space for each dual capture RAW shot, compared to around 11MB for each dual capture JPG shot. It's relatively easy to switch back and forth between the various capture modes in the Nokia Camera app, so this shouldn't be a major issue, but it's something to bear in mind if you are running low on storage memory.
My (Rafe's) personal take on this is that, assuming that you don't mind having to copy files off to PC or other remote storage more frequently, the added flexibility of RAW means it is well worthwhile making the switch. The 5MP oversampled JPG image is sufficient for most usage, which arguably makes the higher resolution JPG redundant. The RAW image, by contrast, allows you to unlock the full capability of the imaging sensor, letting you take direct control of white balance, contrast, sharpness, and colour tones to your own personal taste and creative choices. Yes, it's more time consuming than using the JPG image, but essentially it allows you, as far as is possible, to process the photograph as you see fit, rather than relying on Nokia automated decisions.
My (Steve's) take on this is a little more cautious. There's arguably not that much to be gained from switching to RAW, since you have to have significant skills and software investment on the desktop in order to get any meaningful improvement to your images. In addition, switching to 'JPEG (5MP) + DNG (34MP)' mode means that you lose the flexibility to 'zoom later'. Yes, you can zoom in at the time of capture, but thereafter framing or zooming is set in stone on the device for that image unless you fancy copying off the DNG and jumping through processing hoops on the desktop. I absolutely accept that creative types, shooting creative subjects like landscapes, will gain enormous benefit from being able to shoot RAW on their phones - but for most typical users it's far better to stick with the default 'JPEG (5MP + 34 MP)' and have all the zooming and reframing capabilities on the device, ready for easy sharing, etc.
Lumia 1020 JPG / DNG samples
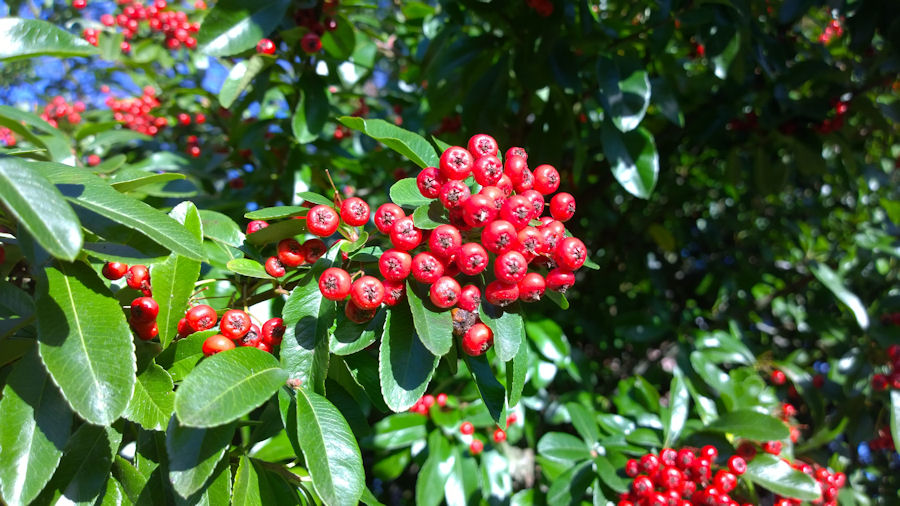
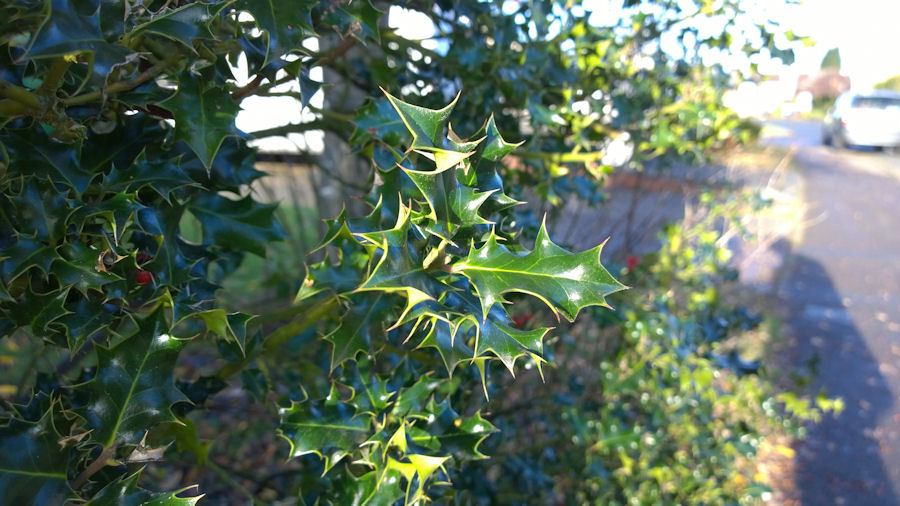
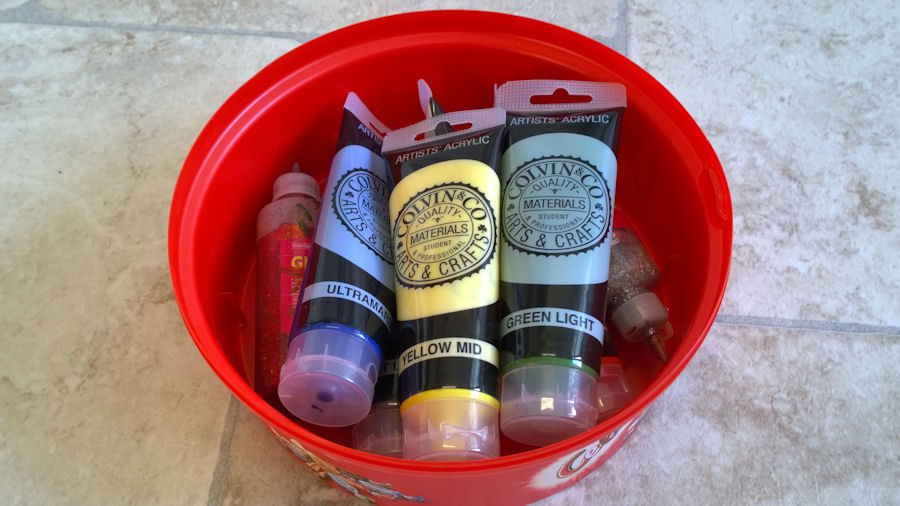
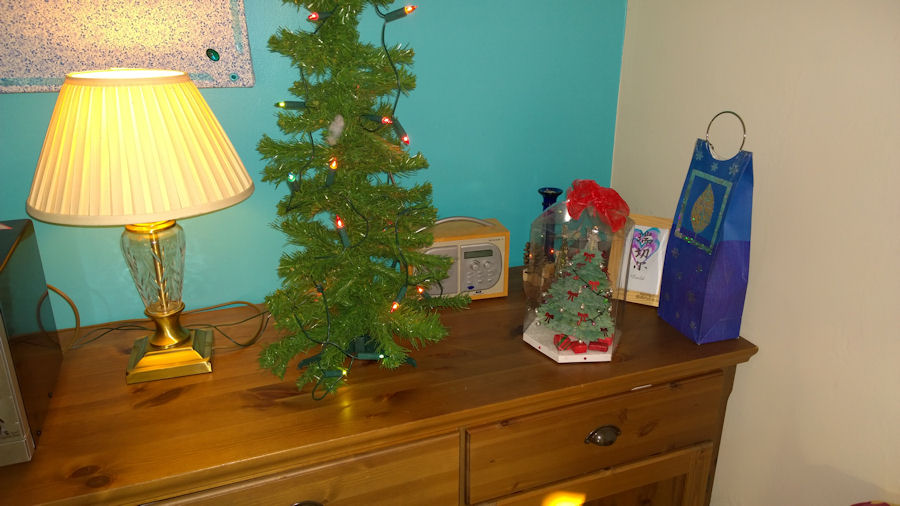
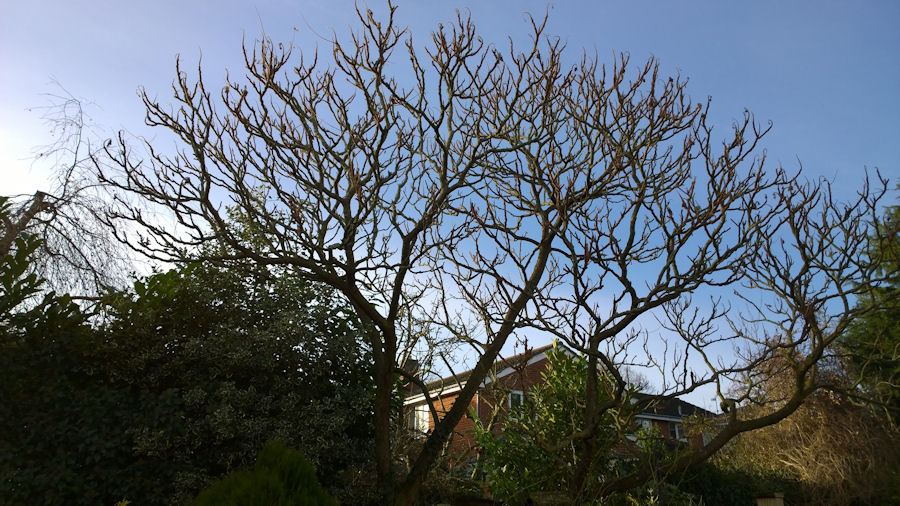
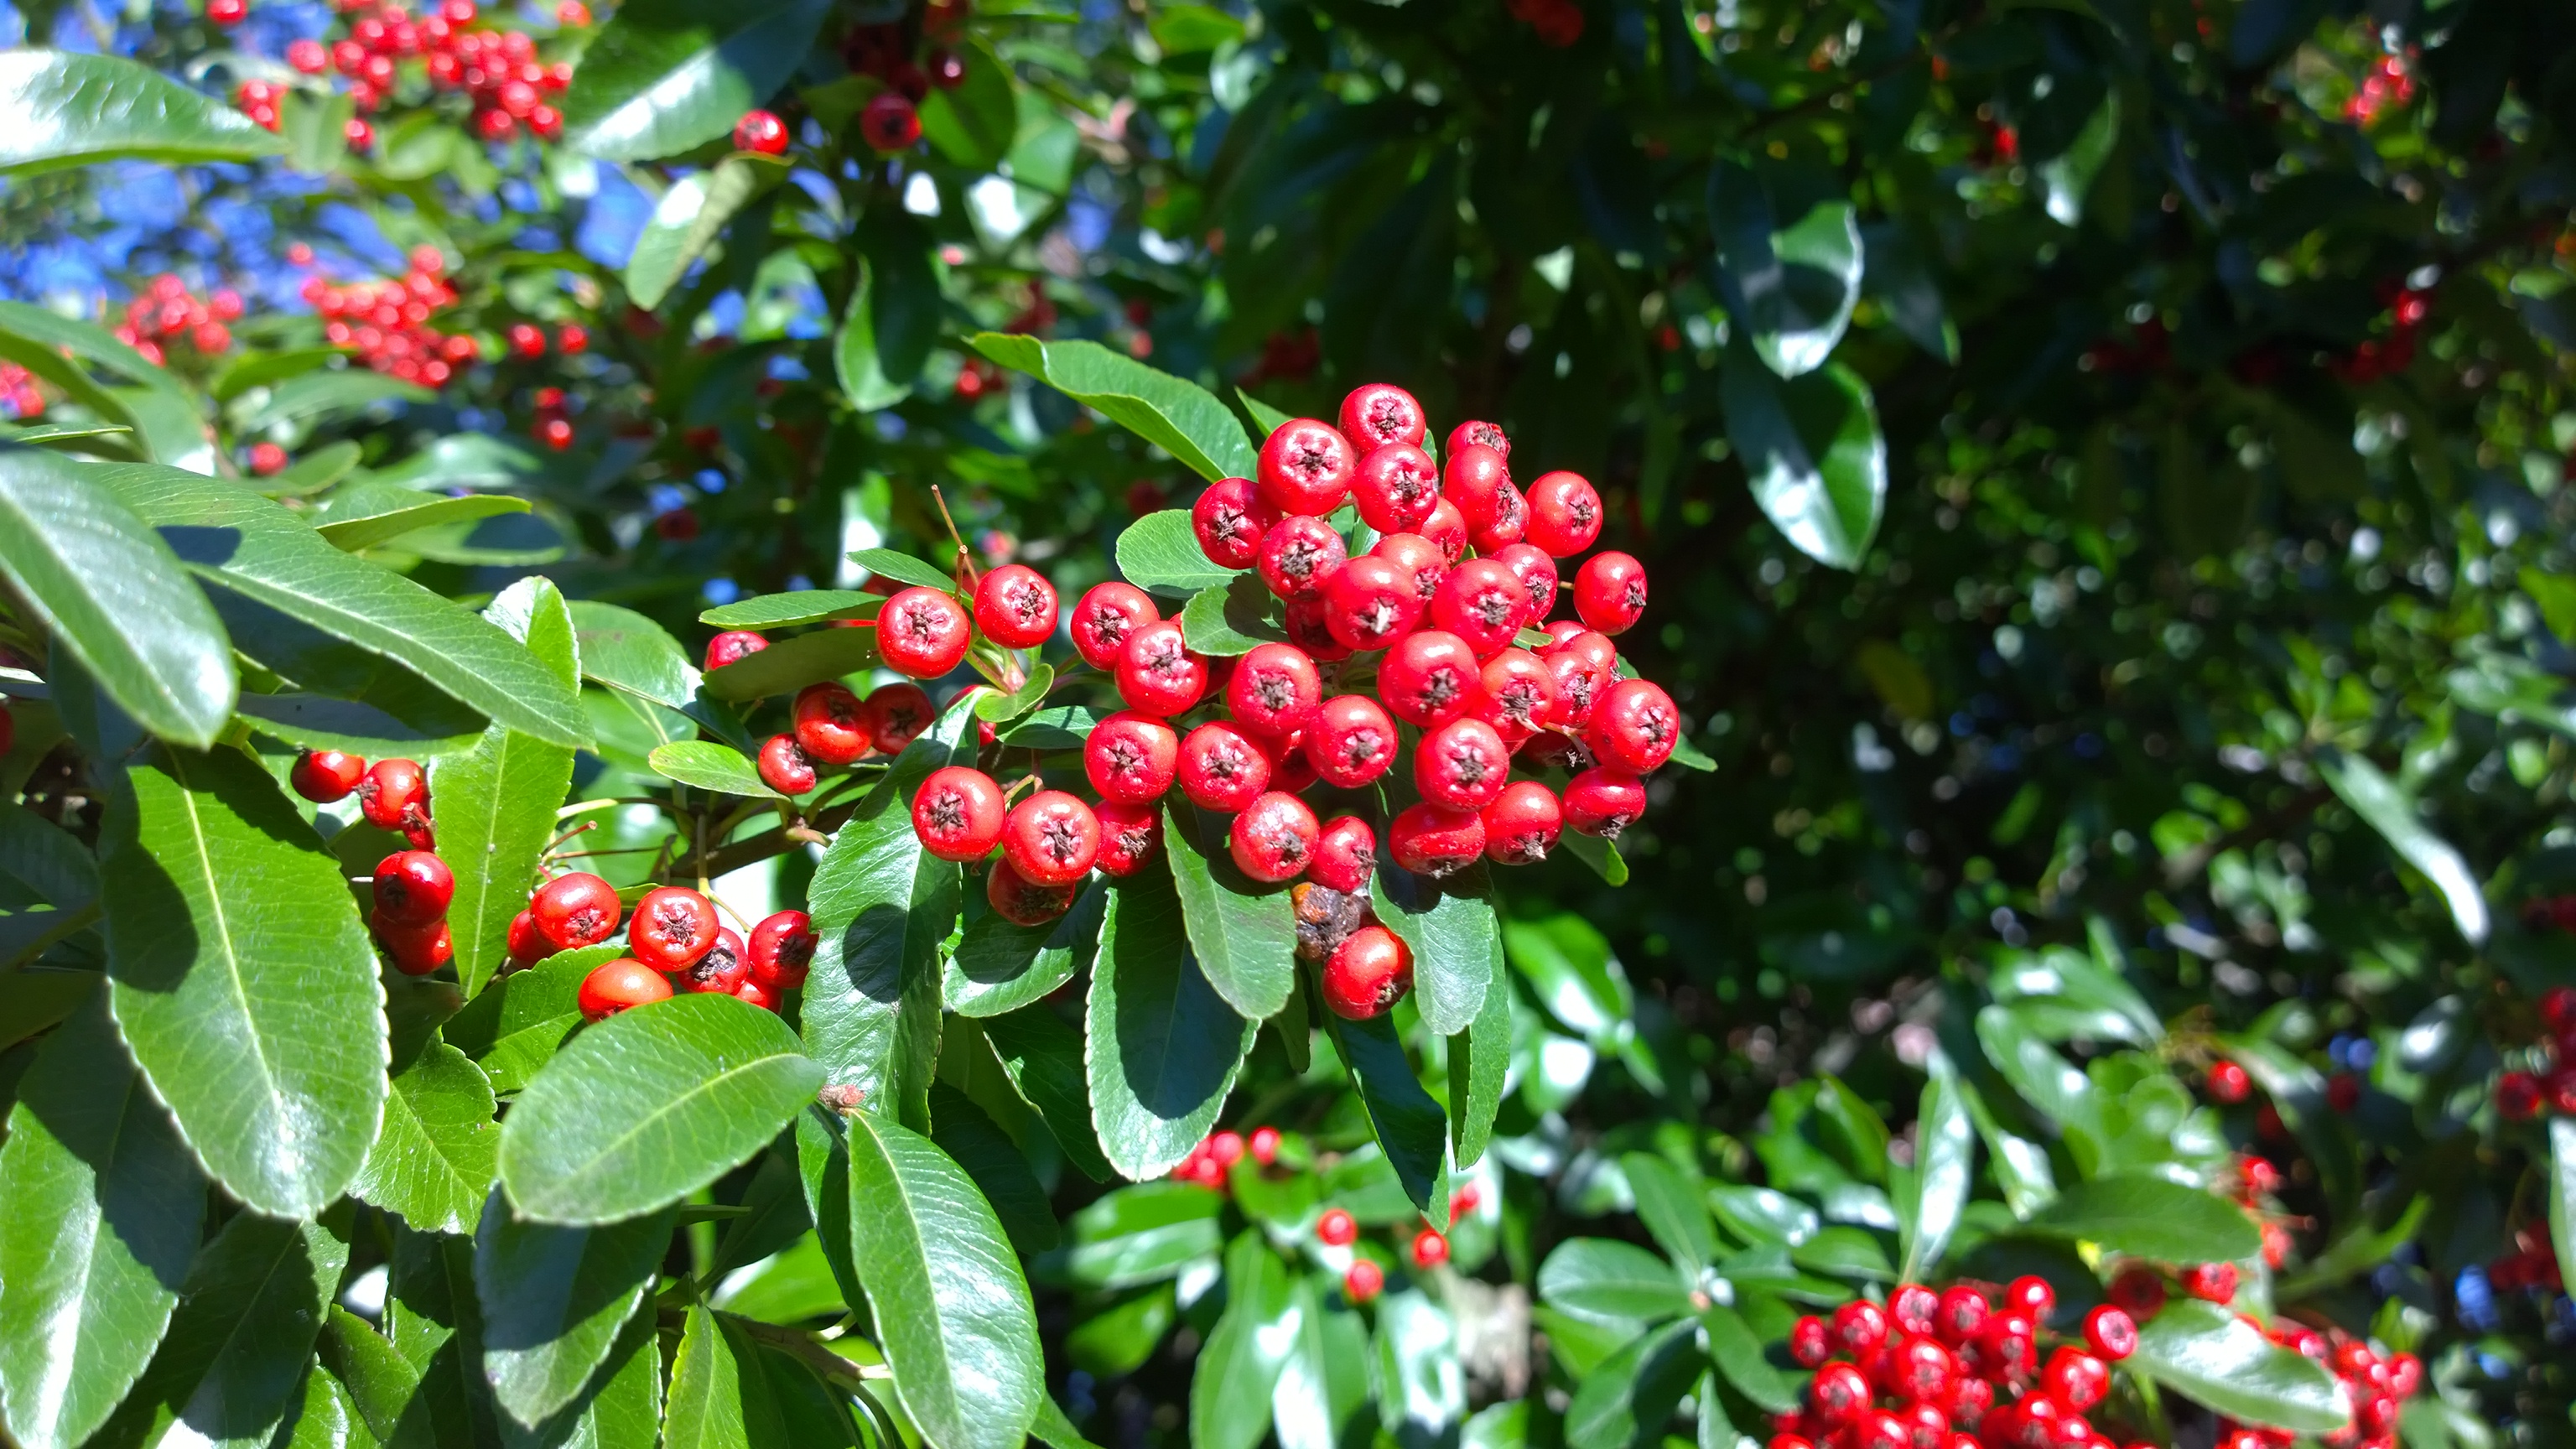
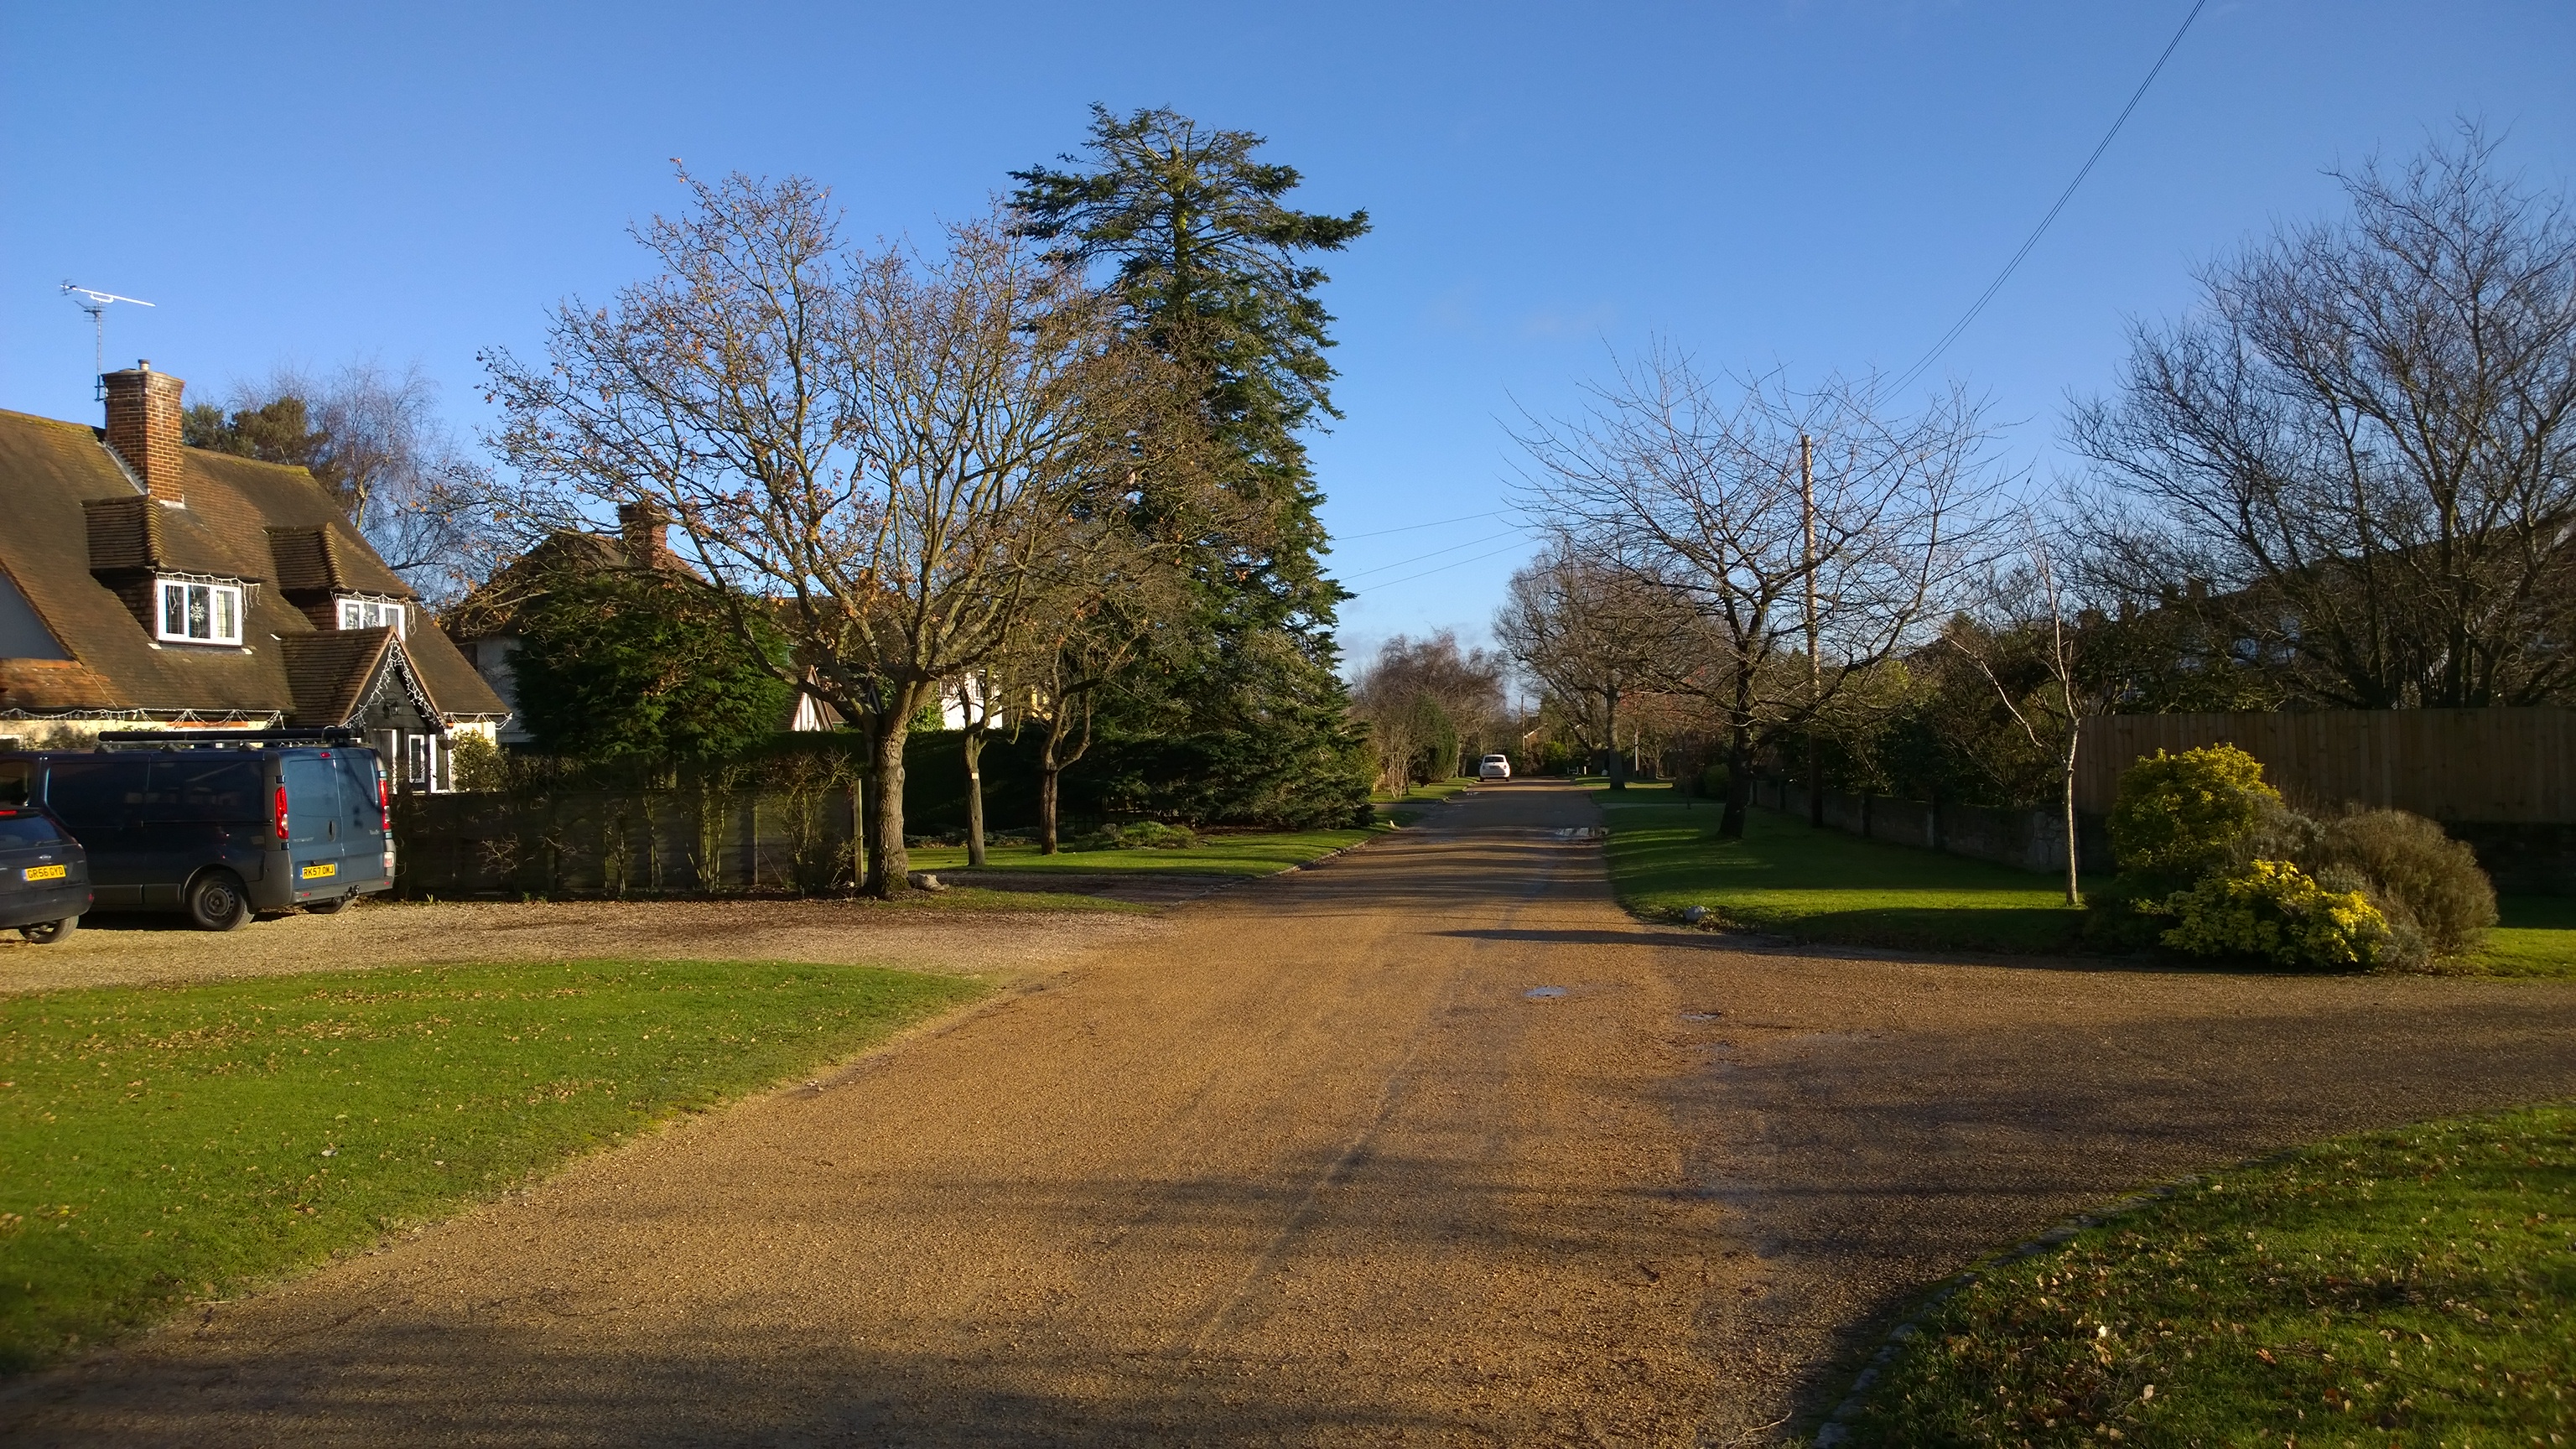
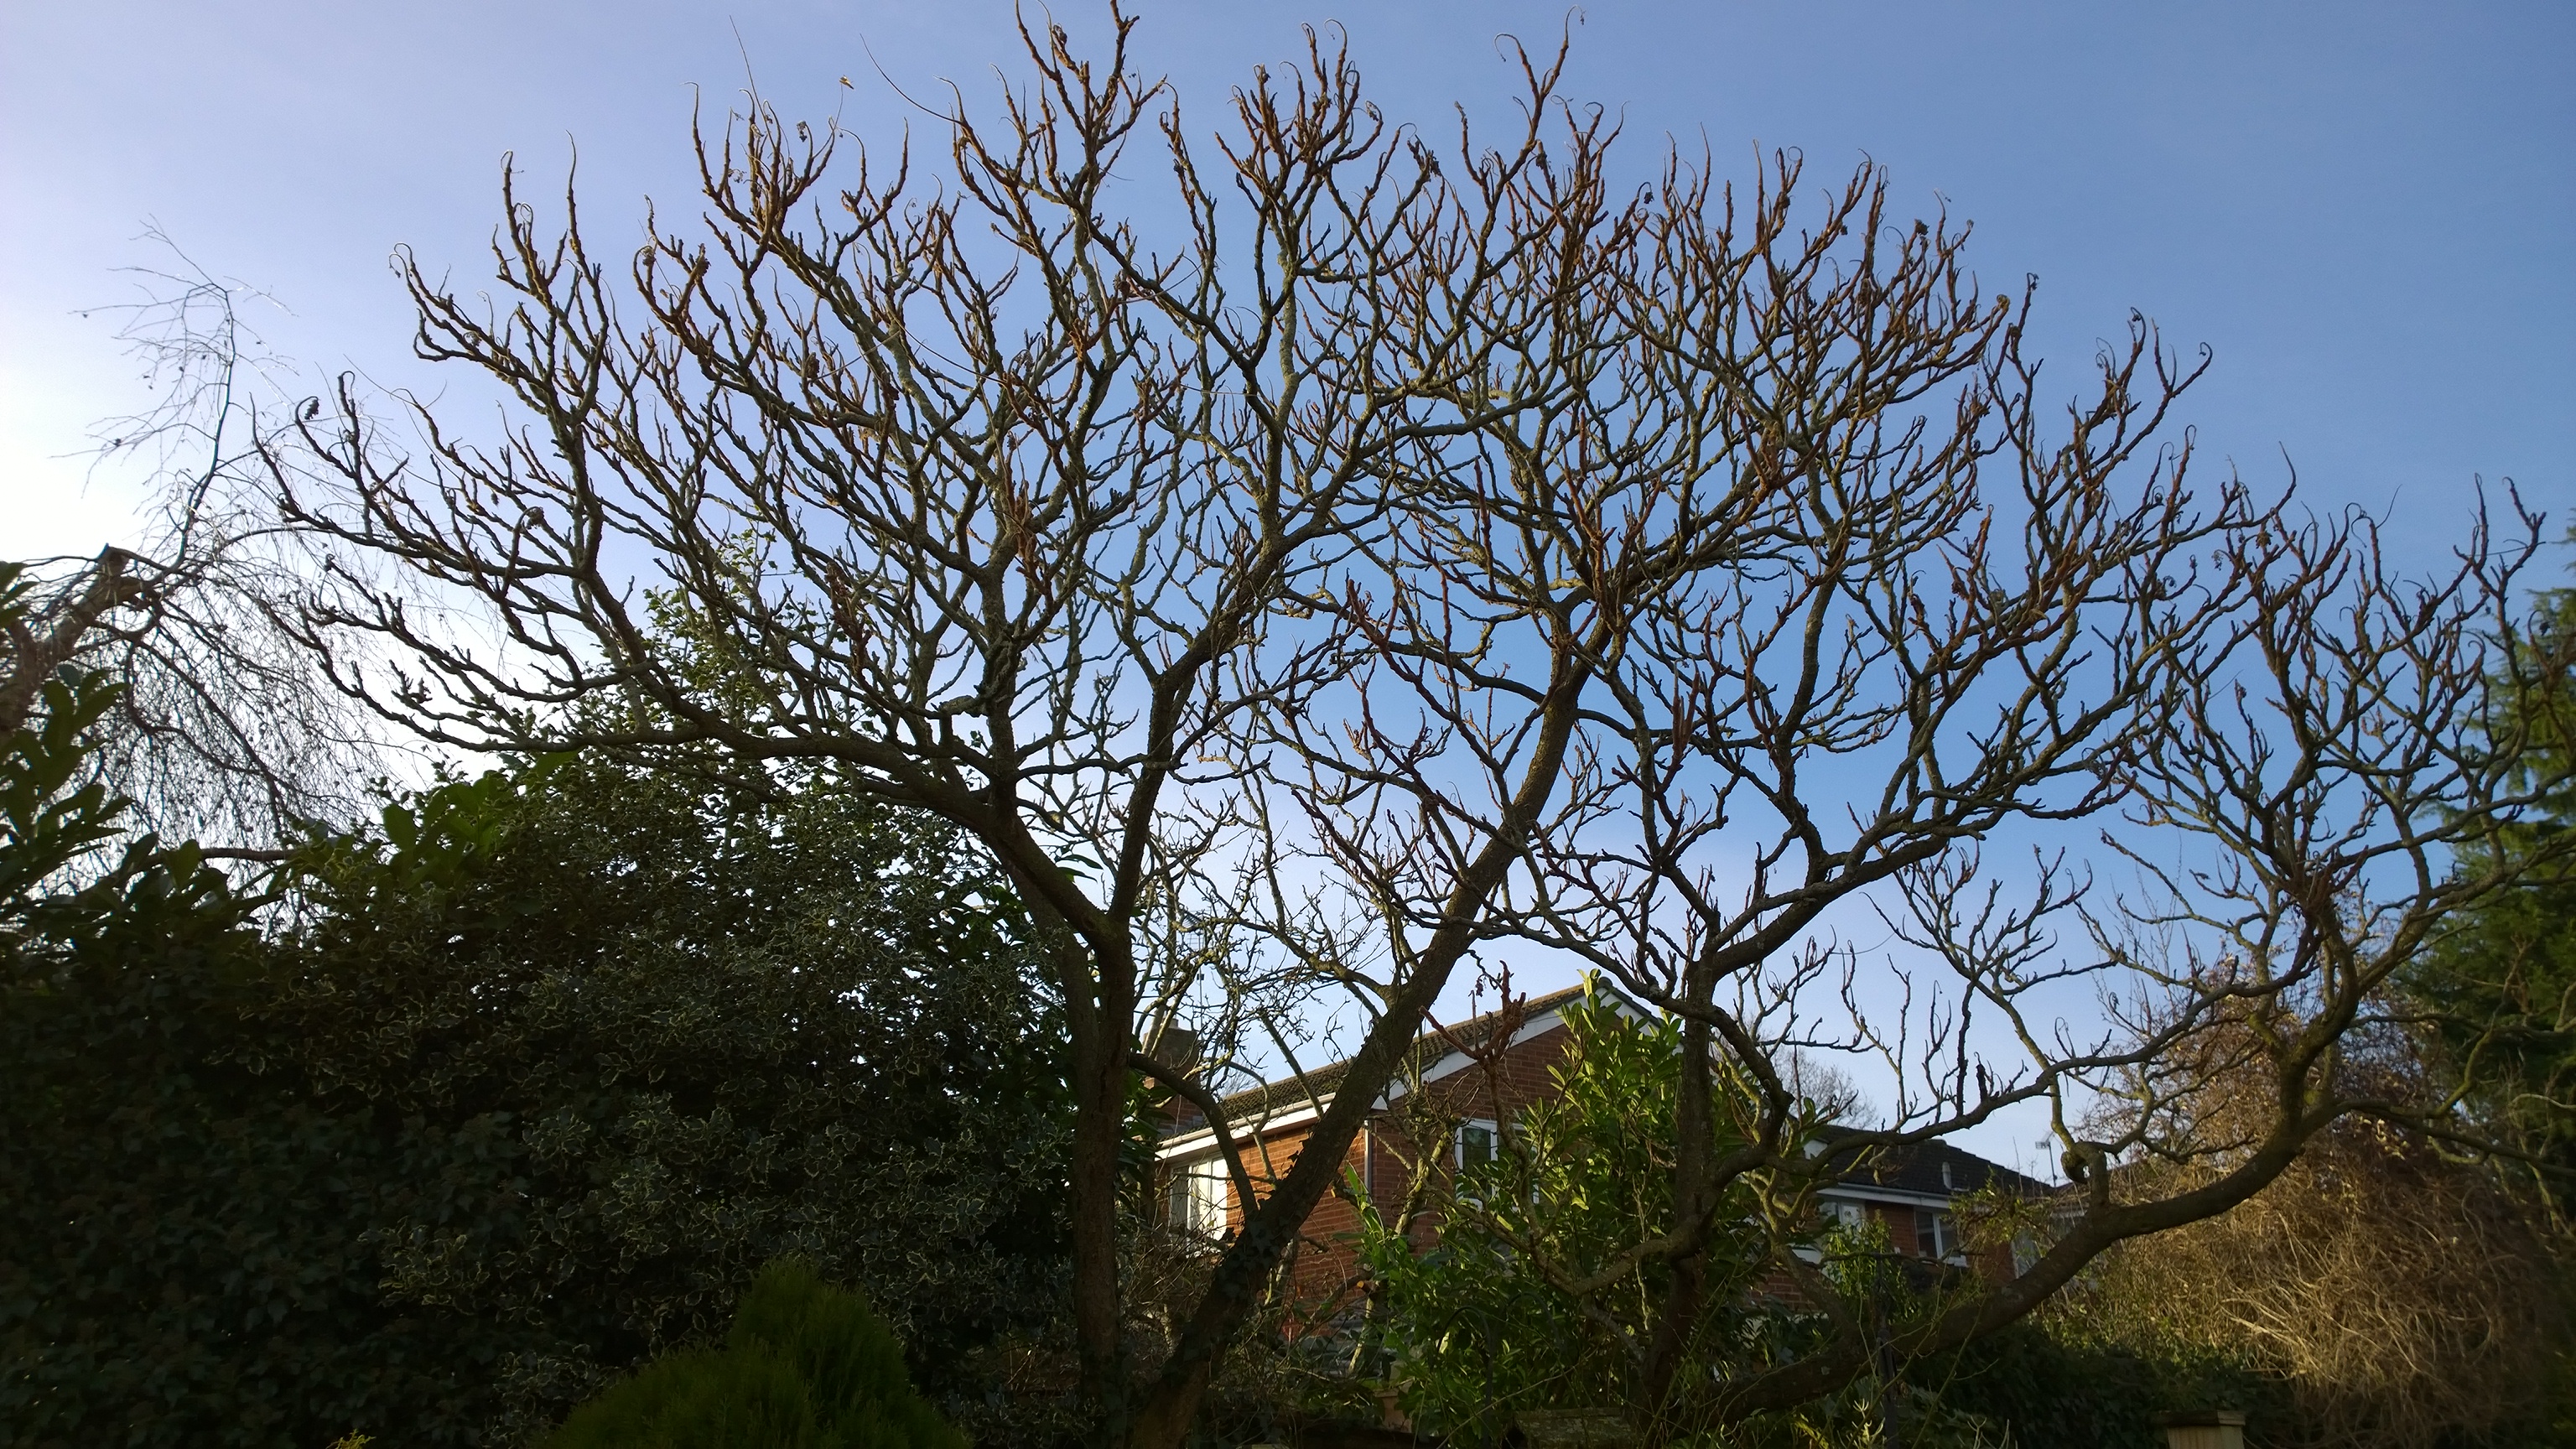
The samples below aren't intended to show any particular artistic merit, but rather represent the typical sort of photos captured when out of about on a (relatively) sunner winter's day. We've tried to include a range of capture scenarios and you'll notice there are several photos that could potentially be improved by careful RAW processing. The download links for the full resolution versions are below each photo; the JPG files are typically 1.5MB in size each, while each of the DNG files are 41.65MB in size.

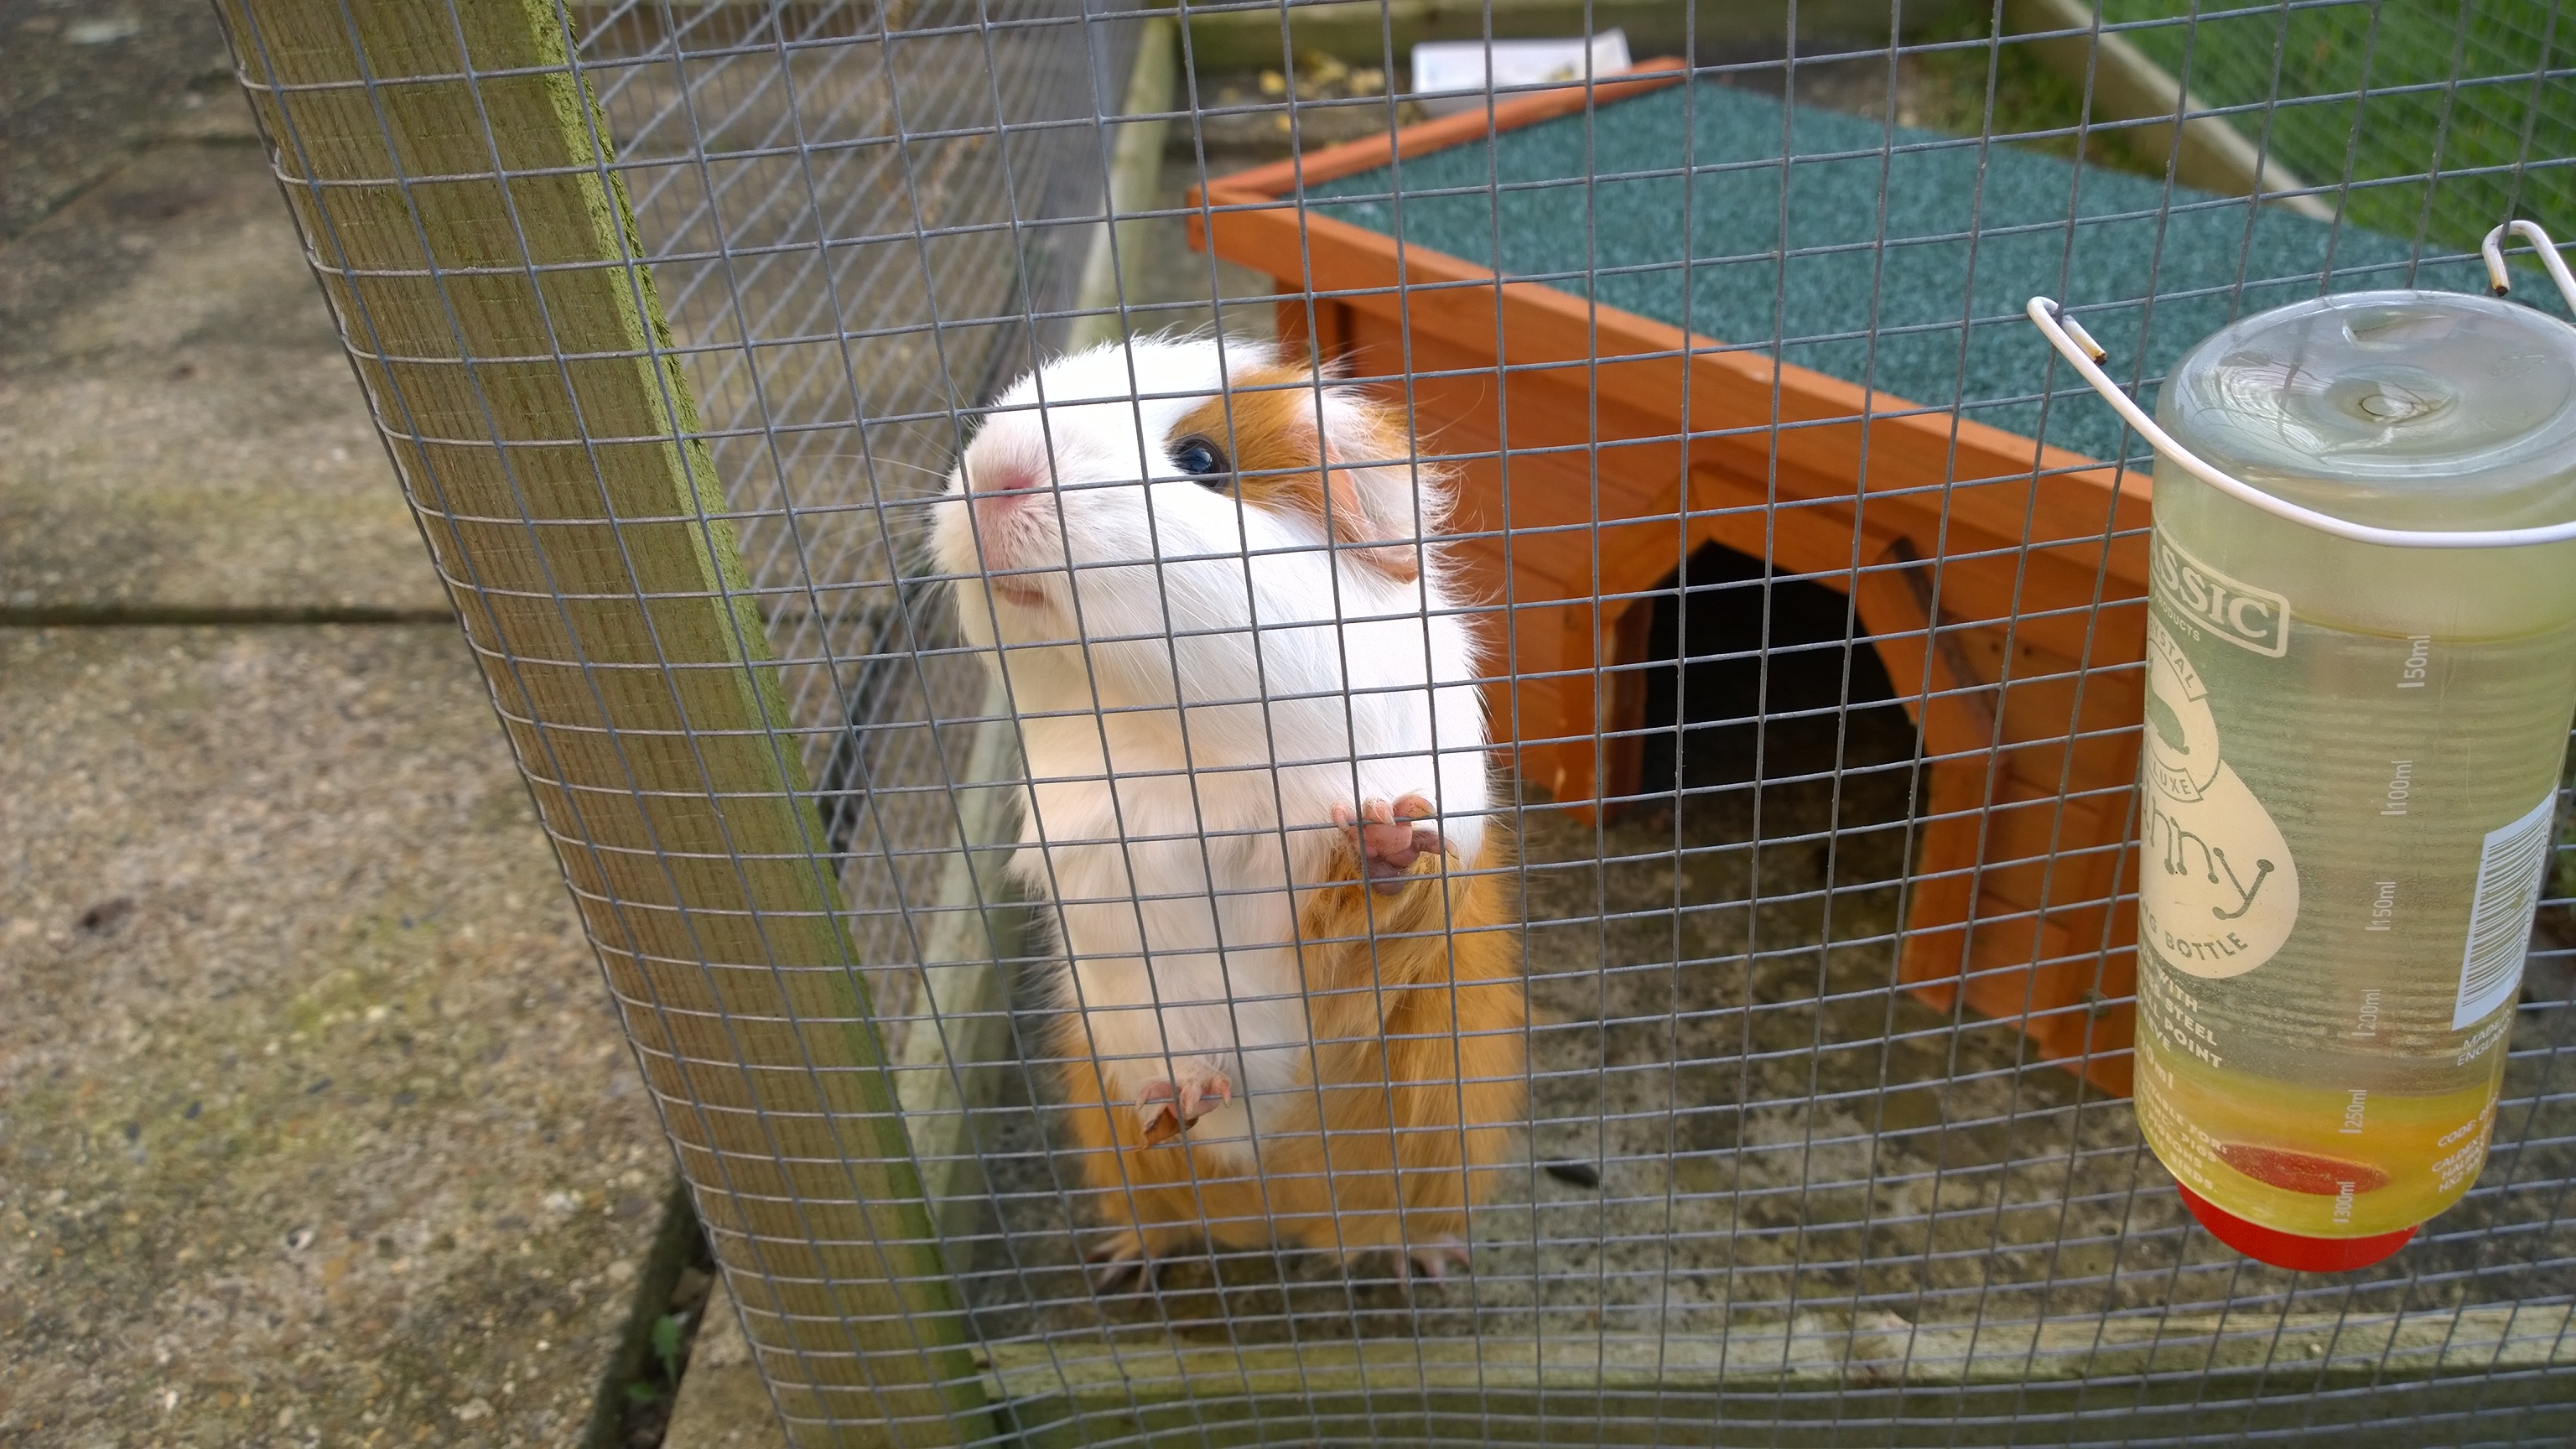
Guinea Pig: JPG (5MP) DNG (34MP)
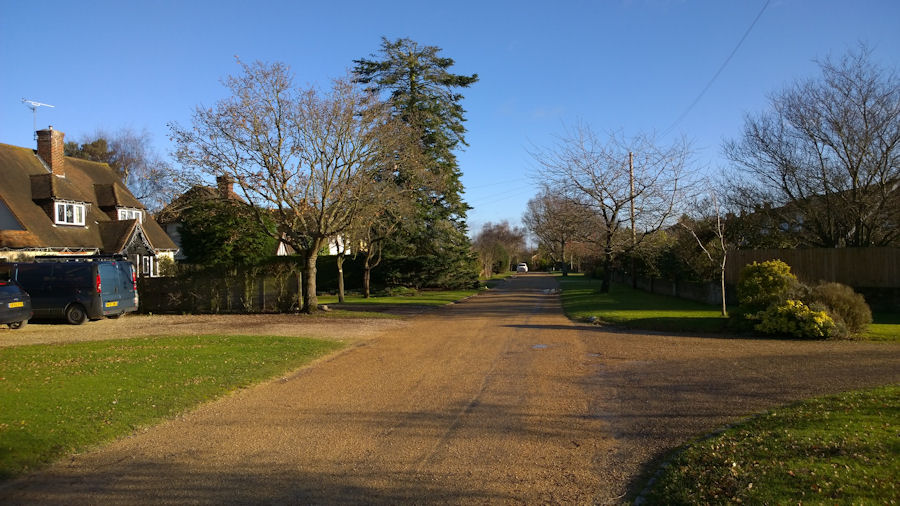
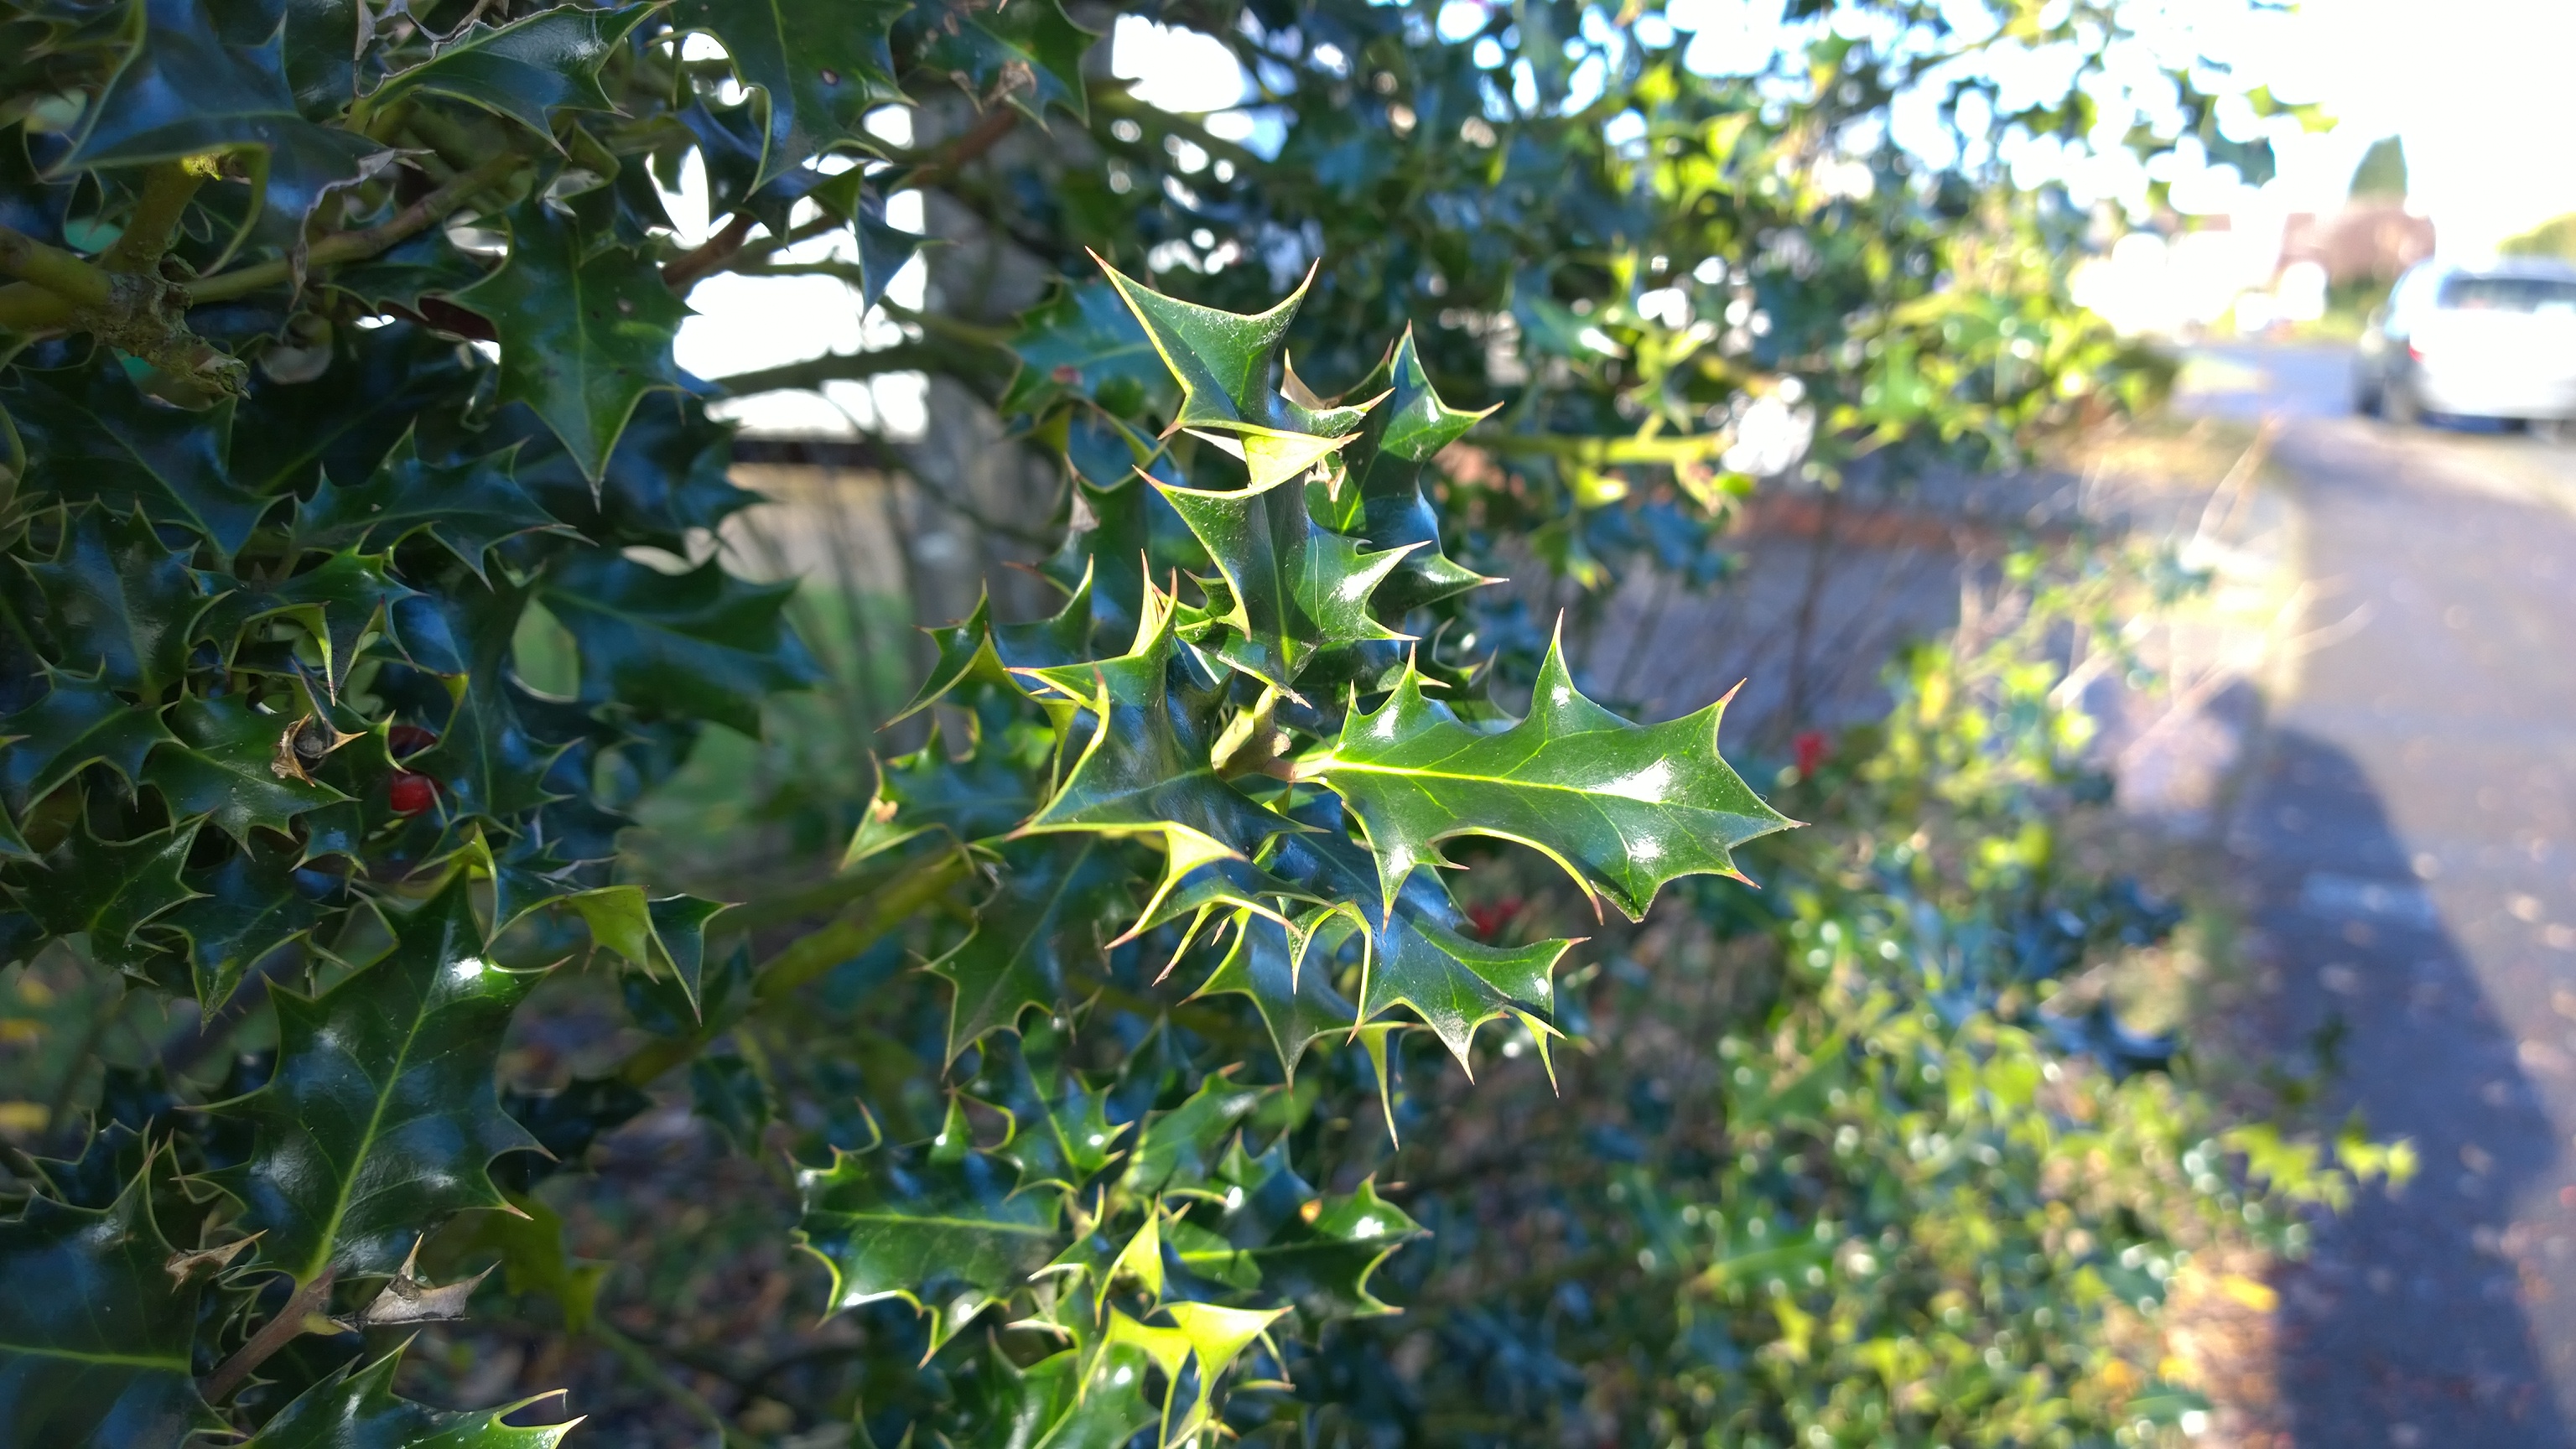
Road scene (sunny): JPG (5MP) DNG (34MP)