All about reframing
In case you're not familiar with the Lumia 1020 and 'reframing' check out these AAWP features (especially the first one):
- Review: Nokia Lumia 1020 camera - photo capture
- Details of Nokia Camera improvements and changes for the Lumia Cyan update
- How to: say 'no' to RAW and keep reframing quality
- The difference between 'cropping' and 'reframing' when there's no oversampling
- How to: reframe PureView photos under Lumia Denim (looking at reframing after 'Lumia Camera v5')
- Seagulls, the Lumia 1020 and 'zooming later'...
With Windows 10 Camera (essentially a close descendant of Lumia Camera v5) on the Lumia 950 and 950 XL, the question asked in the comments of an article here was whether something similar could be done in terms of reframing - and the answer is a heavily qualified yes.
The context was deciding what resolution to set Camera to - the default is (I think) now 'JPEG 16MP' at 16:9, i.e. using the full sensor resolution, but cropped intelligently across the optical circle. But 16MP is very high for most normal uses and I always leave my 950/XL phones set to 'JPEG 8MP' at 16:9, so using the same sensor area, but using software oversampling to combine the data from adjacent pixels to create a 'purer' (hence 'PureView') final image, yet still at a very respectable resolution. You won't really notice the effects of PureView in bright light, but the moment you shoot in low light or at night, the benefits become apparent, with far reduced noise.
Think of the ways in which you use/display your Lumia-shot photos. I'll bet that NONE of them require anything more than 8MP, which equates to a 4K display/TV, the highest resolution display most of us will ever use. So there really is little point in capturing at 16MP most of the time. You're just wasting bytes and battery life.
However, there's often more detail available/wanted for a subject in a frame, which is why it's good to zoom in at capture time, perhaps on a person or particular subject. The Lumia 930/950 allow for 1.5x lossless zoom and everything thereafter is lossy, but you can go to 2x without the artefacts being too bad. Unfortunately, if you do this then you're normally burning your bridges in terms of salvaging unzoomed detail - perhaps you zoomed in too far or perhaps you've changed your mind as to what you wanted as the central subject in a frame?
This was what the Lumia 1020 did so well. You could zoom by (in this case) 2.5x losslessly, get a great shot, but decide a few minutes later that you wish you hadn't zoomed in quite this way and would like to try again. Yet the subject has gone - or you've moved on yourself. Which is where 'reframing' came in, since the Lumia 1020 kept the underlying 34MP JPG as well by default, and you could 'reframe'/zoom/smart-crop (whichever term you'd like to use) to your heart's content, as if you were capturing the scene all over again.
No such luck on the Lumia 930 and 950 phones, but the extra information can be there if you really, really want it. I can't really recommend the procedure here to casual users because it's not trivial, but I wanted to document the possibility of 'reframing', in a sense, even on these phones. It comes at a cost of your own time in fiddling about and of your own storage space, up to 30MB per image.
The RAW connection
As you may have gathered by now, what I'm going to do involves the third resolution option in Windows 10 Camera, 'JPEG 8MP + DNG 16MP'. You see the very generation of the 8MP oversampled photo requires work on the underlying 16MP 'RAW' image for the sensor, so it makes sense to offer the user the chance to save this extra 'unprocessed' image as well. This is where the 20MB (or so) DNG file comes in. It's absolutely as the image comes off the sensor, so all that's been done to it is to have the RGB data converted to sensible colour pixel values using a Bayer filter. The idea of a RAW image is that it looks, well, 'raw', and it's expected that you do extra things to it, usually on a powerful desktop computer.
However - and I can't emphasise enough that this is all in the interests of geeky science, I doubt most people will ever need, or have the patience to do this - it also means that you can shoot in 8MP, complete with capture-time zoom, and yet still have the unzoomed full frame photo saved, ready to reframe from later on.
Some examples would help, of course. Here's a 2x zoomed shot of some statues on a fountain:
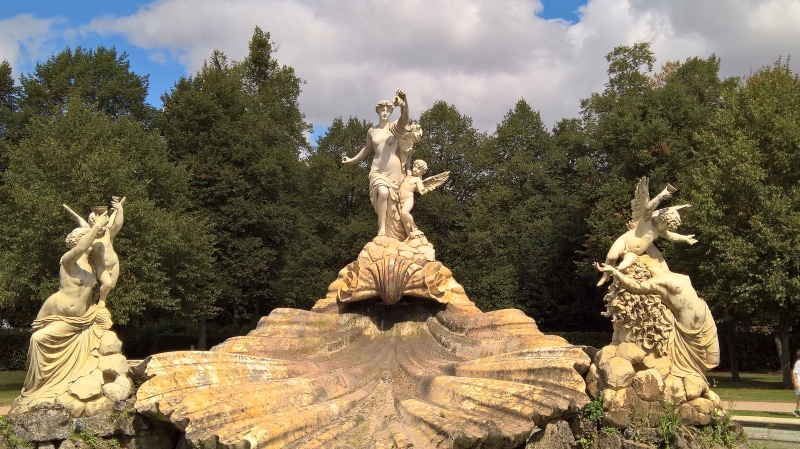
[You can grab the 8MP original here.]
Nice zoomed framing, but what if I decided, back at home, that I'd also like a shot of the whole fountain? Without going back to the park to shoot it all over again! Happily, the answer is to fall back to the full resolution DNG file, also on the phone and also backed up automatically to OneDrive:
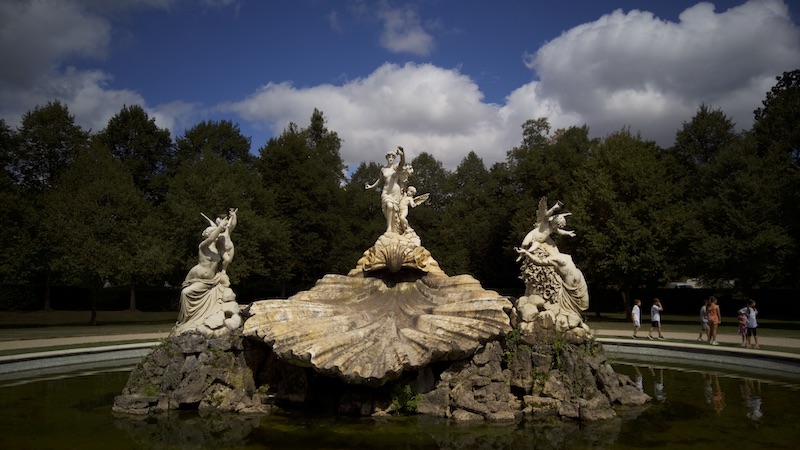
[You can grab the 23MB 16MP DNG original here.]
You'll notice one thing immediately - the DNG (RAW) file looks very underexposed. This is all as intended, this is the raw image that comes from the sensor and when you get to see results they're normally after they've been through Windows 10 Camera's impressive enhancement algorithms. Making sure that the DNG file errs on the side of under-exposure means that no points in the image are 'blown out' and that you can do lots of boosting in an editing application on the desktop to create a masterpiece.
I'll come to a more detailed enhancement example next - let's move across to Cliveden's water garden and a nice pond shot. Again, this is zoomed in to around 2x:
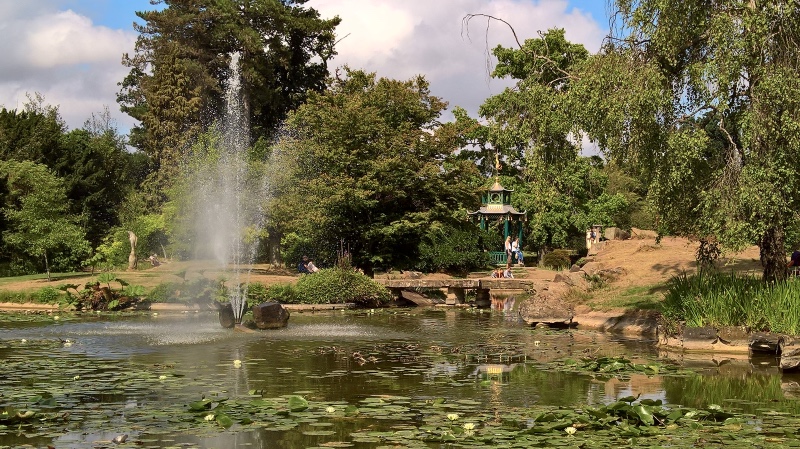
[You can grab the 8MP original here.]
Again, let's say that I decided, back at home, that I'd like a different framing, without the fountain, but with the pagoda and the greenery off to the right of the original zoom? Again, the answer is to fall back to the full resolution DNG file, on the phone and also backed up automatically to OneDrive:
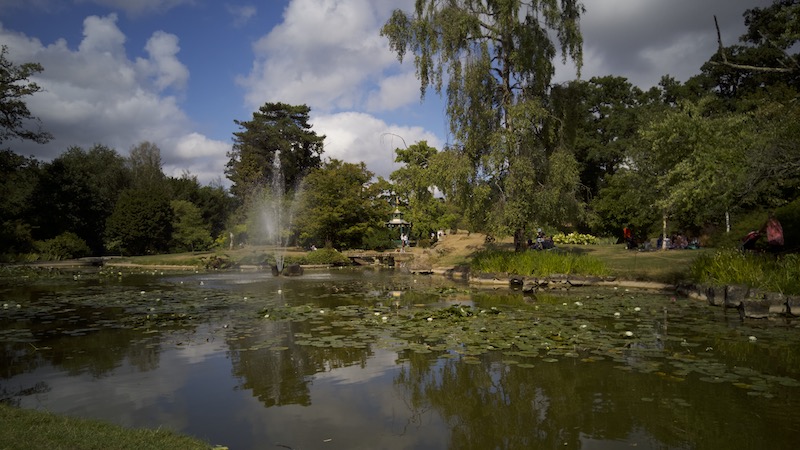
[You can grab the 23MB 16MP DNG original here.]
Again, it looks a bit gloomy, but the photo purist will leap on this unzoomed shot with glee - there's detail, there's resolution and - in the right editing application on the desktop - reframing and enhancement can be done.
So let's go there now. I was using Mac OS's Preview application (comes in the box) to view and edit the DNG image, but many editing apps do the same under Windows 10 on the desktop. You'll find something you like. Here's my new crop from the DNG file above:
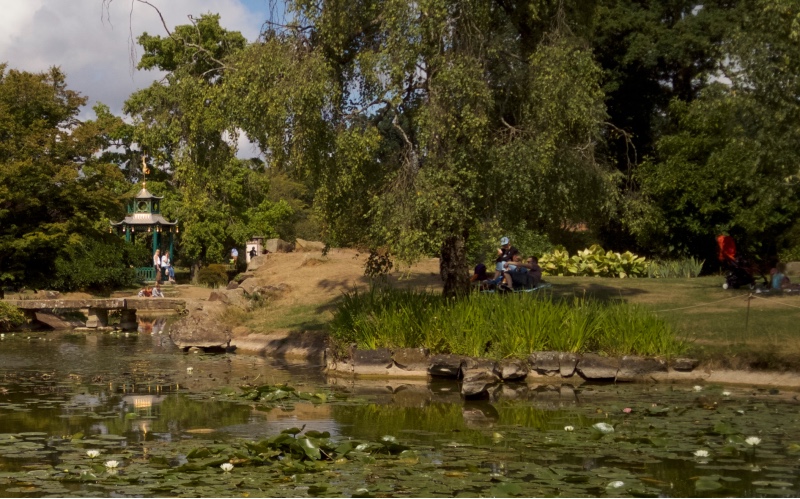
So the crop is done and I'm happy, but as it was done from the DNG file it's still utterly unprocessed and needs some TLC. On the Desktop, there's no Windows 10 Camera to do all this for me (though Photos has an 'enhance' feature), so I improvised with brightness, contrast, saturation, and sharpness in an editor and got:
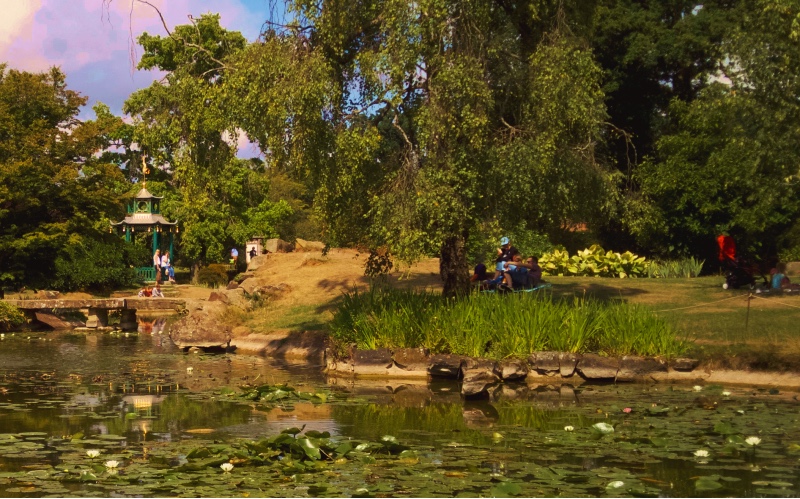
Looking back, I think I overdid the saturation, but you get the idea. With a master DNG file to work with on the desktop, you can produce any reframe of the image and try out a hundred different adjustments, it's very much up to you and how you want the photo to turn out.
In real life, I never bother with any of this, though. As I said at the top, all this is effectively proof of concept and a long-requested acknowledgement of DNG capture and editing in the Lumia world.
How would I proceed in real life, then? All in 8MP mode, I'd take two photos. So I'd shoot one with the zoom and one without, giving me options later. Yes, the 'no zoom' version won't be at full resolution, but it's always good enough, and without having to keep fiddling in Settings to change resolution, let alone capturing DNG files (along with losing 25MB per photo) and having to edit them later on a different piece of hardware.
What about you? What's your standard shooting resolution and how often do you resort to dual (JPG plus DNG) capture? Comments welcome!
PS. On the Lumia 930, the '8MP' references are actually '5MP', but everything else is the same and still applies.
