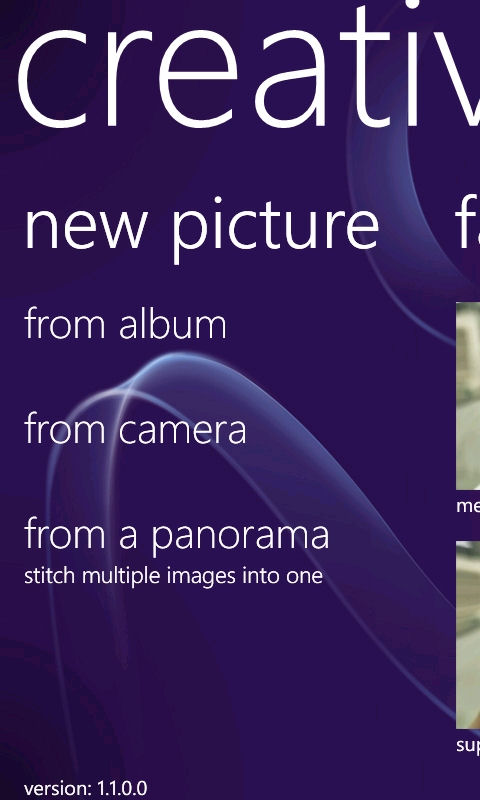
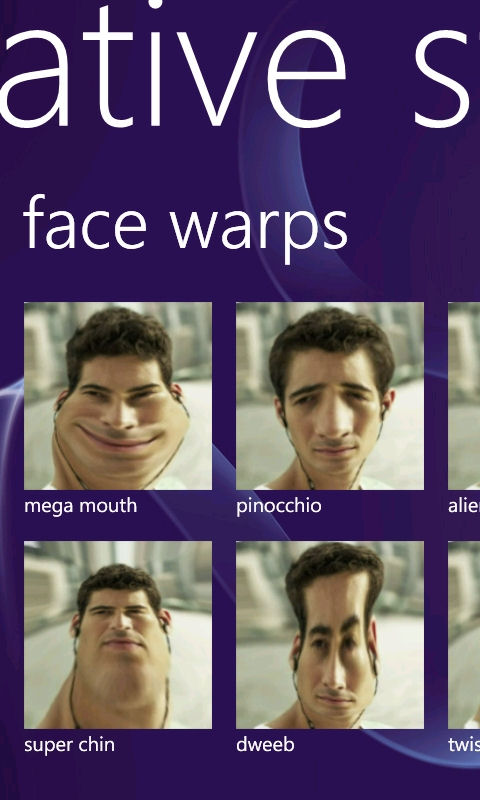
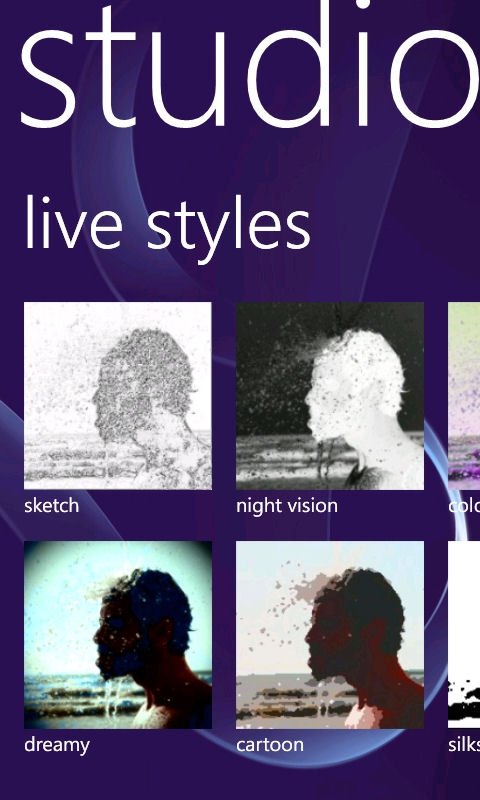
From Creative Studio's opening panorama page, it is possible to select three sources for an image: from album (existing photos), from camera (capture) and from panorama (guided capture). But there's also a live camera mode, available by swiping over to the next two pages - one for face warps and one for live styles.
Live camera mode
In the live camera mode, the effect or filter is applied in real time over the top of the camera capture screen. Face warps apply a distortion filter (mega mouth, pinocchio, super chin, dweeb, alien and twister) and live styles apply a visual filter (sketch, night vision, dreamy, cartoon, colour and silkscreen).
Either of these can have some amusing results, but, with a bit of effort, it's also possible to be genuinely creative. Seeing the effect live in the camera viewfinder is a great way of finding the best possible shot, bit it's worth noting that you are limited to a single warp or live style at a time.
Applying effects and adjustments to existing images
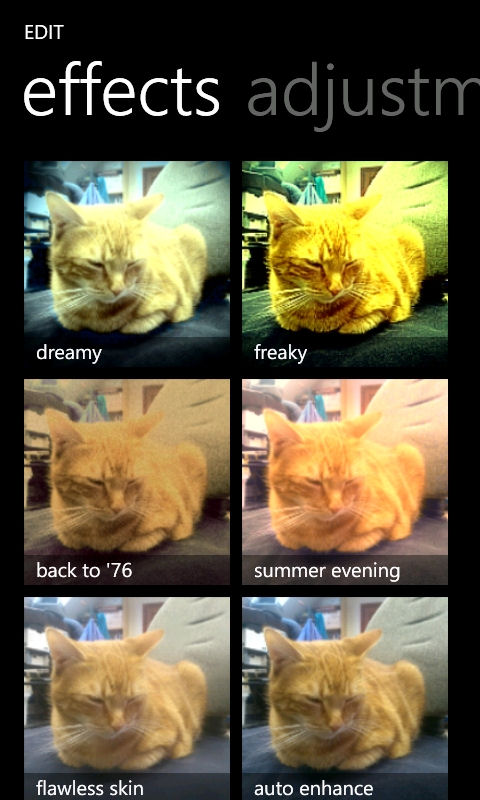
While the live camera mode is technically impressive and fun to use, much of the time you'll be applying effects to, or editing, an existing image. There are two categories of editing - effects and adjustments - each of which has its own Metro UI page.
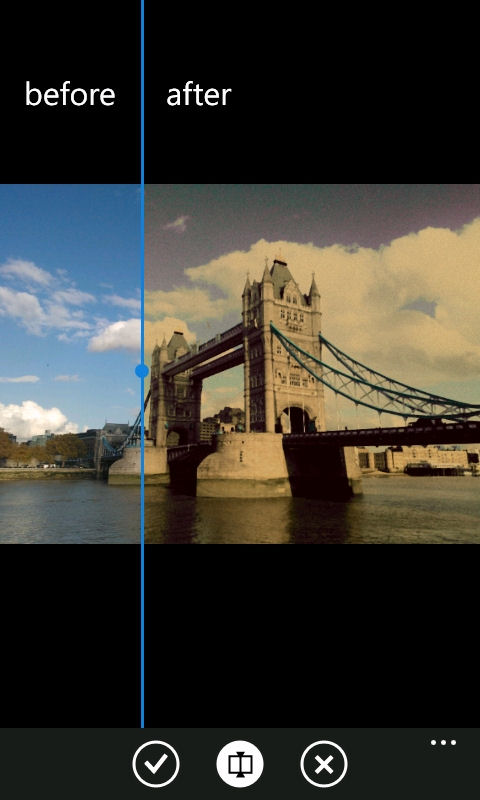
With Effects, a range of filters (dreamy, freaky, back to '76, summer evening, flawless skin, auto enhance, silkscreen, watercolour, cartoon and sketch) can be applied, each of which have a different impact. For example, "back to '76" washes out some of the colour, which makes the photo look like a postcard from the mid-seventies while "freaky" oversaturates the colour and adds some fringe blurring.
Strangely, the night vision and colour modes available under live styles are not available; it's unclear whether this is a technical limitation or an oversight. The absence of the face warps is to be expected; after all these only work well if framed properly, something that you can only really do in live mode.
When you select an effect the app shows a preview. There's the handy option to show a before and after split-view, which gives you a better idea of how the chosen effect has changed the original image. If you're happy with the image then you can save it (to the Saved pictures album) and optionally share it to Twitter, Flickr or Facebook. Alternatively, you can tap the edit (pencil) button and apply another effect (or adjustment) before saving the image (i.e. it is possible to apply multiple effects or adjustments one after the other).
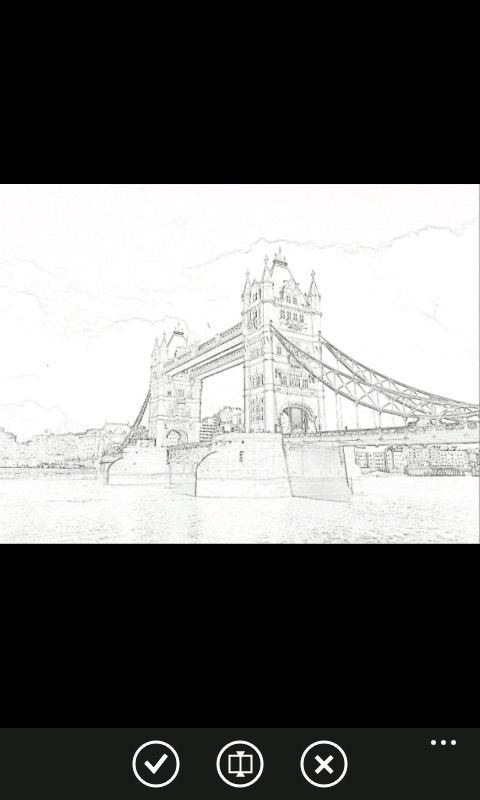
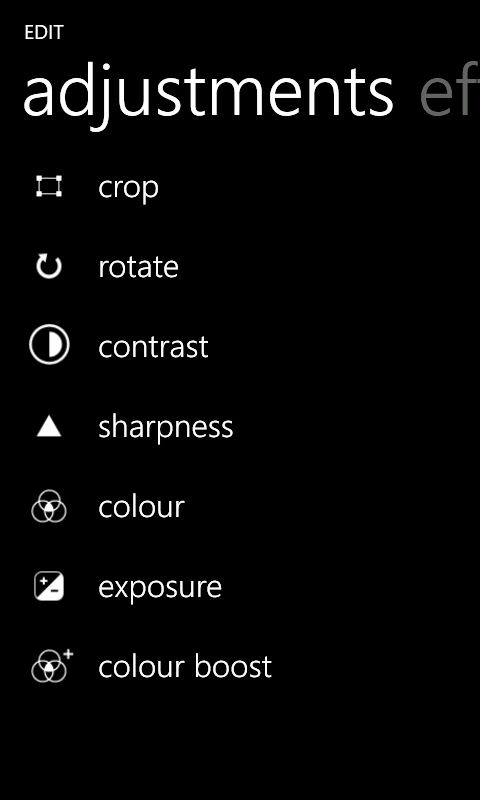
In Adjustments, a basic set of image editing tools is available (crop, rotate, contrast, sharpness, colour, exposure and colour boost). For the latter five of these, an on screen bar controls the level of the adjustment (e.g. positive or negative contrast). As with Effects, there is a preview / split screen mode and multiple adjustments can be stacked on top of each other. With a bit of effort, some surprisingly impressive results can be achieved. It's obviously not going to replace an desktop image editor for professionals, but for casual users it should be more than enough to rescue a not quite right image or to have a bit of creative fun.
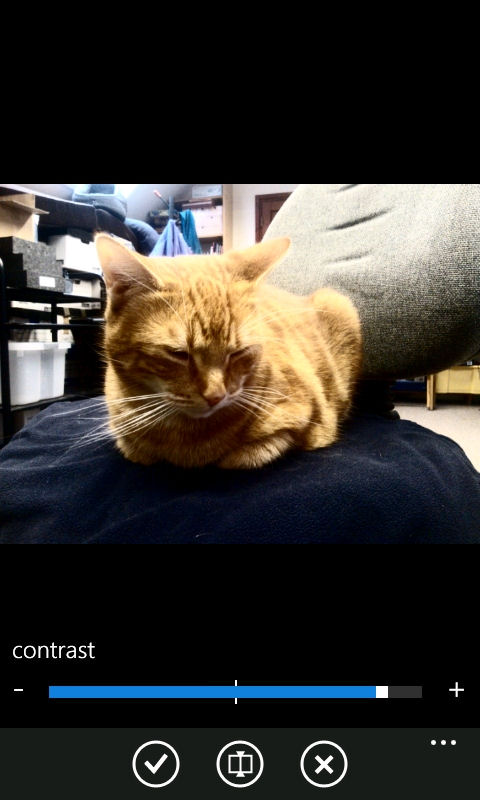
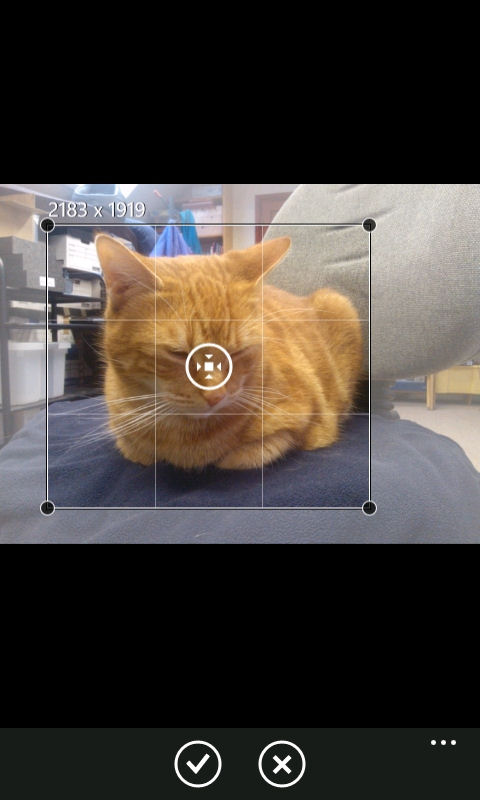
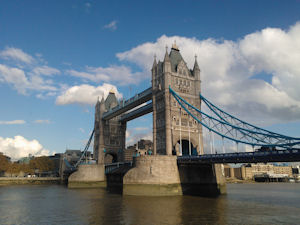
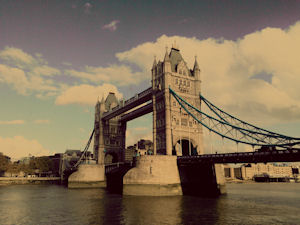
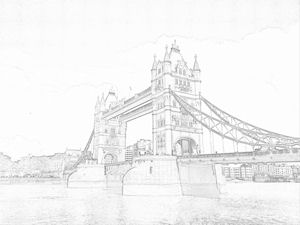
As an example here, with the source image, are two images created using the Creative Studio app (click through for full resolution):
Panorama
When creating an image from a panorama, the app will guide you through capturing the appropriate images (limit of four) and will then automatically stitch them together. Panorama capture is easy and the results are decent. For some, this panorama capture alone will make the app worth downloading, although ideally this functionality should be integrated into the camera app itself.
A steady capture hand and good light will improve panorama capture results, but it's worth remembering there is a limit to what software-based auto-stitching can do. Once you've captured a panorama, you can save it or choose to apply an effect or adjustment as you would for an existing image.
Summary
Applying filters and effects and sharing the results to your social networks has become increasingly popular, thanks to apps like Instagram, so the addition of Creative Studio to Nokia's exclusive software line up for its Lumia devices is a canny move. It would make sense for Nokia to add Creative Studio to its pre-installed software bundle, along with apps like Nokia Maps, Nokia Drive and the upcoming Nokia Reading.
There is room for improvement in Creative Studio. For example, it would be good to see more filters and additional editing tools added, but for an initial release Creative Studio is pleasingly polished.
It is also worth noting that there are a number of commercial apps in the Marketplace that offer similar or more advanced functionality (Apict, Pictures Lab, Thumba Photo Editor and more), which is good news for non-Nokia users. However, these apps may now have trouble attracting paying users on Nokia devices, given that Creative Studio is a free download. This is an inevitable result of Nokia's strategy of differentiating its devices by providing exclusive software and services. It is fair to say that there is a delicate balance to be struck between software-led device differentiation and overall developer ecosystem health.
Creative Studio can be downloaded for free from the Windows Phone Marketplace.

